Serving NFS on Amazon EC2
UPDATE: Check out Amazon Elastic File System which might be a better alternative than managing your own NFS setup in many cases.
What is NFS?
You know what NFS is, but as for details you may check out Network File System on wiki. If you want to go further, NFS v4 specs are here. If you like history, 1989 specs for NFS is here.
Goal
Let’s say you want to run a highly available NFS service but you don’t want to have two instances up all the time as this service have an SLA which gives you a room of 5 minutes to fail over. So you make a decision to have a single instance and want to failover to another instance once there is a problem as quickly as possible within the 5 minute window.
Challenges of Running HA NFS on AWS
1- There is no shared block storage on Amazon Web Services. In a traditional environment you could export a block device from a highly available storage to two different servers and then have NFS service configured on these both. If primary server fails, secondary would take over after making sure primary server unmounted the block device likely by powering off the server using an API on the power switch or making SAN disconnect the storage from primary server. Secondary NFS server then would mount the block device, do file system checks and start NFS service after also moving the virtual IP address to its network interface.
On AWS we have Elastic Block Storage which can be attached to one EC2 instance. Also EC2 instance and the EBS volume has to be in the same availibilty zone.
2- On AWS, an EC2 instance can’t just assign an IP address to one of the network interfaces by calling an OS command like ifconfig. Still it can call the EC2 service API in order to ask for an IP to be assigned to one of the network interfaces (if it has many). This requires to have a mechanism on EC2 instance other than native linux commands. We will accomplish this by using EC2 roles and AWS CLI without a sweat.
3- There is no support for multicast and broadcast in AWS. Communication within the instances that will failover has to be unicast.
Designing The Solution
There are a few situations we have to take care of.
1- Instance fails in the zone: This is easy to overcome as an auto scaling group can check the health of the instance and start a new instance when there is a problem. We will just have to set min and max instance numbers to 1.
2- Instance is ok but NFS is not running: In this case we may try to restart the NFS service by running a service that will be periodically checking NFS. But what if NFS doesn’t start after a few tries? We may have a custom health metric which we report to CloudWatch. This metric can be used by autoscaling group and can trigger auto scaling operation.
3- There is a problem with the Availability Zone: In this case we will have to fail over to a different zone. Challenge here is we won’t be able to use the same IP address so we will use Route53 in order to change the IP address for the hostname we will use to point clients to our NFS service.
Steps for Building NFS Service
For some of us, most of the steps we will go through below are pretty basic but I still wanted to go one by one in order to have a complete overview on all required actions needed in order to have an NFS service with a failover capability.
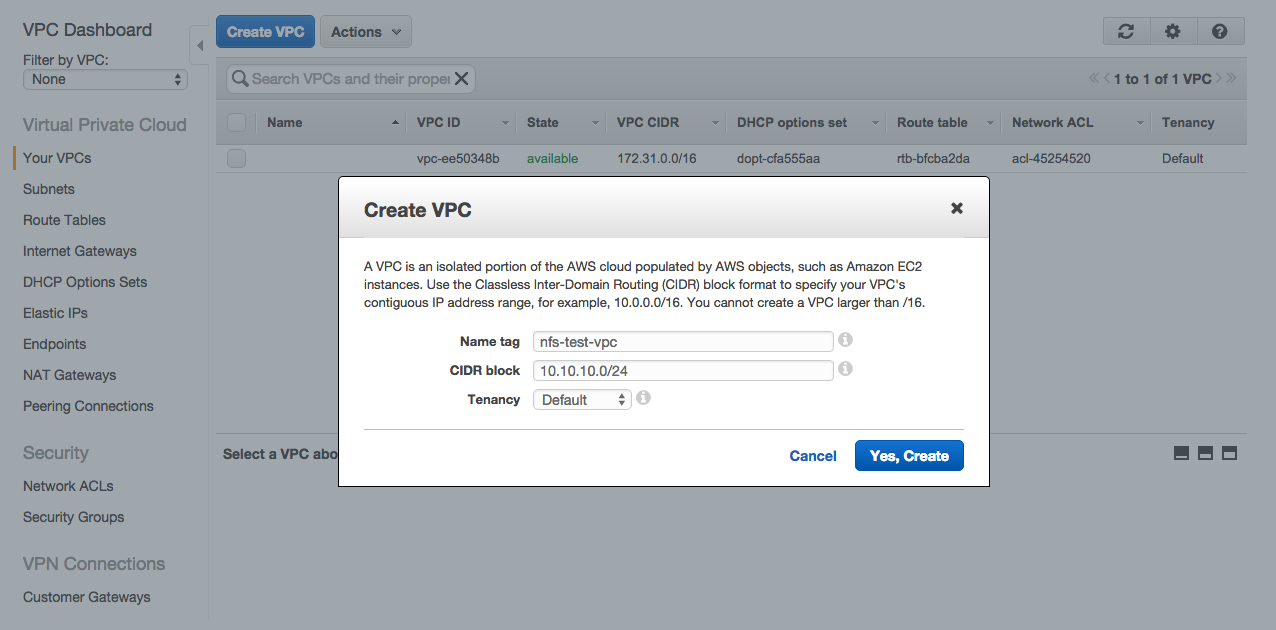
Create VPC
I will create a VPC in us-west with a CIDR block of 10.10.10.0/24. This will support 256 IP addresses and we will break it into multiple subnets.
Open Amazon VPC console, and click Create VPC. We will name the VPC as nfs-test-vpc.
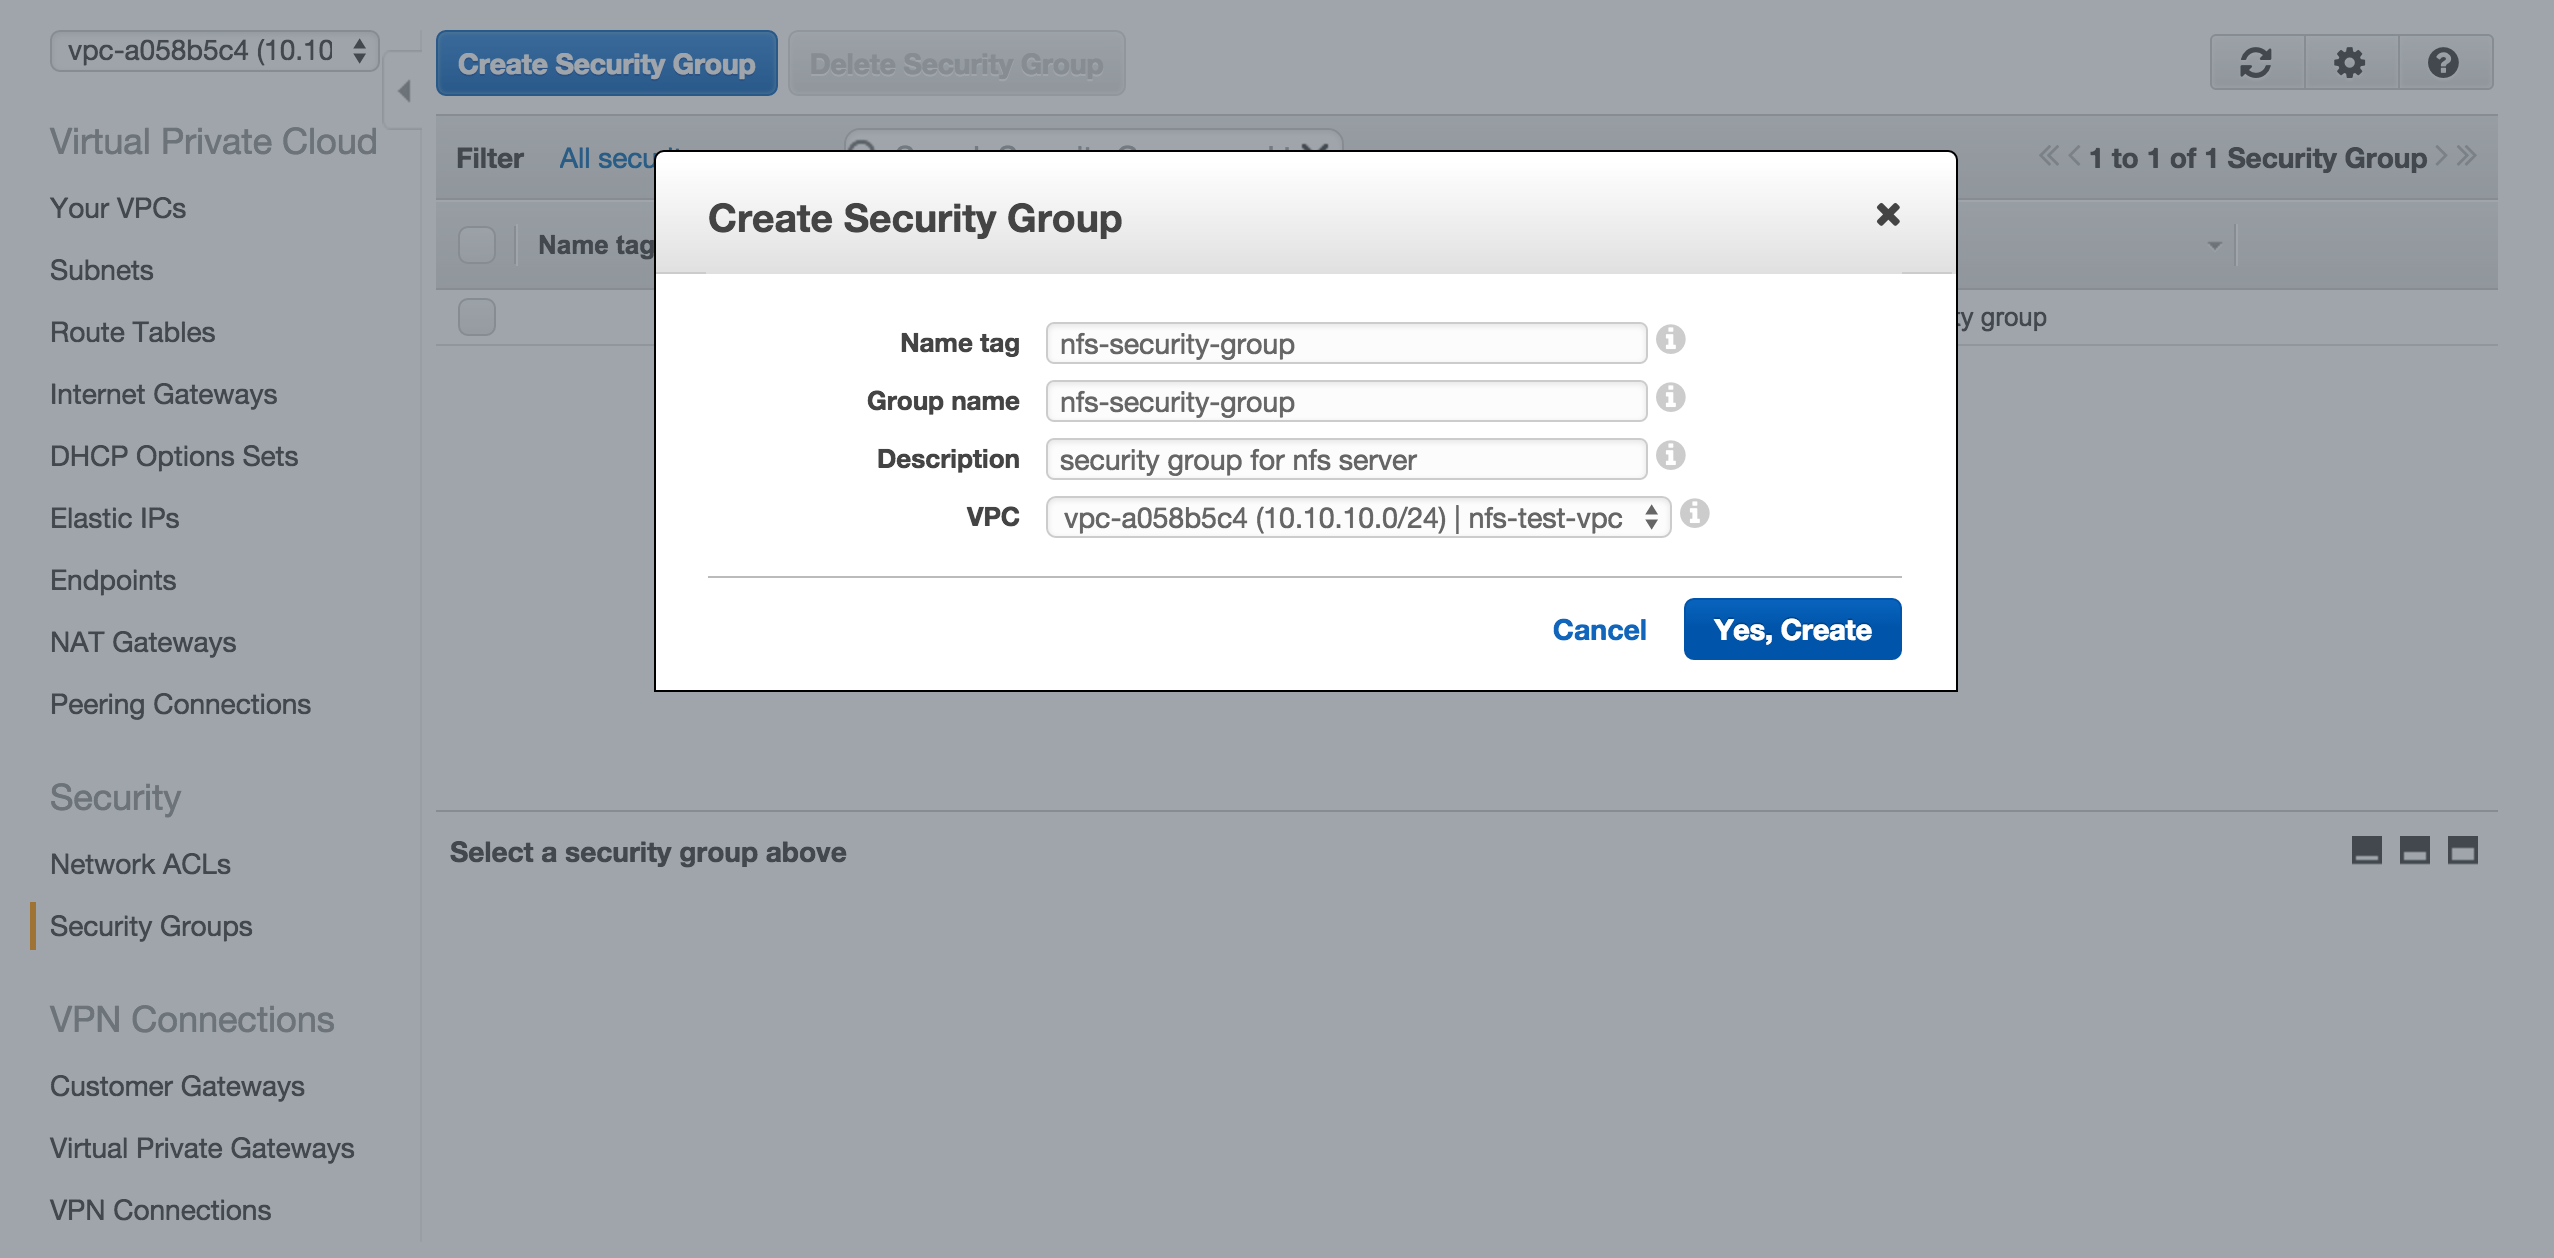
Create Security Group
We will also need a security group for the launch configuration later on.
On Amazon VPC Console, select Security Groups under Security and click Create Security Group. Give nfs-security-group as name, add a description and click Yes, Create.
Create Subnets
We will break 10.10.10.0/24 into four subnets to have private and public subnets on two different availabilty zones. It is important to remember for each subnet, AWS will reserve fist four IP addresses and the last IP address.
We need four subnets so we will use netmask 26. This will give us the networks below:
- 10.10.10.0 / 26 -> private subnet 1
- 10.10.10.64 / 26 -> private subnet 2
- 10.10.10.128 / 26 -> public subnet 1
- 10.10.10.192 / 26 -> public subnet 2
As a reminder, public and private subnets are not really different subnet types in AWS but with configuration we will provide access to one of them from internet and we will call it public subnet. Private subnet won’t have access from internet.
Also, it is good to remember that AWS will reserve first four IP address and the last IP address. Taking 10.10.10.0/26 as an example;
- 10.10.10.0: Network address.
- 10.10.10.1: Reserved by AWS for the VPC router.
- 10.10.10.2: Reserved by AWS for mapping to the Amazon-provided DNS.
- 10.10.10.3: Reserved by AWS for future use.
- 10.10.10.63: Network broadcast address. AWS does not support broadcast in a VPC, therefore we reserve this address.
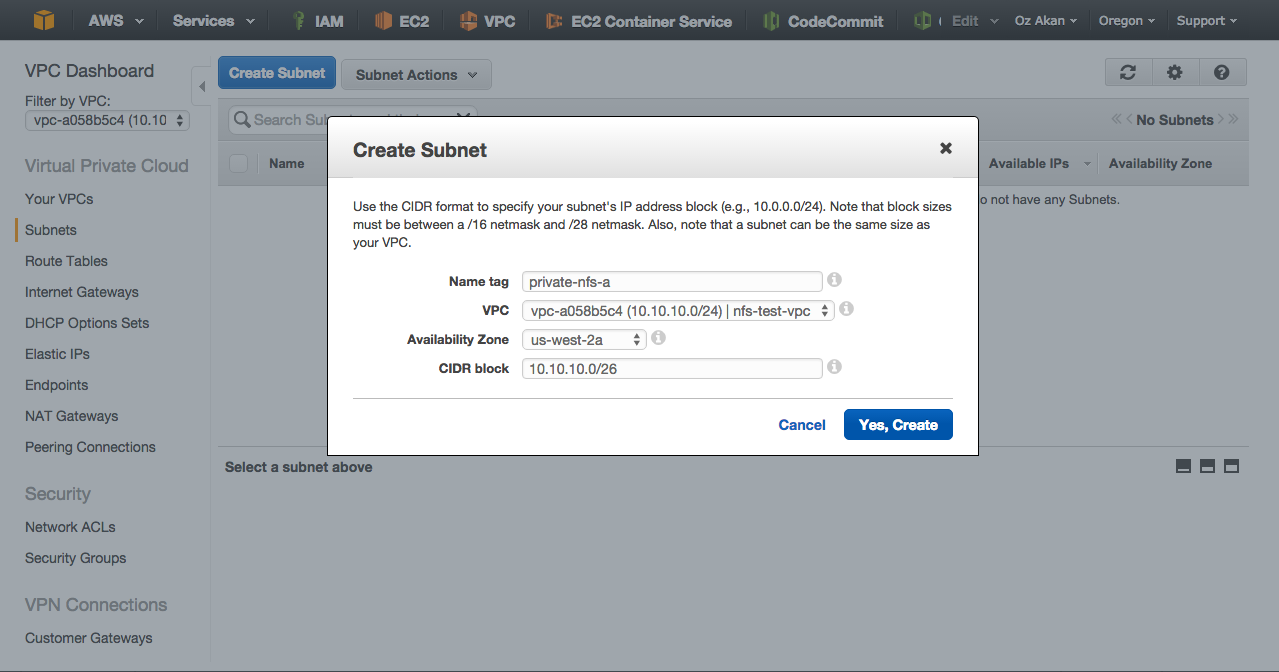
On Amazon VPC console, click Subnets / Create Subnet
Let’s create private subnet 1.
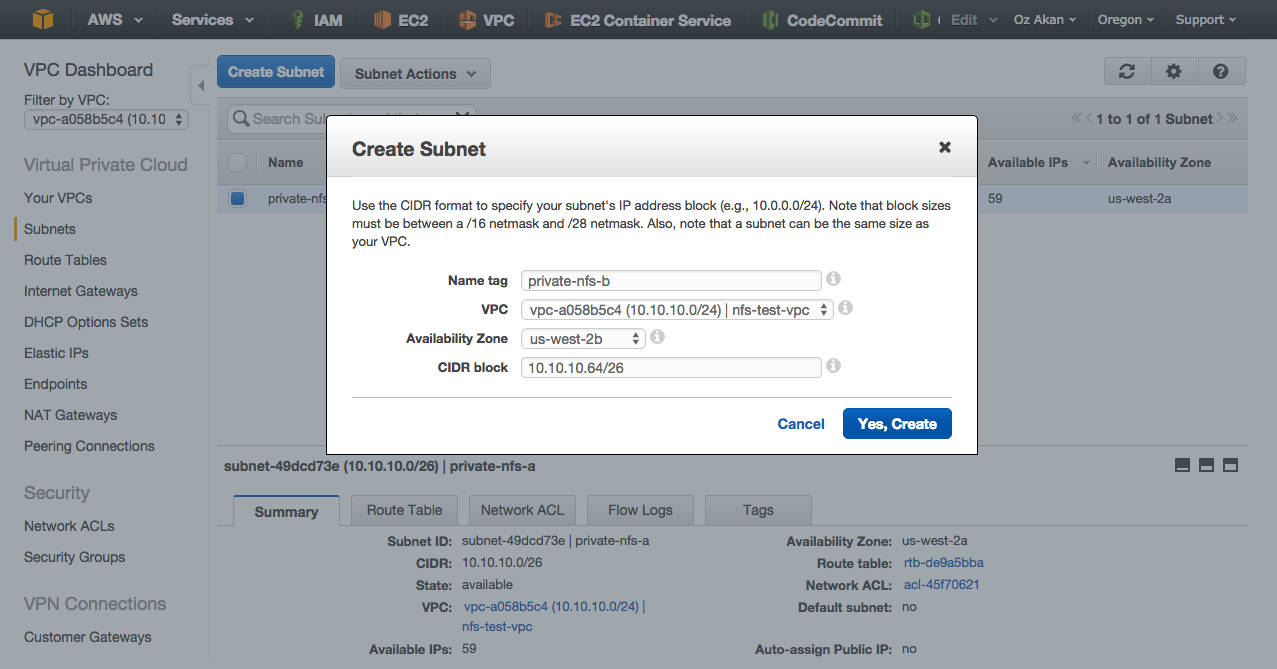
Let’s create private subnet 2.
Let’s create public subnet 1.

Let’s create public subnet 2.

Create EBS Volume
We will use an EBS volume to store the files which will be used by NFS service. If the instance that will run NFS service becomes unavailable for a reason, another instance will be created by auto scaling group and it will attach and mount this EBS volume.
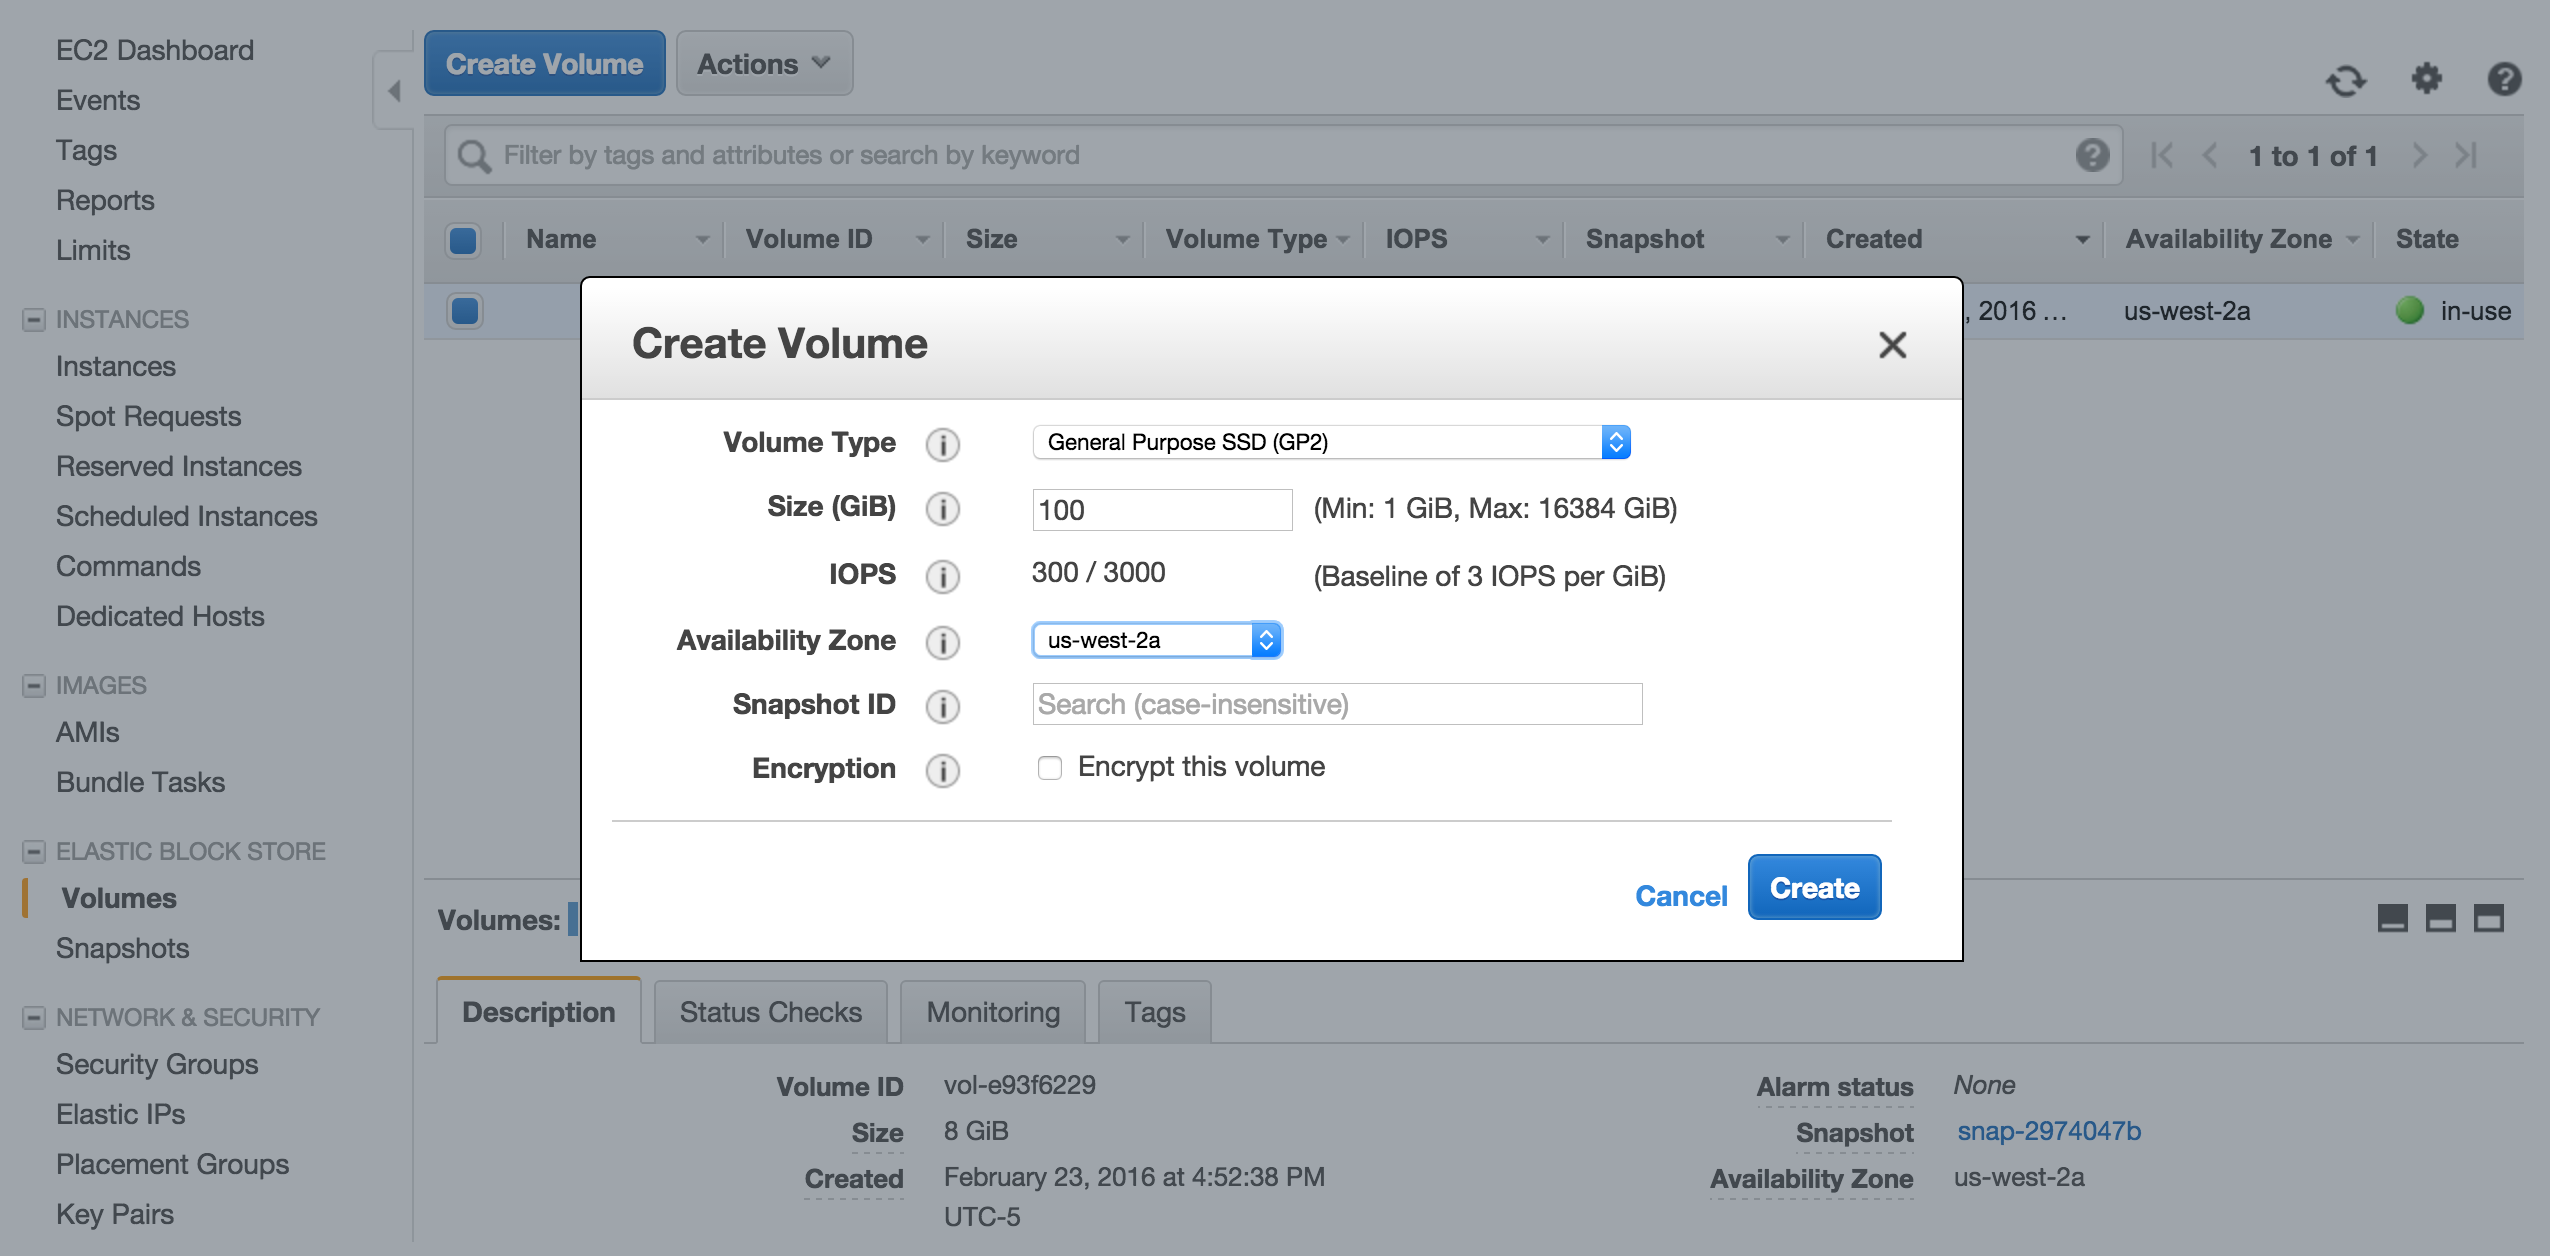
Go to Amazon EC2 Console and select Volumes on navigation pane and then click Create Volume. For the sake of this document I left default values there but you may choose different volume type or size depending on the need. Click Create.
While EBS volume is being created change the name of the volume to nfs-master-volume.
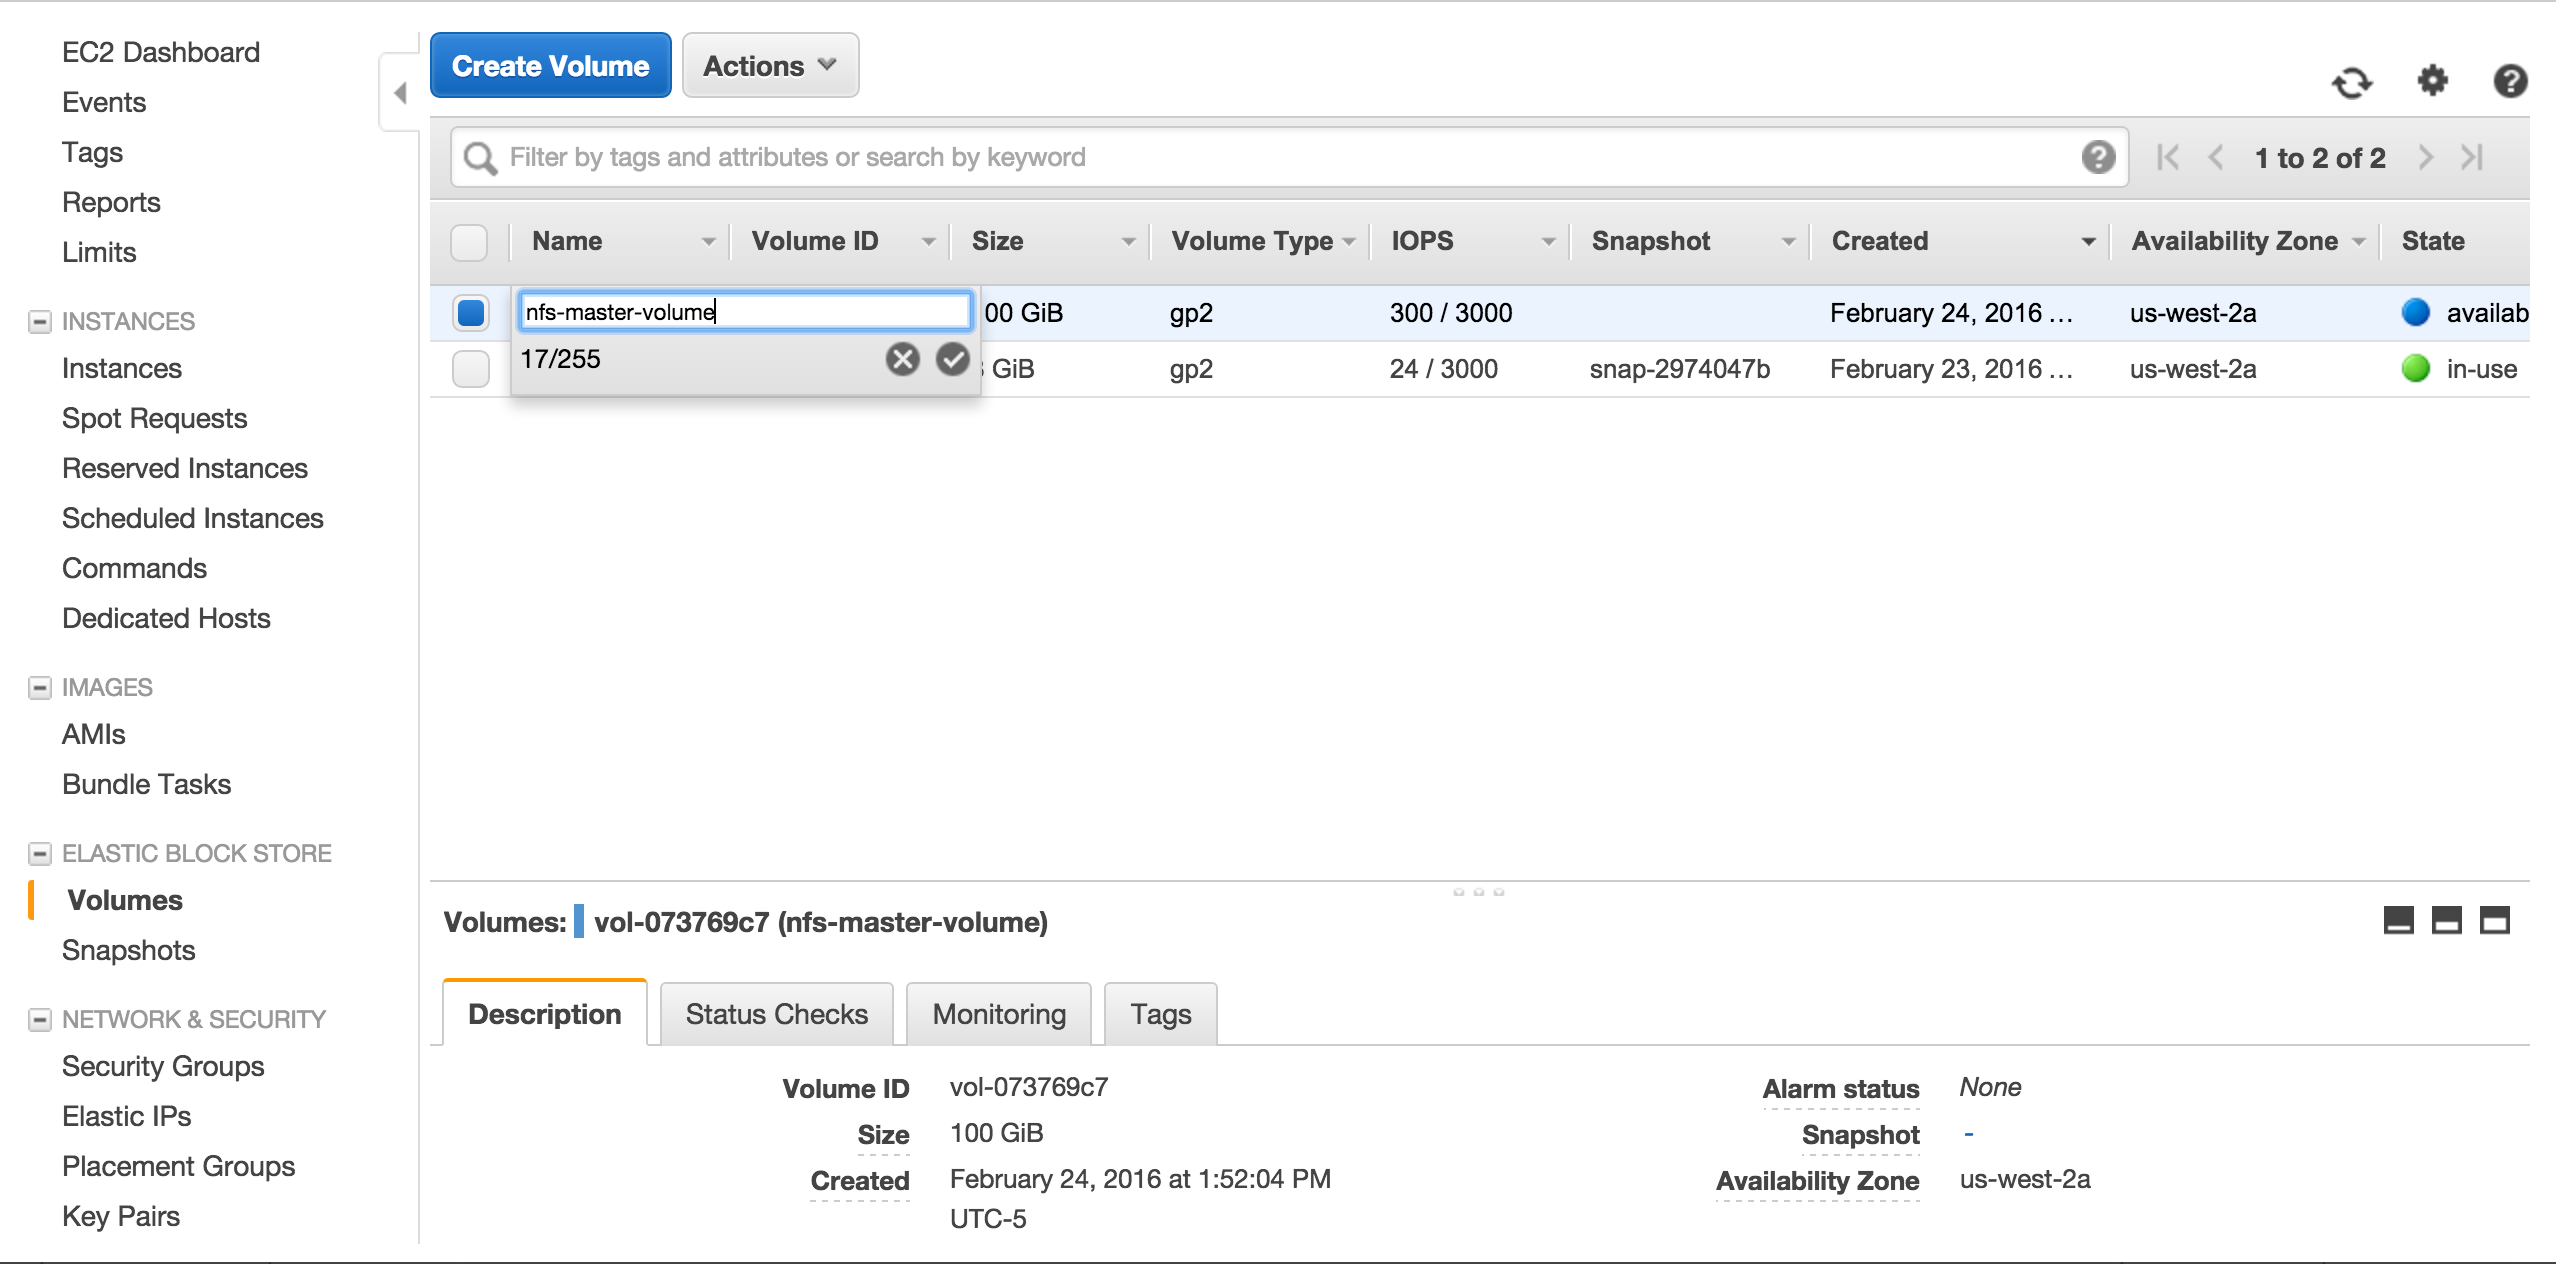
When you see available in the state for this volume, we can attach it to an instance but it won’t have a file system on it. So before we can use this volume on our NFS server, we have to attach it to a temporary instance, mount, format, unmount and detach.
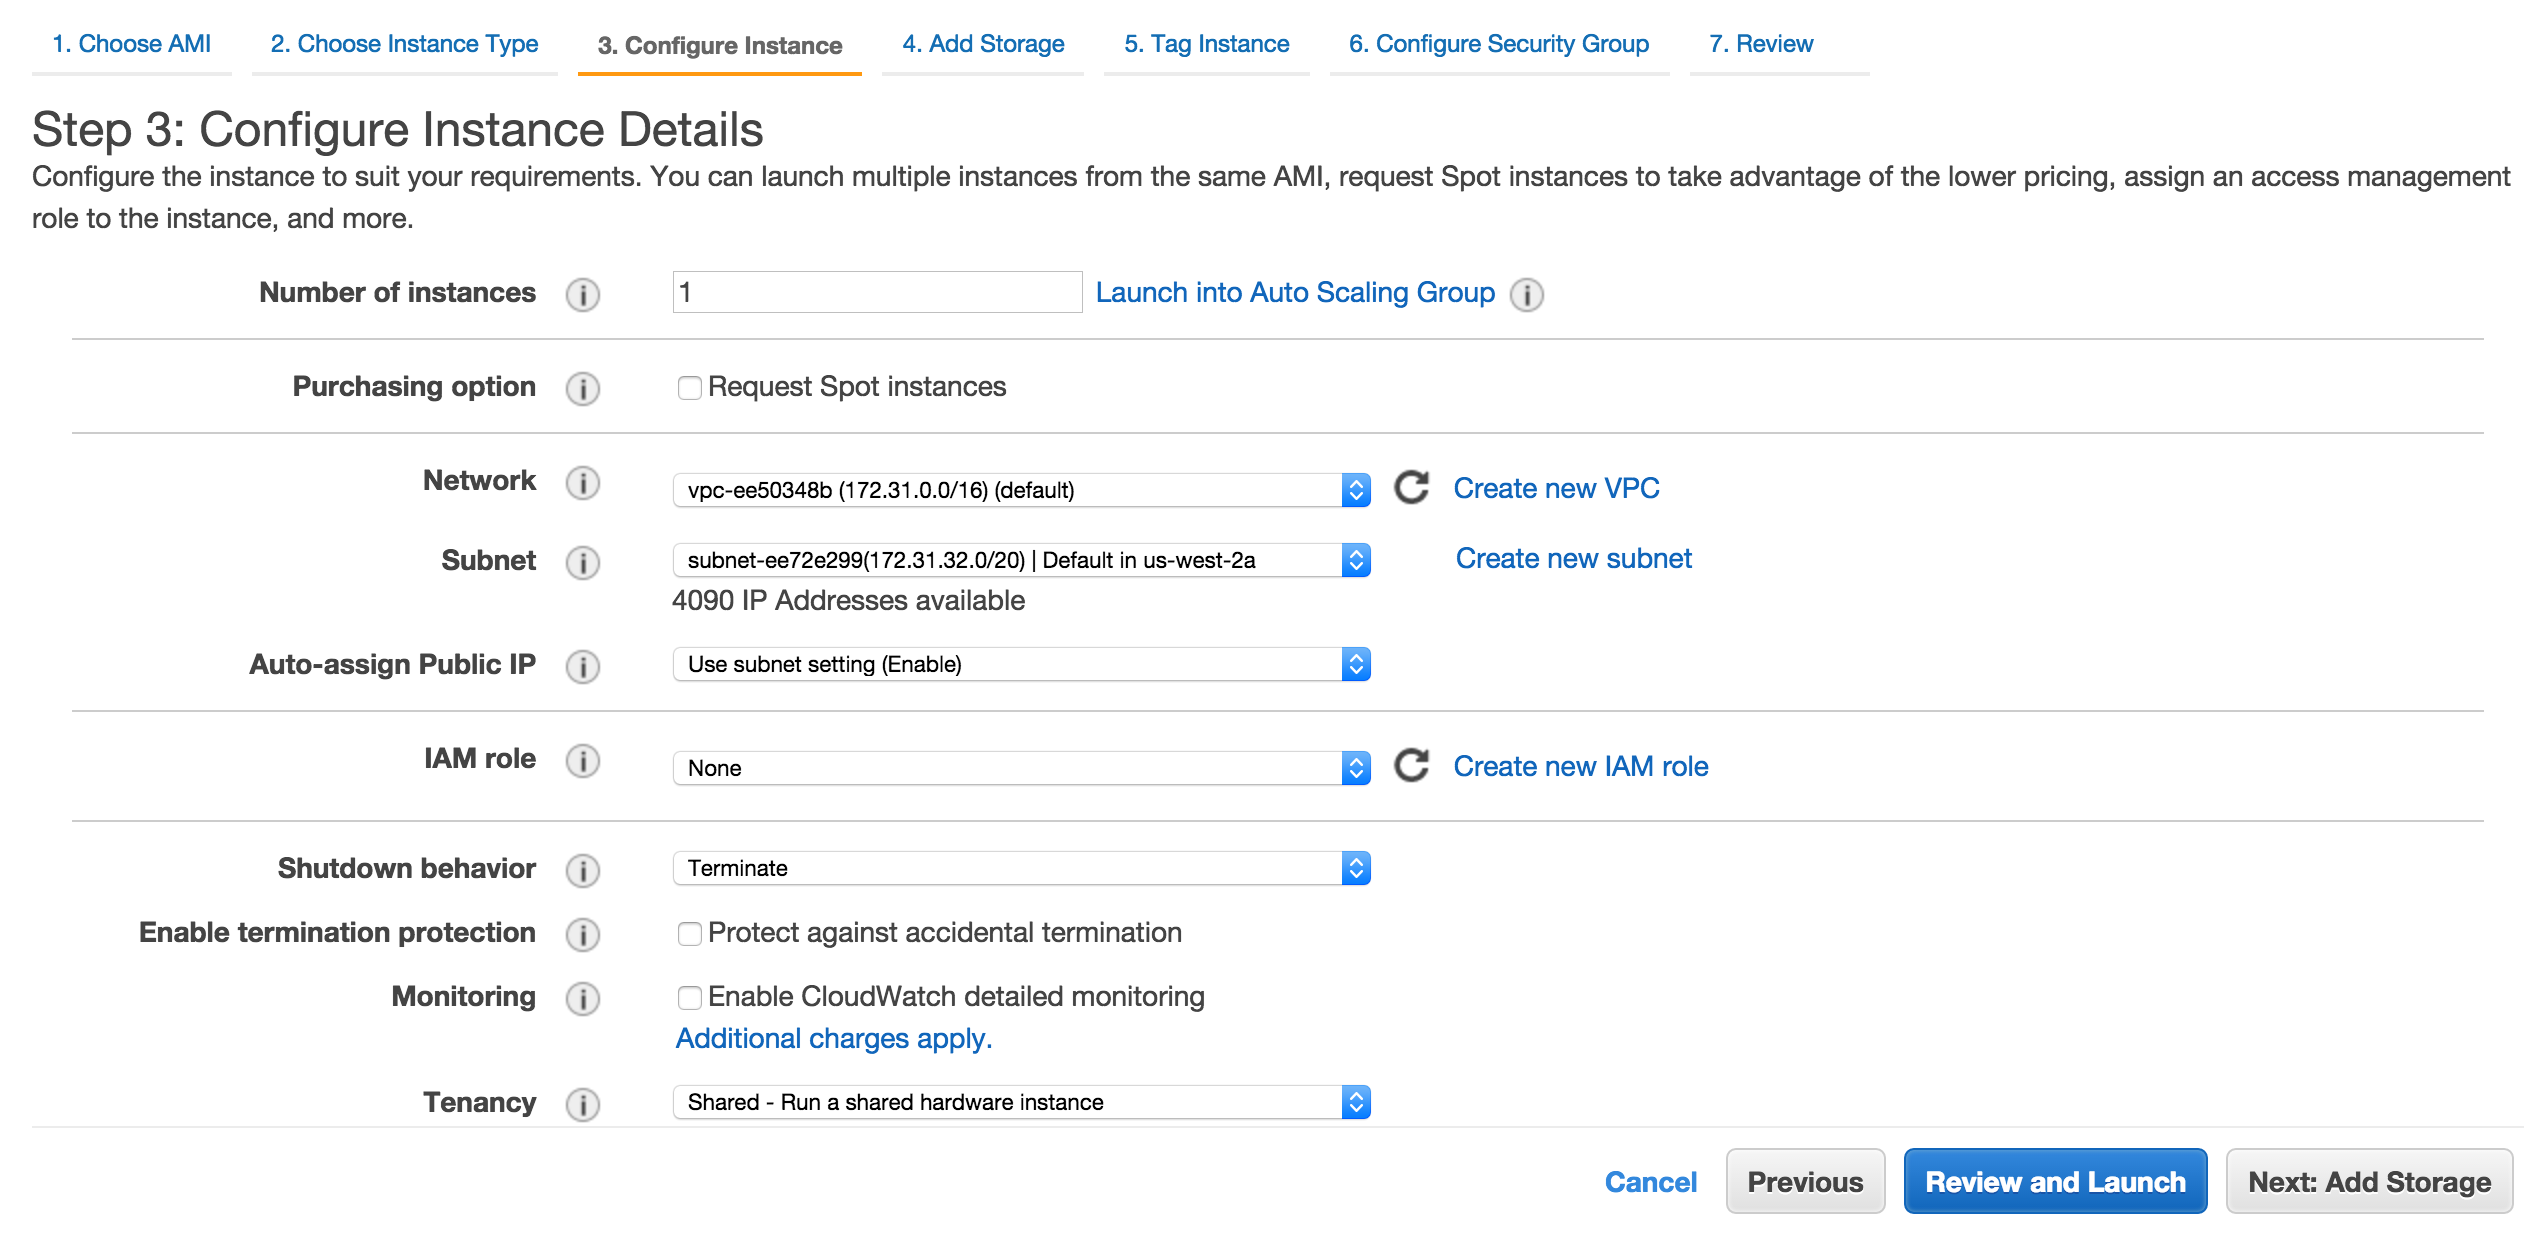
I won’t go over how to create an instance but just be sure to create the instance in the same zone you created the EBS volume.
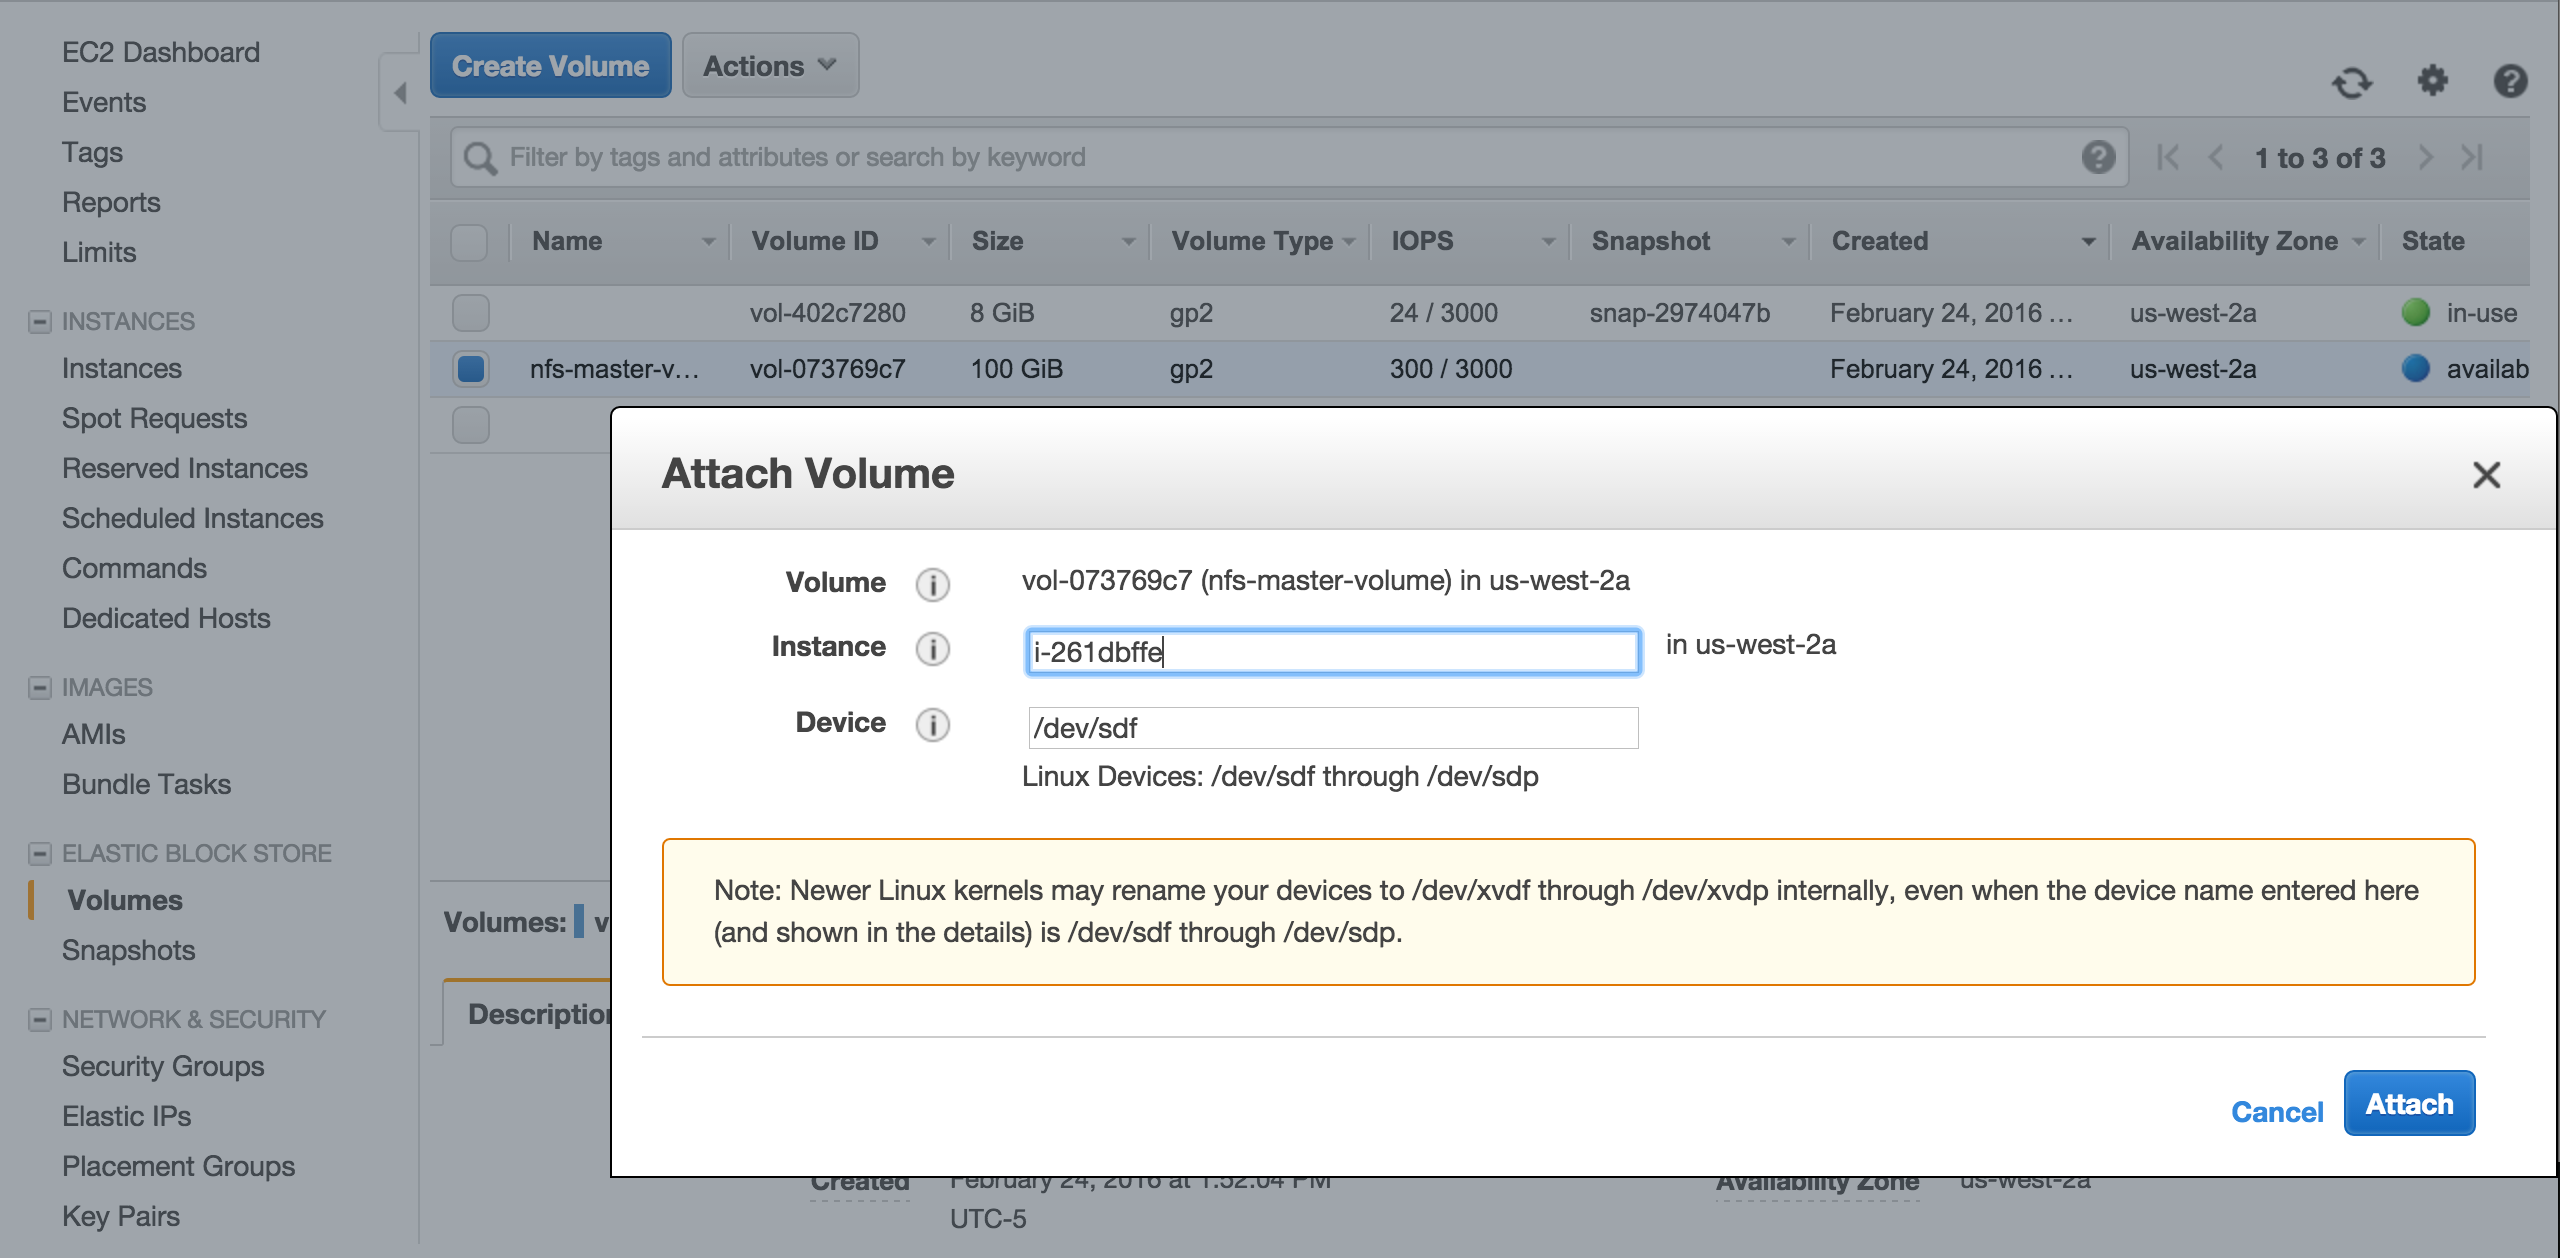
Once the instance is up, go back to Elastic Block Storage \ Volumes and attach nfs-master-volume to this temporary intance you just created.
Verify device is there
[ec2-user@ip-172-31-41-87 ~]$ ls -1 /dev/sdf
/dev/sdf
Format the device
[ec2-user@ip-172-31-41-87 ~]$ sudo mkfs.ext4 /dev/sdf
mke2fs 1.42.12 (29-Aug-2014)
Creating filesystem with 26214400 4k blocks and 6553600 inodes
Filesystem UUID: b4983031-4fbd-423e-9c3b-0089ceeed476
Superblock backups stored on blocks:
    32768, 98304, 163840, 229376, 294912, 819200, 884736, 1605632, 2654208,
    4096000, 7962624, 11239424, 20480000, 23887872

Allocating group tables: done
Writing inode tables: done
Creating journal (32768 blocks): done
Writing superblocks and filesystem accounting information: done
Create a folder and mount /dev/sdf
[ec2-user@ip-172-31-41-87 ~]$ sudo mkdir /mnt/nfs-master
[ec2-user@ip-172-31-41-87 ~]$ sudo mount /dev/sdf /mnt/nfs-master/
Check disk space
[ec2-user@ip-172-31-41-87 ~]$ df -h /mnt/nfs-master/
Filesystem      Size  Used Avail Use% Mounted on
/dev/xvdf        99G   60M   94G   1% /mnt/nfs-master
Create a signature file .NFSMASTER
[root@ip-172-31-41-87 mnt]# sudo touch /mnt/nfs-master/.NFSMASTER
[root@ip-172-31-41-87 mnt]# ls -la /mnt/nfs-master/
total 24
drwxr-xr-x 3 root root  4096 Feb 24 19:17 .
drwxr-xr-x 3 root root  4096 Feb 24 19:12 ..
drwx------ 2 root root 16384 Feb 24 19:13 lost+found
-rw-r--r-- 1 root root     0 Feb 24 19:17 .NFSMASTER
Unmount the volume
[ec2-user@ip-172-31-41-87 ~]$ sudo umount /mnt/nfs-master/
Finally detach the volume using Amazon EC2 Console.
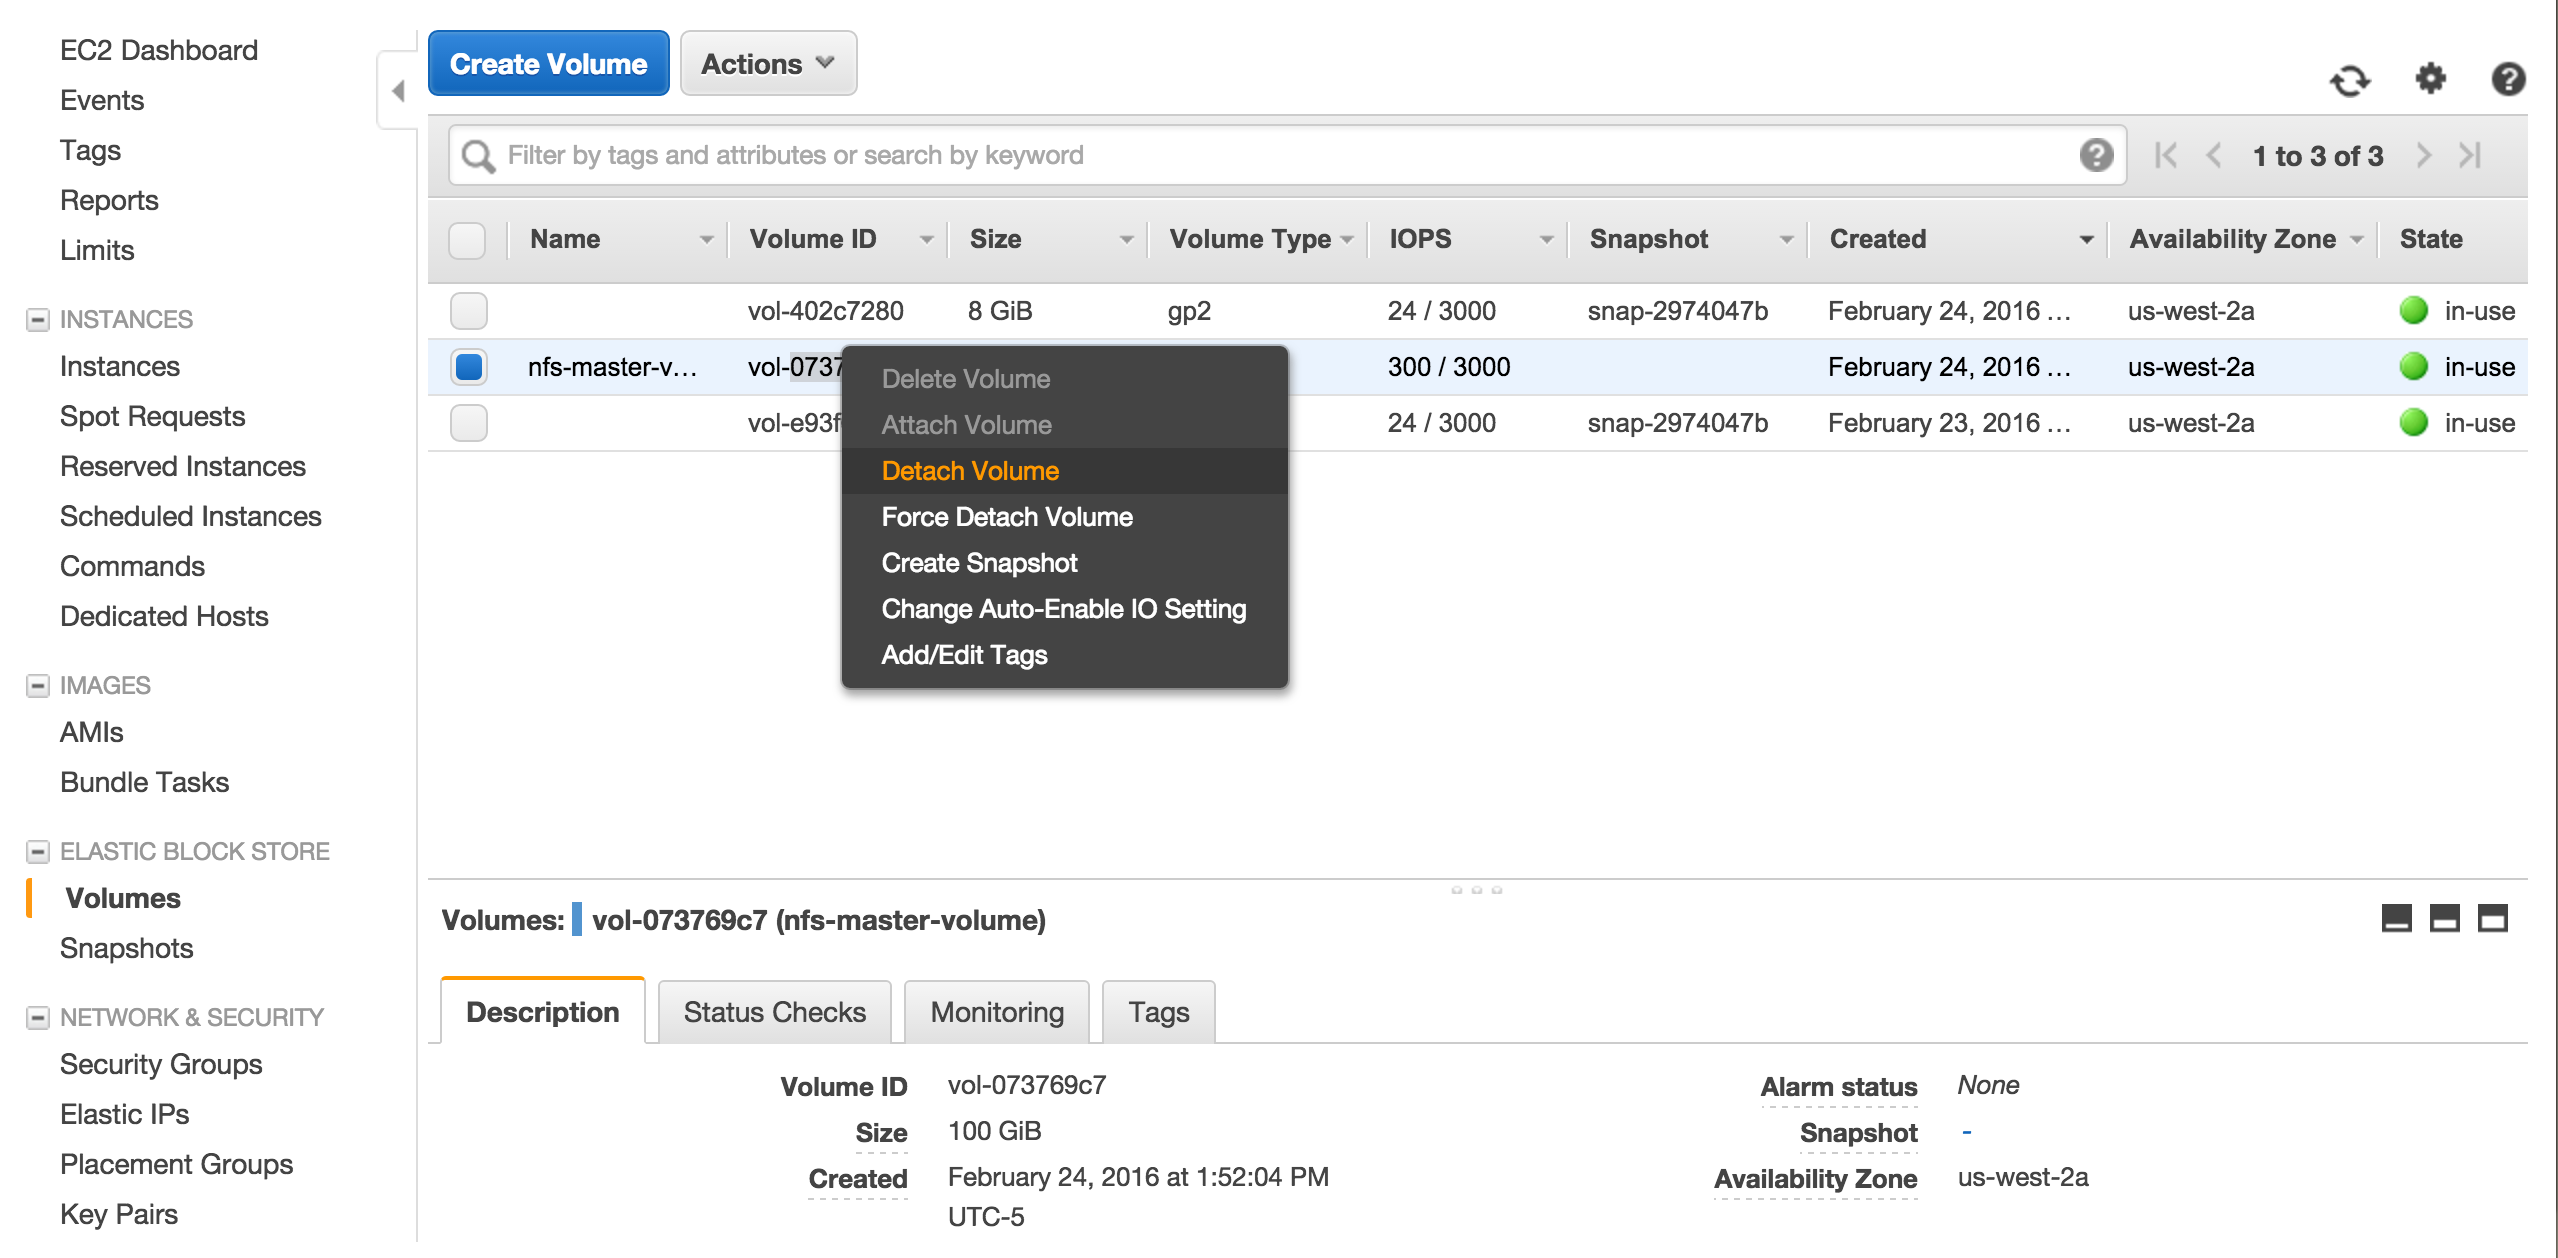
Our volume is ready to be mounted automatically.
Create User Script
Below you can find the script which will attach and mount the EBS volume.
#!/bin/bash

REGION=us-west-2
NFSVOLUME=vol-073769c7
DEVICE=/dev/sdf
DIRECTORY=/mnt/nfs
INSTANCEID=$(curl -s "http://169.254.169.254/latest/meta-data/instance-id")

# wait until volume is available
n=0
until [ $n -ge 5 ]
do
   aws ec2 describe-volumes --volume-ids $NFSVOLUME  --region $REGION|grep -q available && break
   echo "waiting $NFSVOLUME to be available"
   ((n += 1))
   sleep 2
done

# if the volume is available
if aws ec2 describe-volumes --volume-ids $NFSVOLUME  --region us-west-2|grep -qi available; then
  # attach the volume
  aws ec2 attach-volume --volume-id $NFSVOLUME --device $DEVICE --instance-id "$INSTANCEID" --region $REGION

  # wait until volume is attached
  n=0
  until [ $n -ge 5 ]
  do
     aws ec2 describe-volumes --volume-ids $NFSVOLUME  --region $REGION|grep -q attached && break
     echo "waiting $NFSVOLUME to be attached"
     ((n += 1))
     sleep 2
  done

  # if the volume is attached
  if aws ec2 describe-volumes --volume-ids $NFSVOLUME  --region $REGION|grep -q attached; then

      # create directory it not created before, then mount
      if [ ! -d "$DIRECTORY" ]; then
        sudo mkdir $DIRECTORY
      fi
      sudo mount $DEVICE $DIRECTORY
      # check if .NFSMASTER file is present
      if [ -f "$DIRECTORY/.NFSMASTER" ]; then
        echo "$DEVICE is attached and mounted at $DIRECTORY"
        df -h $DIRECTORY
      else
        echo "A problem occurred, $DEVICE is not attached and/or couldn't be mounted  "
      fi

    else
        echo "A problem occurred, $NFSVOLUME is not attached"
    fi


else
    echo "A problem occurred, $NFSVOLUME is not available"
fi

# start NFS service
echo "/mnt/nfs *(rw,sync)" > /etc/exports
service nfs restart


# Route53 update
LOCALIP=$(curl -s "http://169.254.169.254/latest/meta-data/local-ipv4")
DOMAIN=nfs.helloawsworld.com
HOSTEDZONEID=Z1G9ZB2OW5990Z


cat > /tmp/route53-record.txt <<- EOF
{
  "Comment": "A new record set for the zone.",
  "Changes": [
    {
      "Action": "UPSERT",
      "ResourceRecordSet": {
        "Name": "$DOMAIN",
        "Type": "A",
        "TTL": 60,
        "ResourceRecords": [
          {
            "Value": "$LOCALIP"
          }
        ]
      }
    }
  ]
}
EOF

aws route53 change-resource-record-sets --hosted-zone-id $HOSTEDZONEID \
  --change-batch file:///tmp/route53-record.txt
Create an IAM Role
We want NFS server to be able to attach an EBS volume which requires instance to have a role with the access right to the API. So we will create a role and attach a policy to this role.
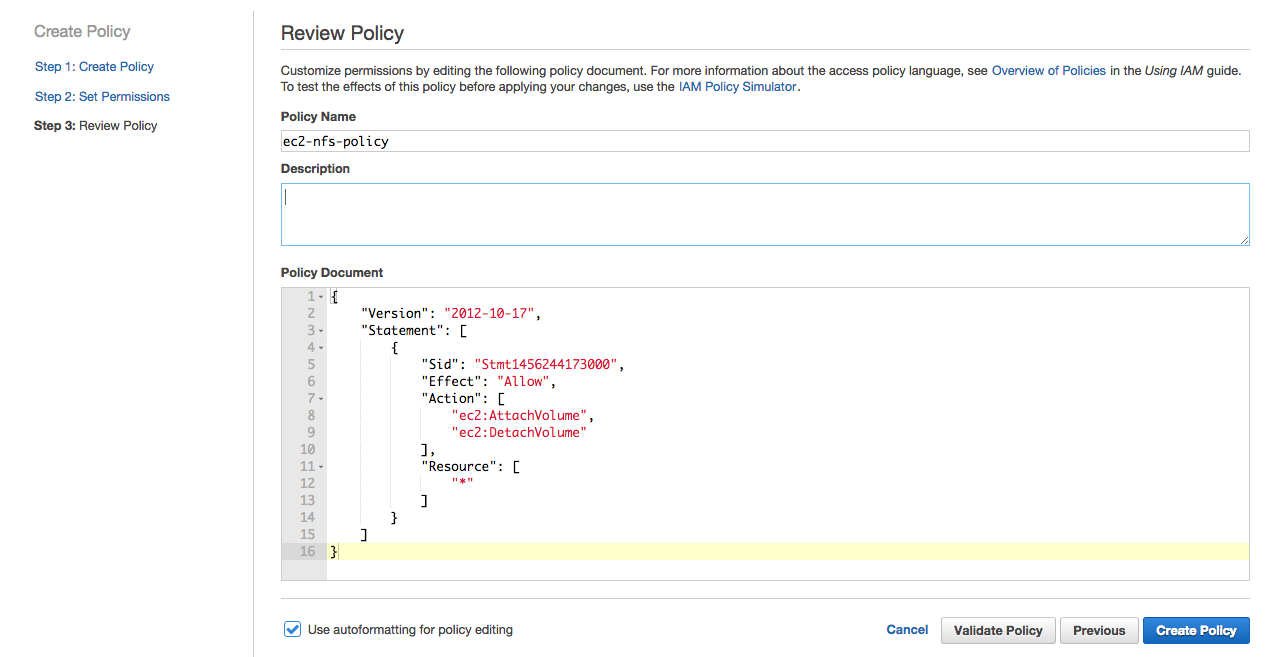
Create Policy
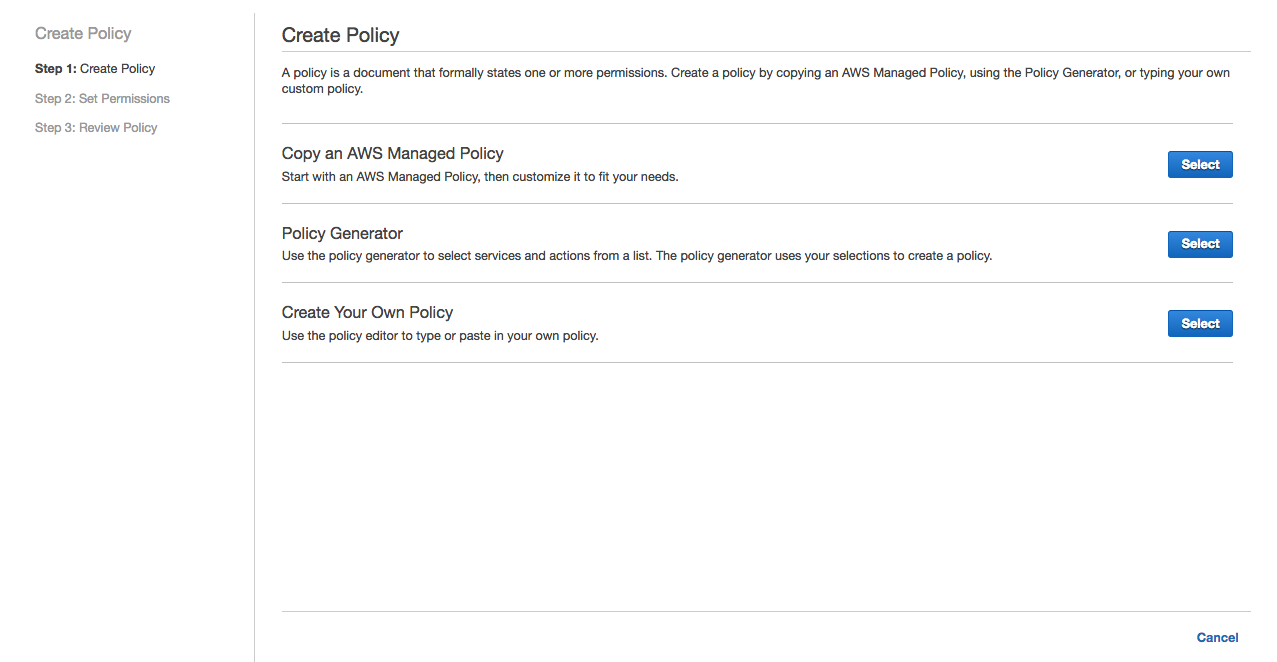
Open Amazon IAM Console. Click Policies / Create Policy.
Select Policy Generator
Select Amazon EC2 in AWS Services and select Attach Volume and Detach Volume actions.
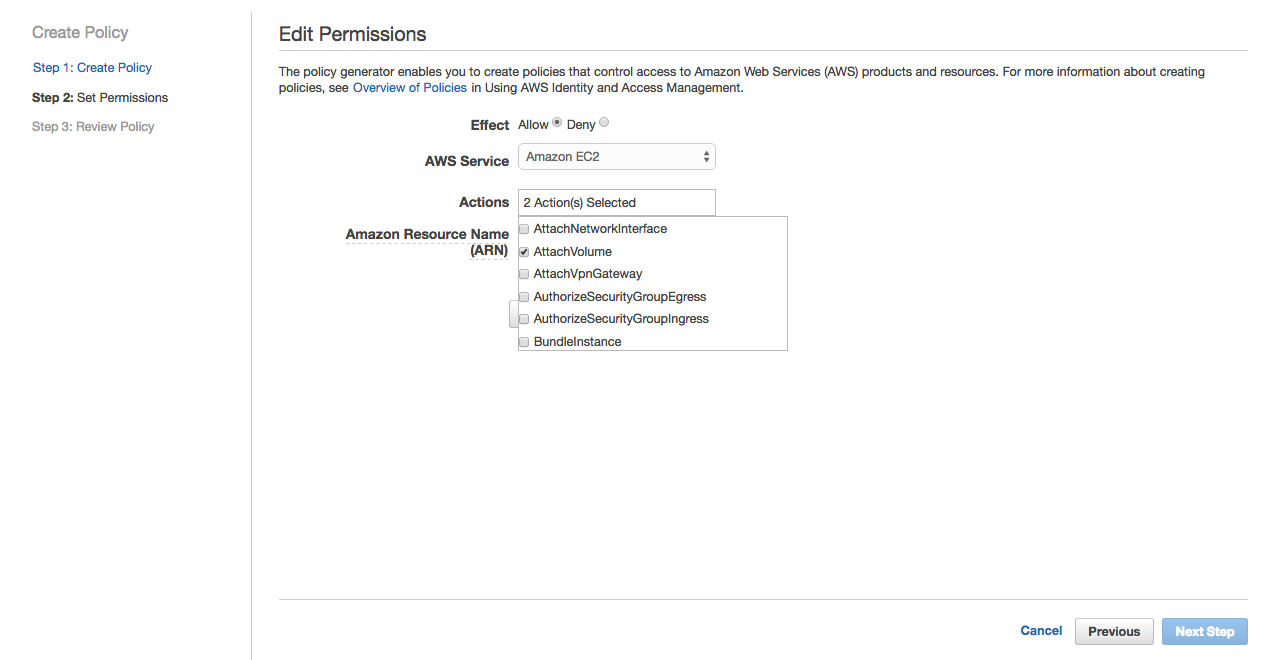
Provide * for ARN and click Add Statement. Click Next Step.
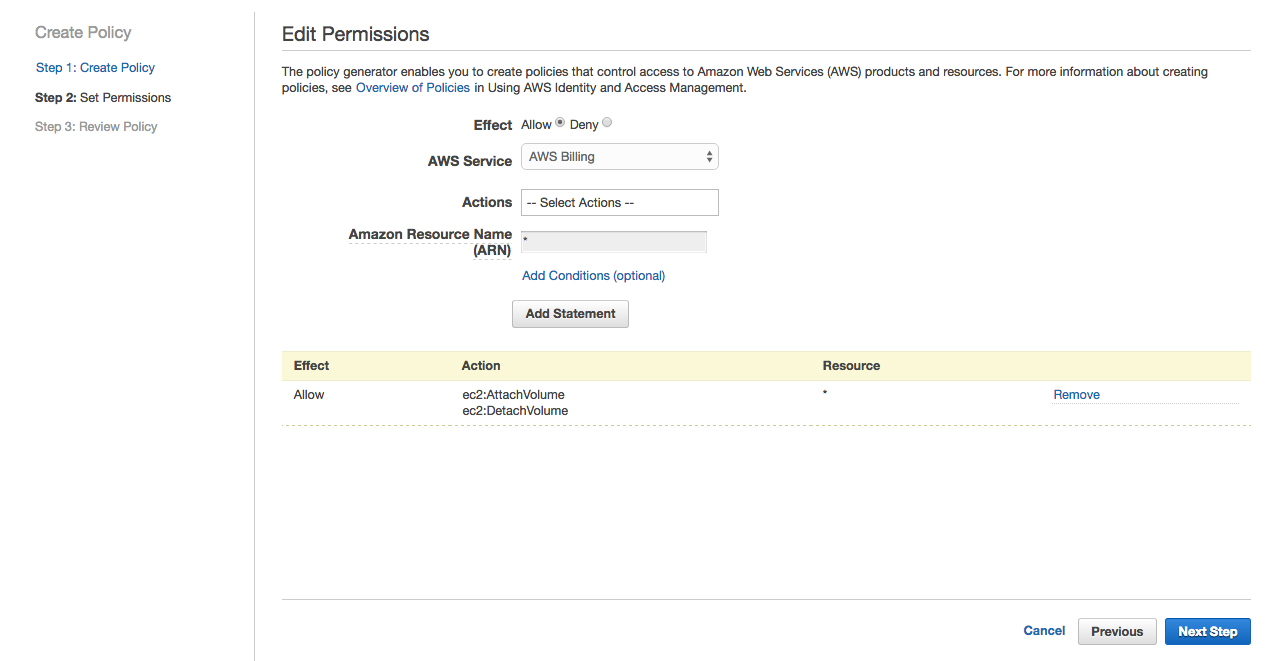
Change the name of the policy to ec2-nfs-policy and click Create Policy.
Create Role using the Policy
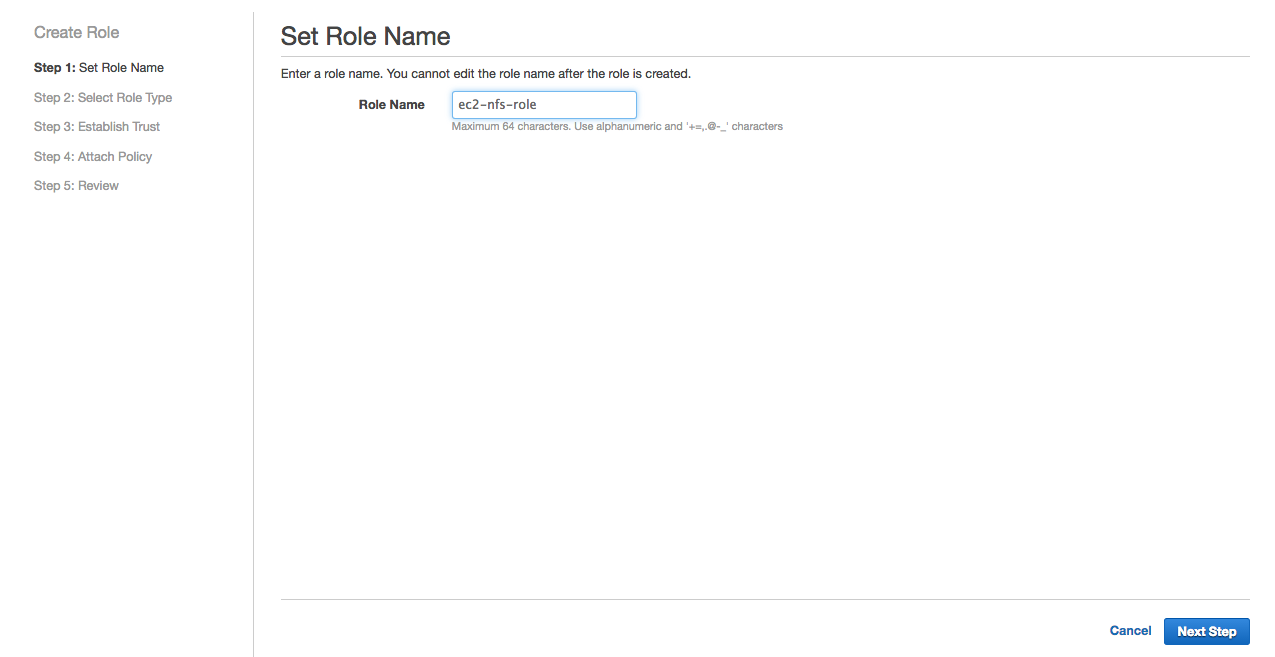
Open Amazon IAM Console. Click Roles / Create New Role.
Name the role ec2-nfs-roleand click Next Step.
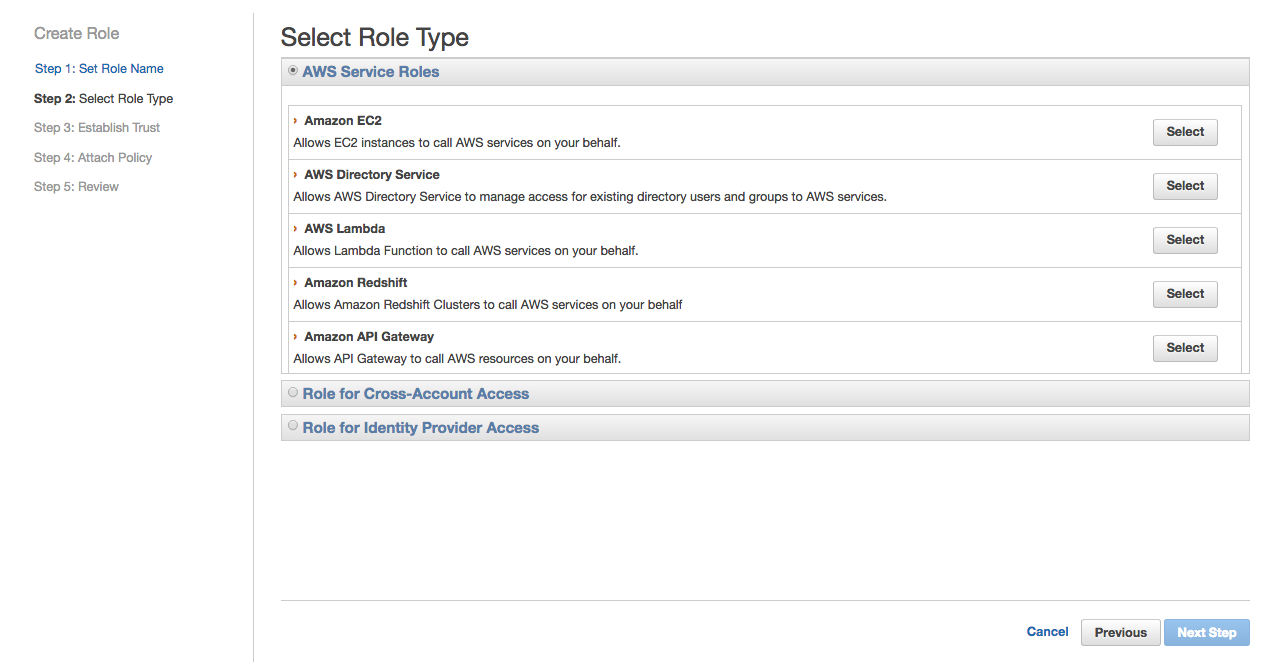
Select Amazon EC2 as role type and click Select.
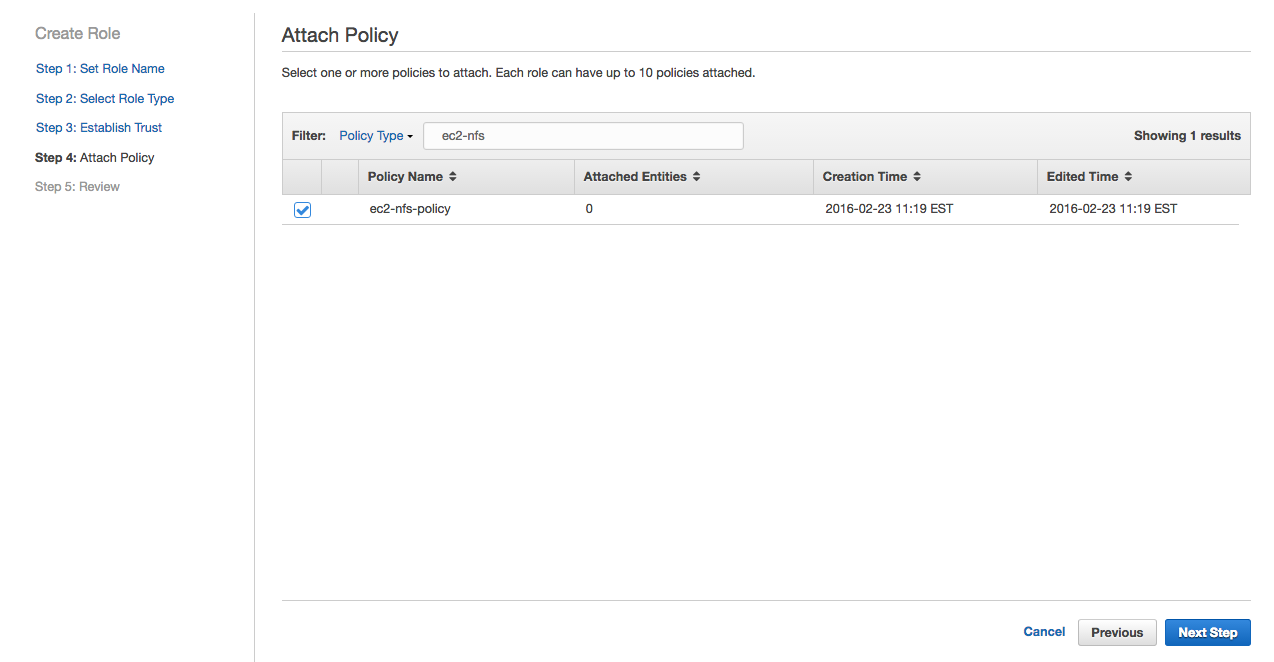
Select ec2-nfs-policy we created in the previous step and click Next Step.
Review and click Create Role.

Finally we have the role that we will use with the launch configuration.
Configure AutoScaling
Autoscaling has a few components. Now we will create these in order.
Create Launch Configuration
Open Amazon EC2 Console.
On the navigation pane, under Auto Scaling, click on Launch configuration.
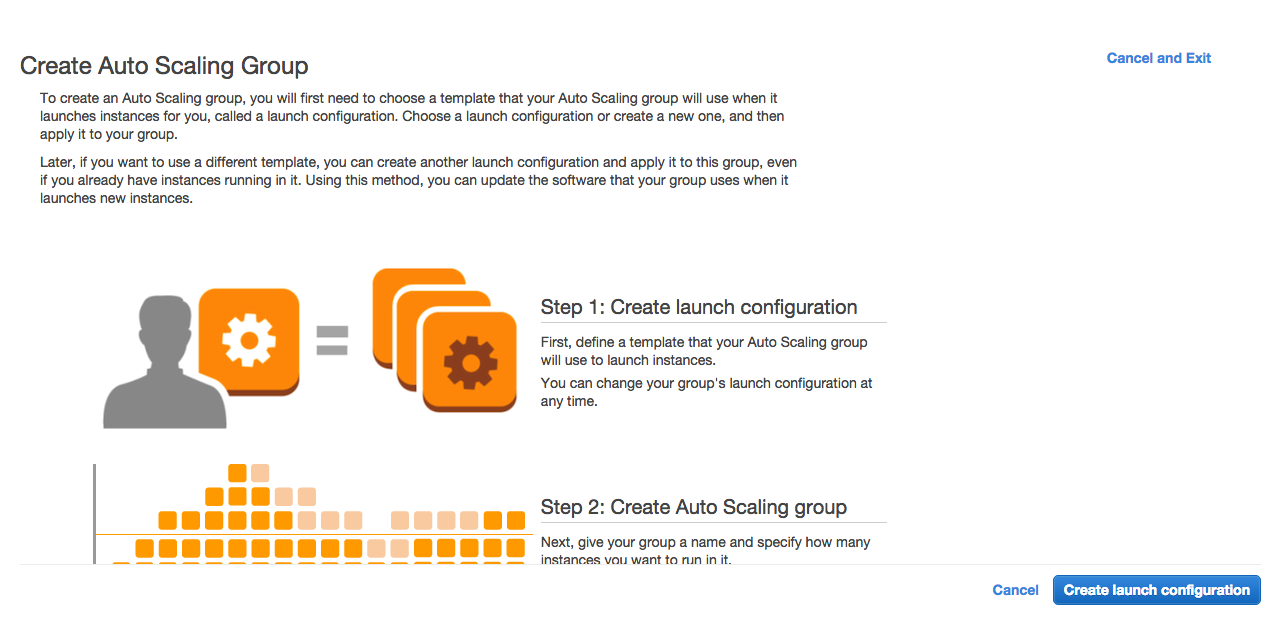
On the next page click Create Auto Scaling group
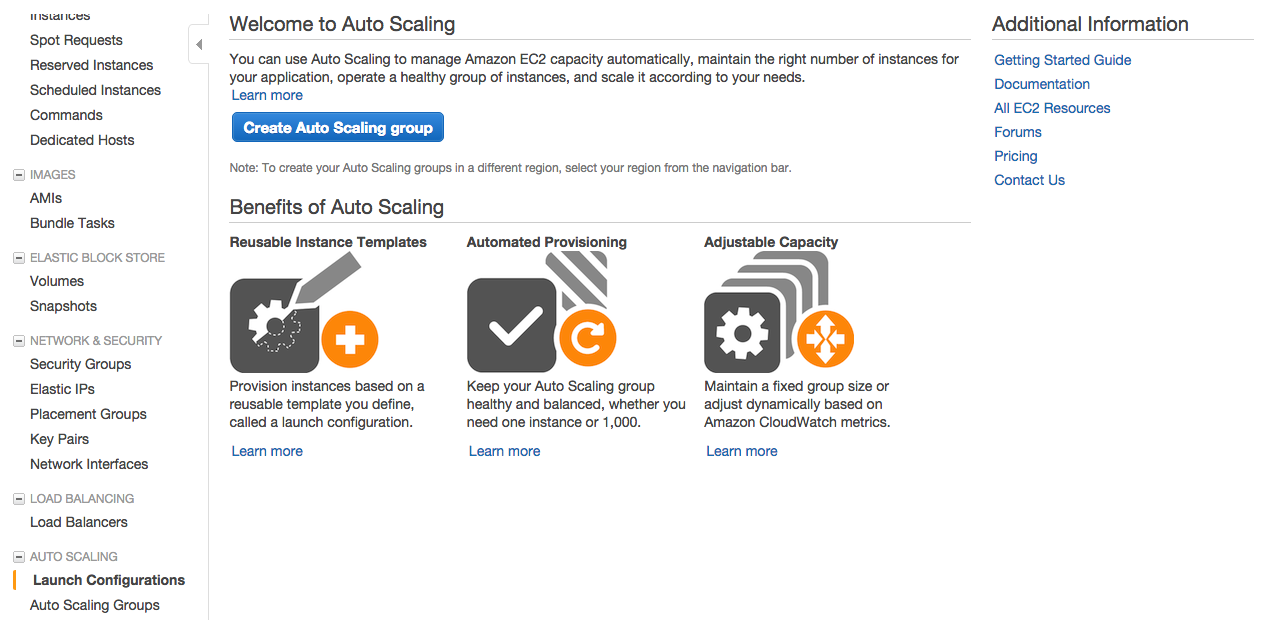
Click Create Lunch Configuration
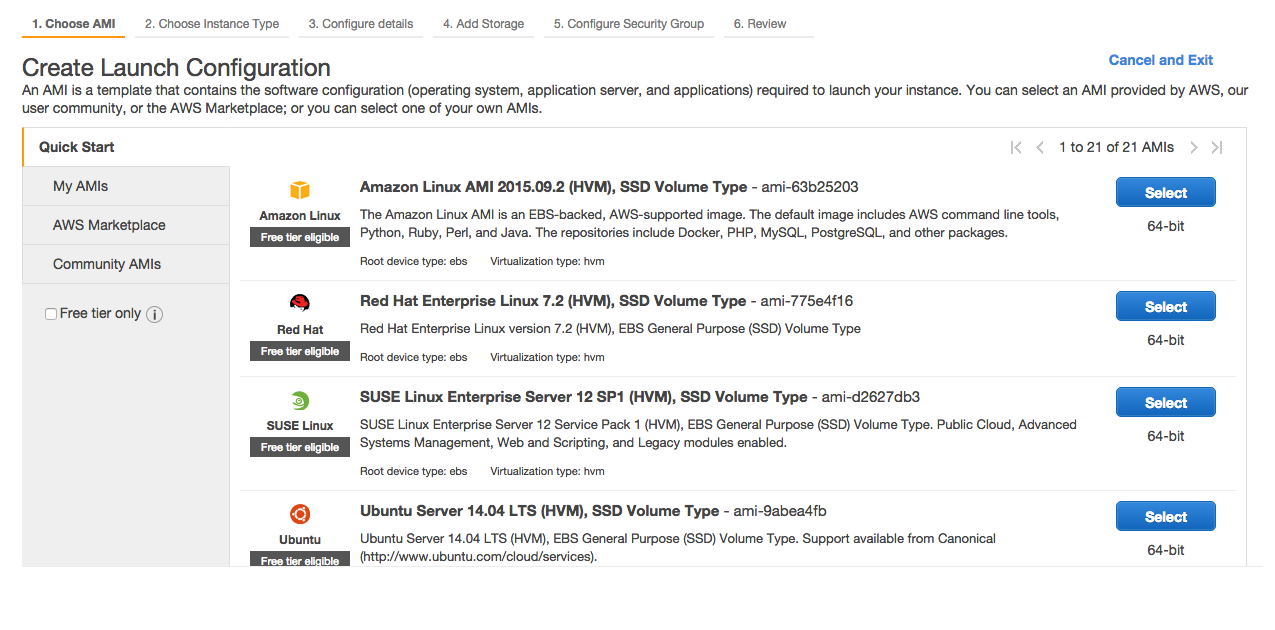
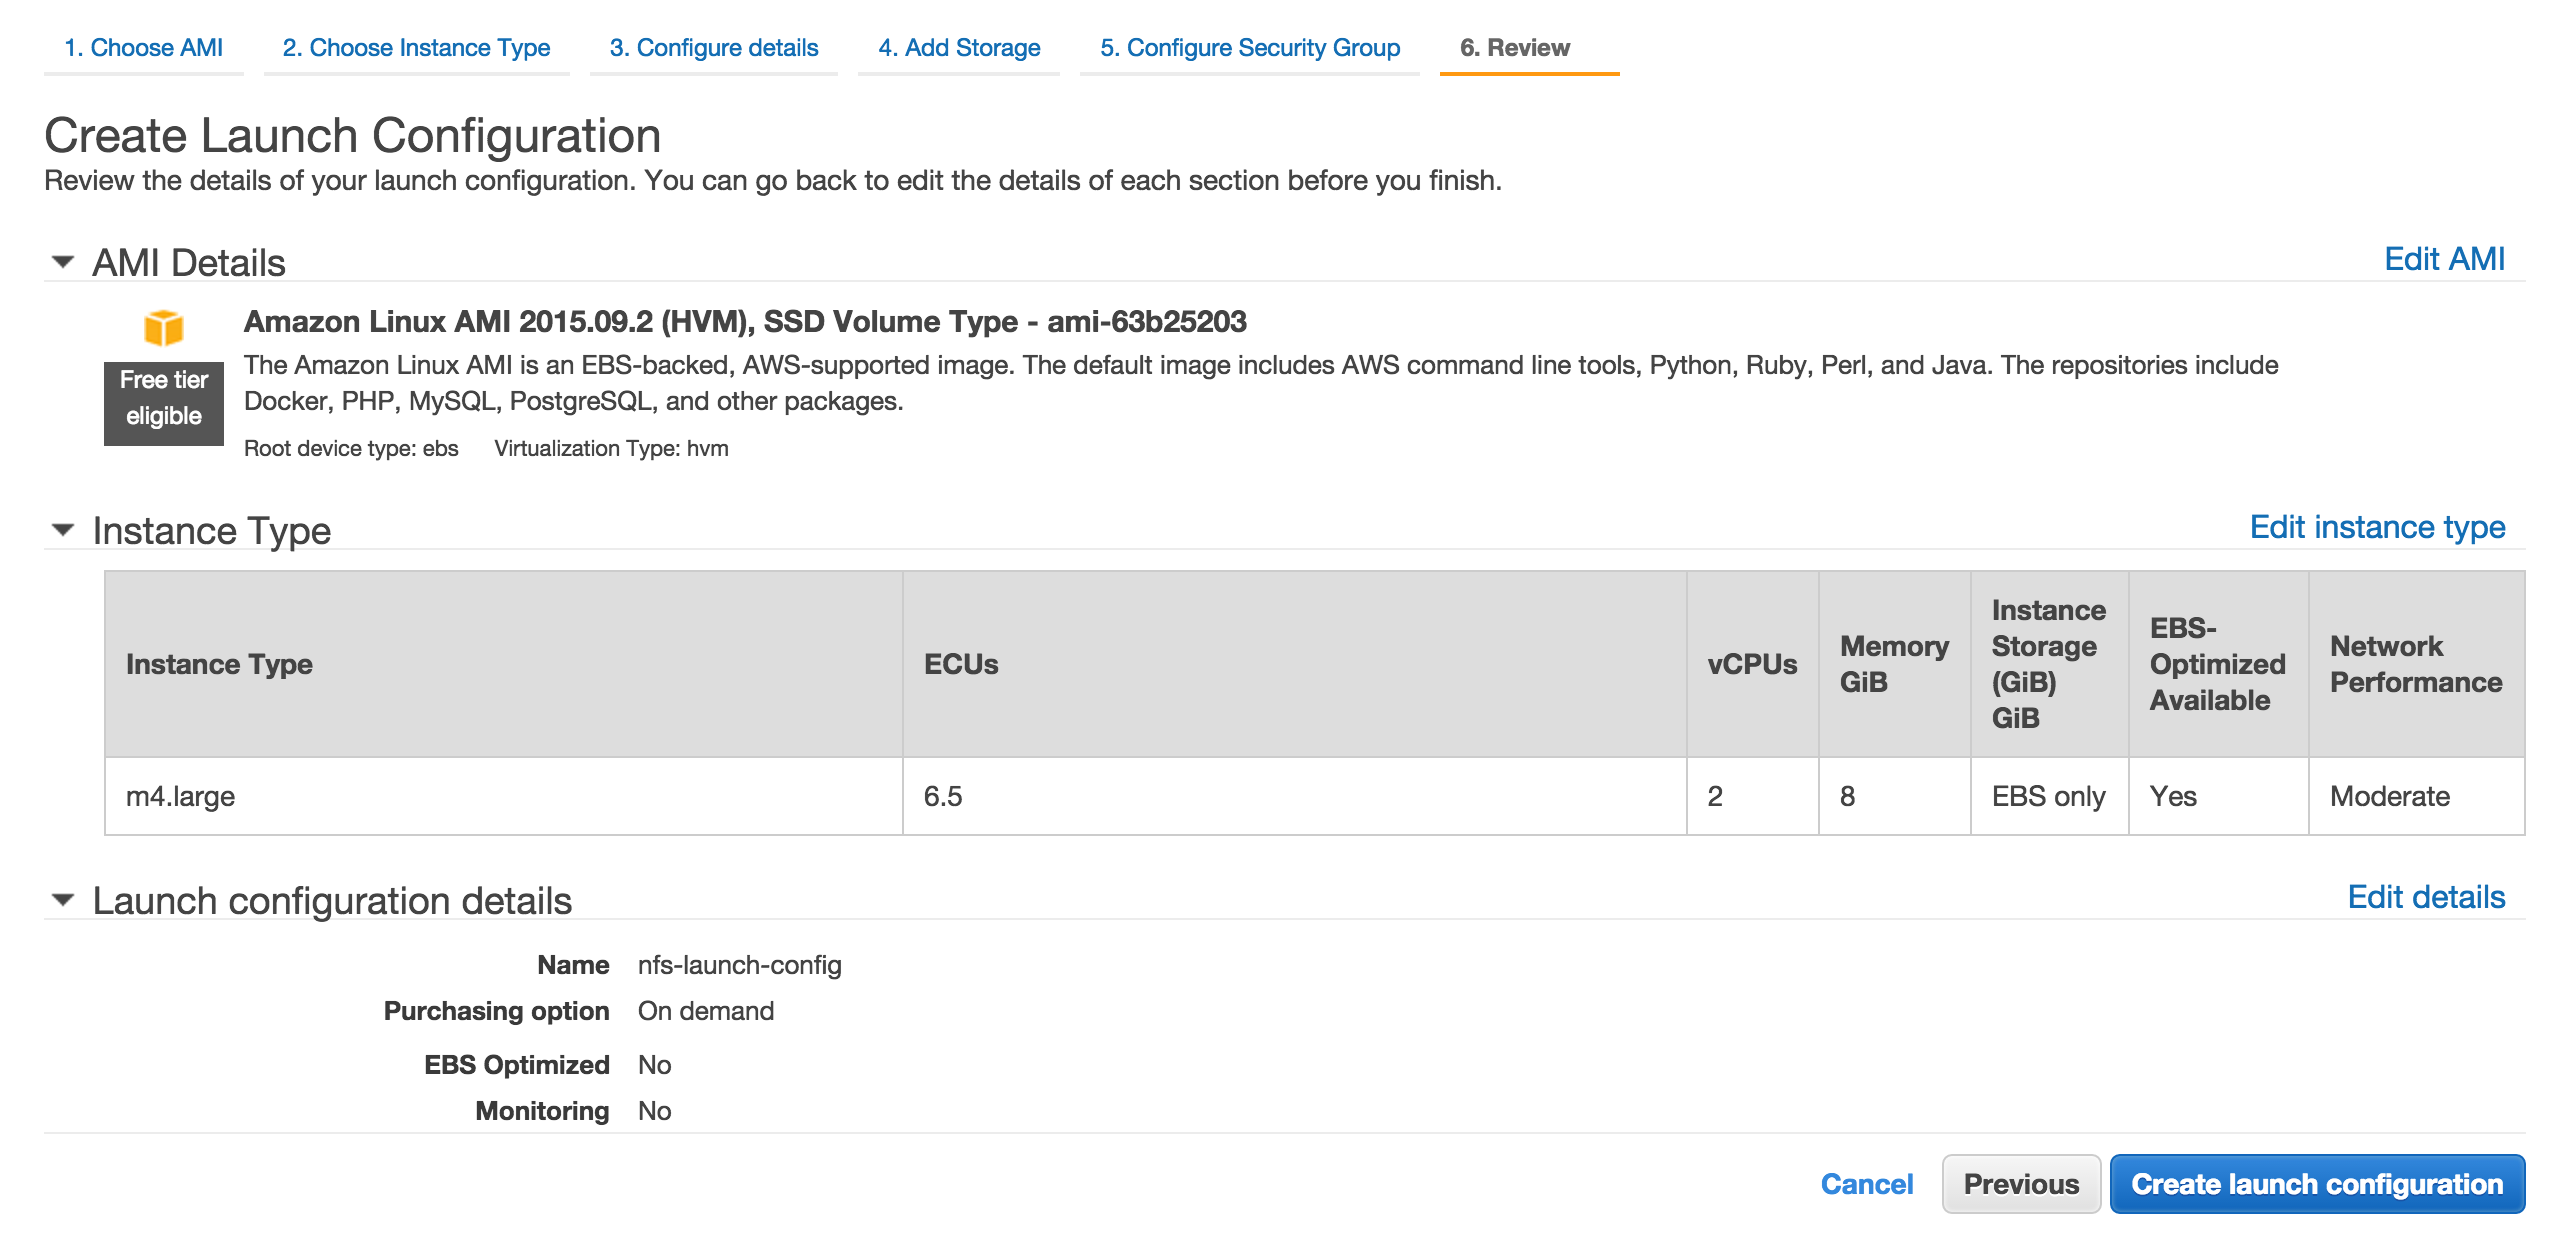
Click Select next to 64-bit Amazon Linux AMI listed at the top.
Select an instance type. Here I choose m4.large which has Moderate network performance. Click Next:Configure details.
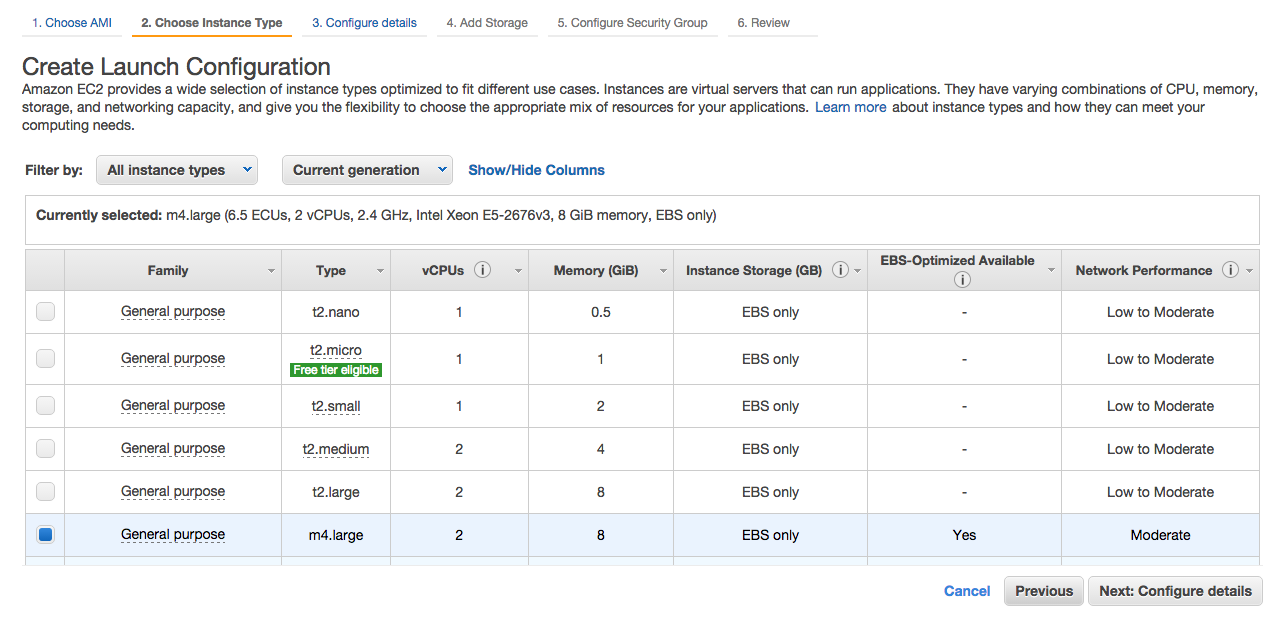
Enter nfs-launch-config into Name box, choose ec2-nfs-role as IAM Role and click Next: Add Storage
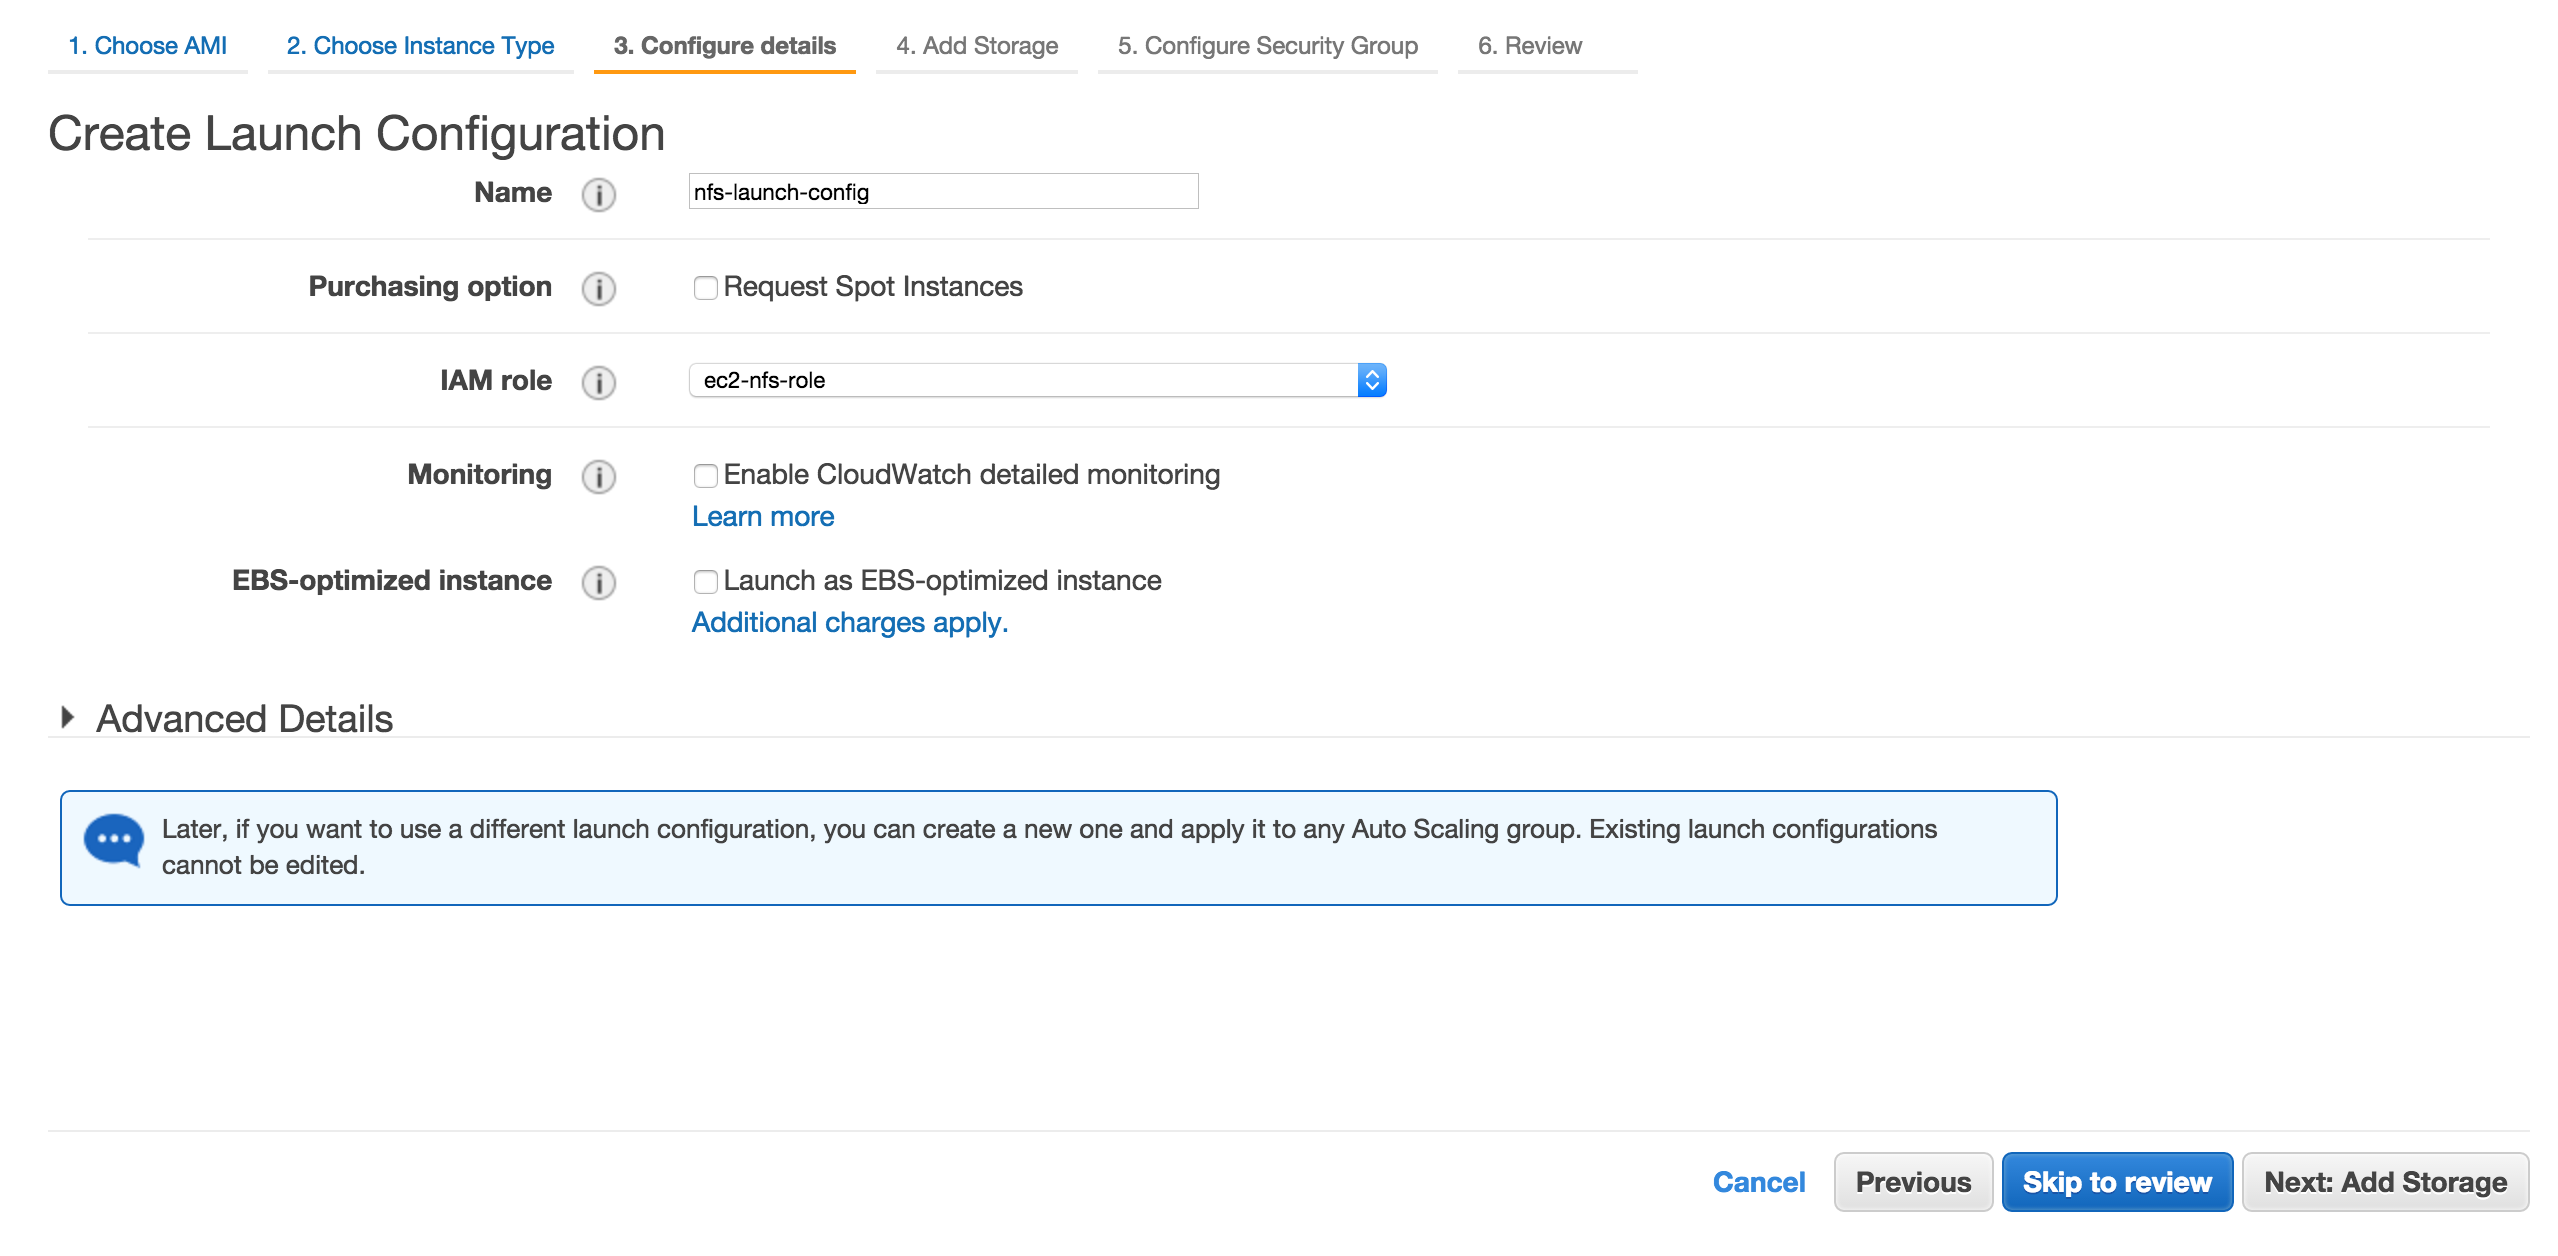
Leave storage section as it is for now. Later we will attach an EBS volume. Click Create launch configuration.
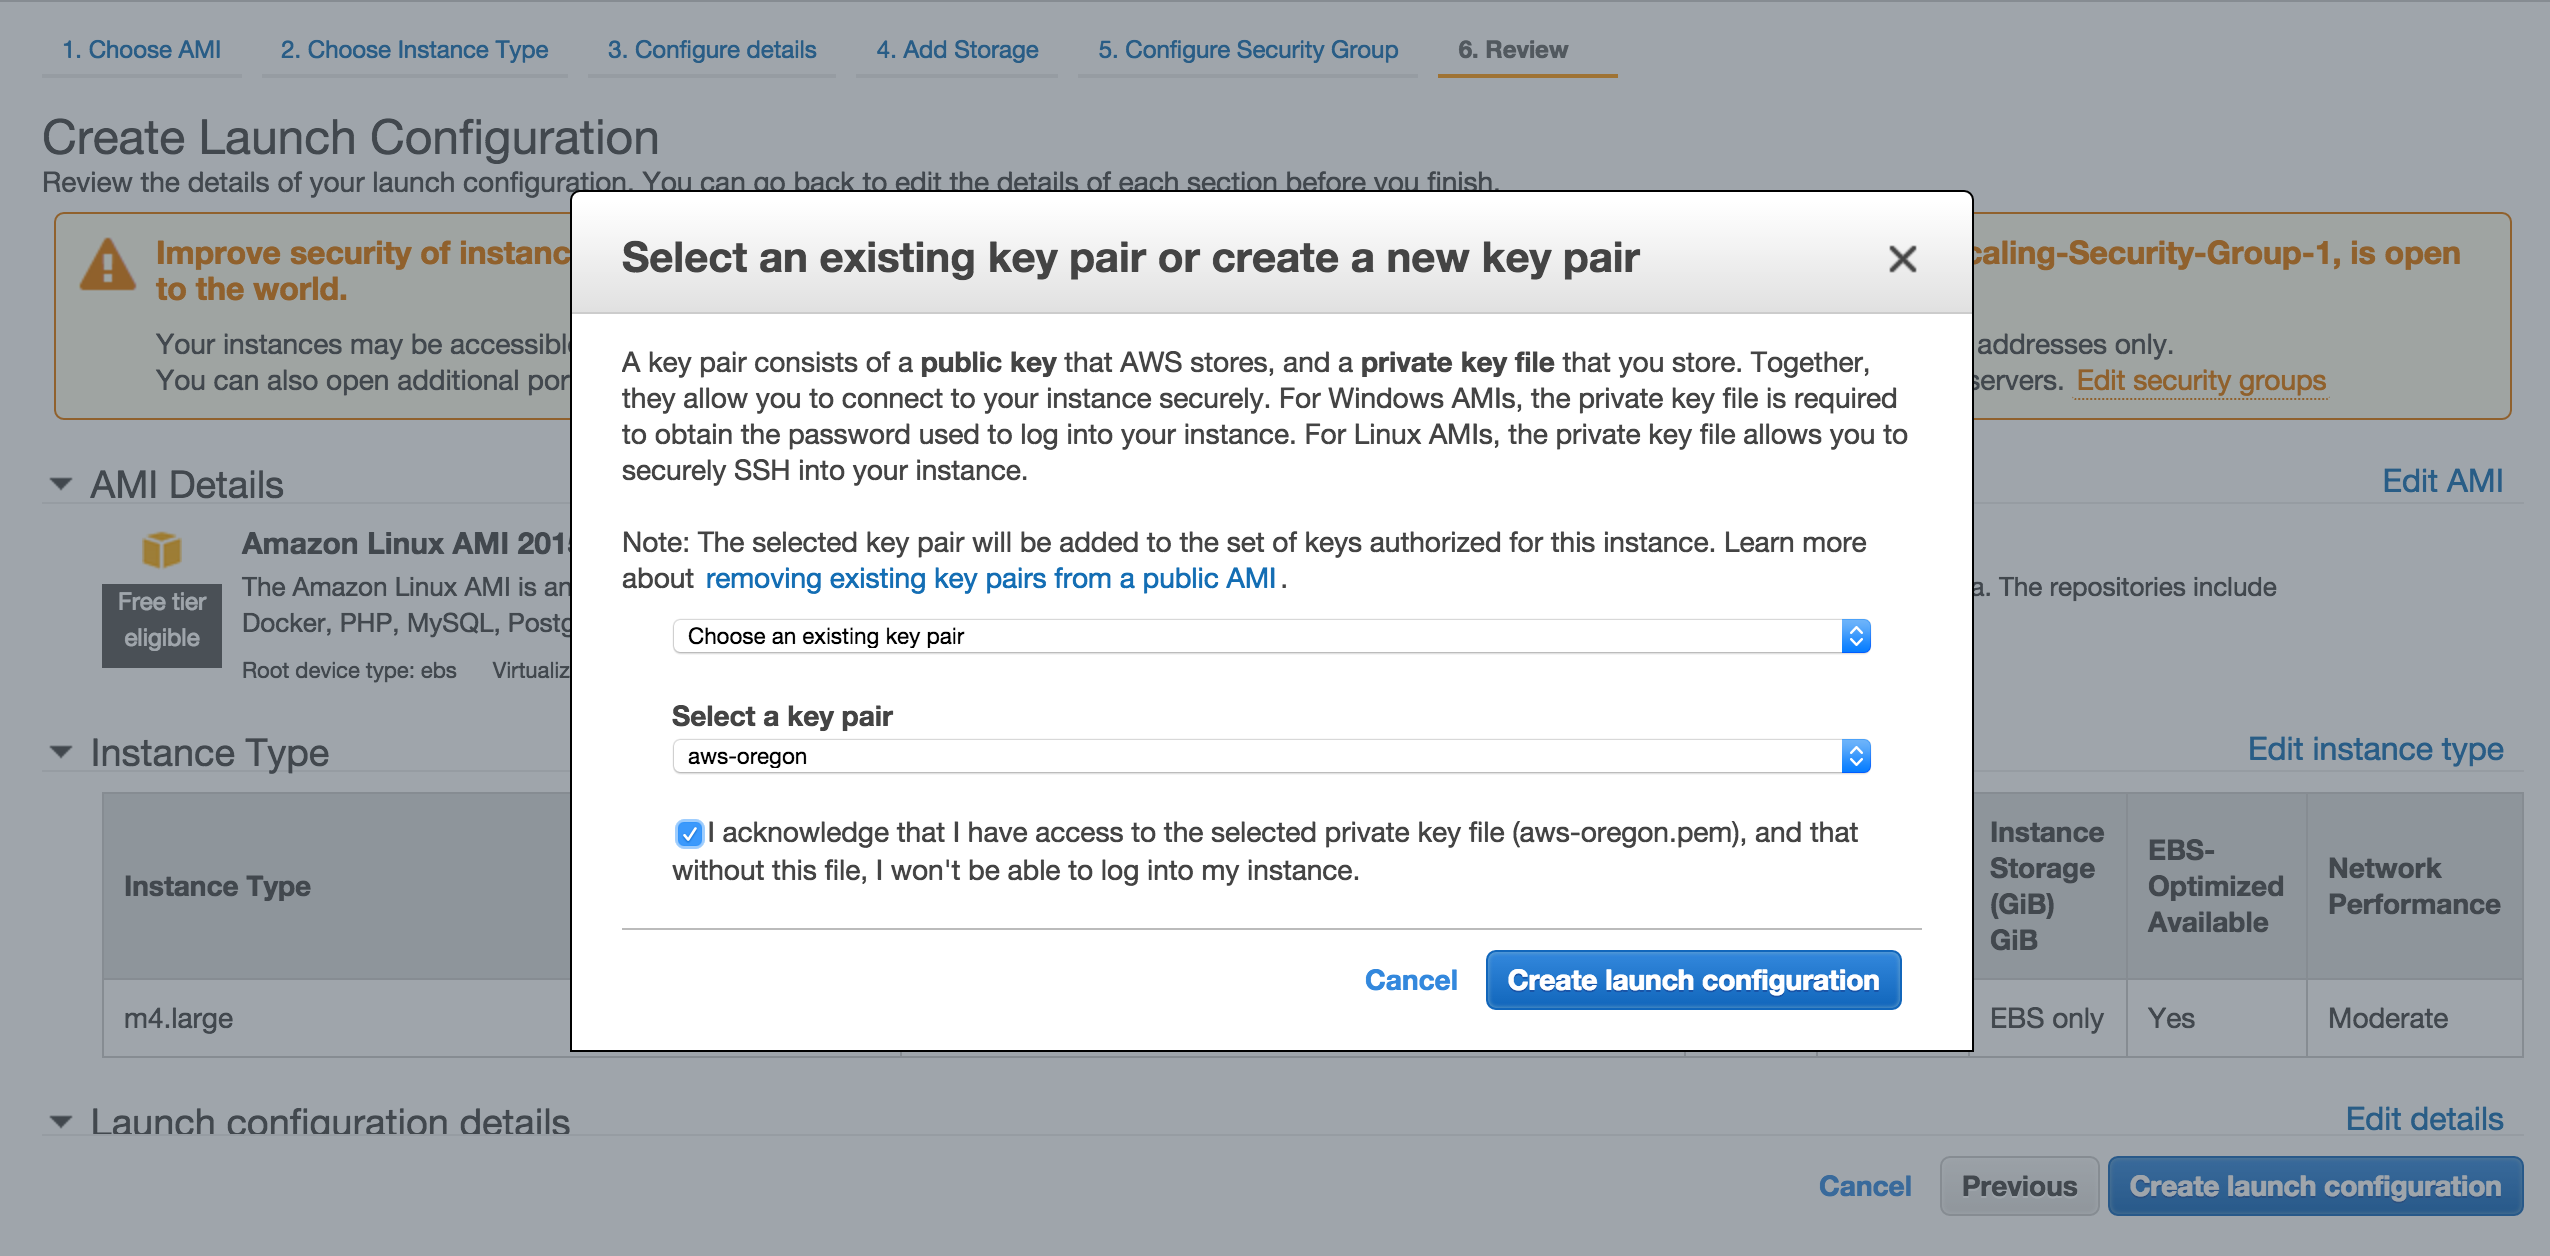
Choose the key for the region.
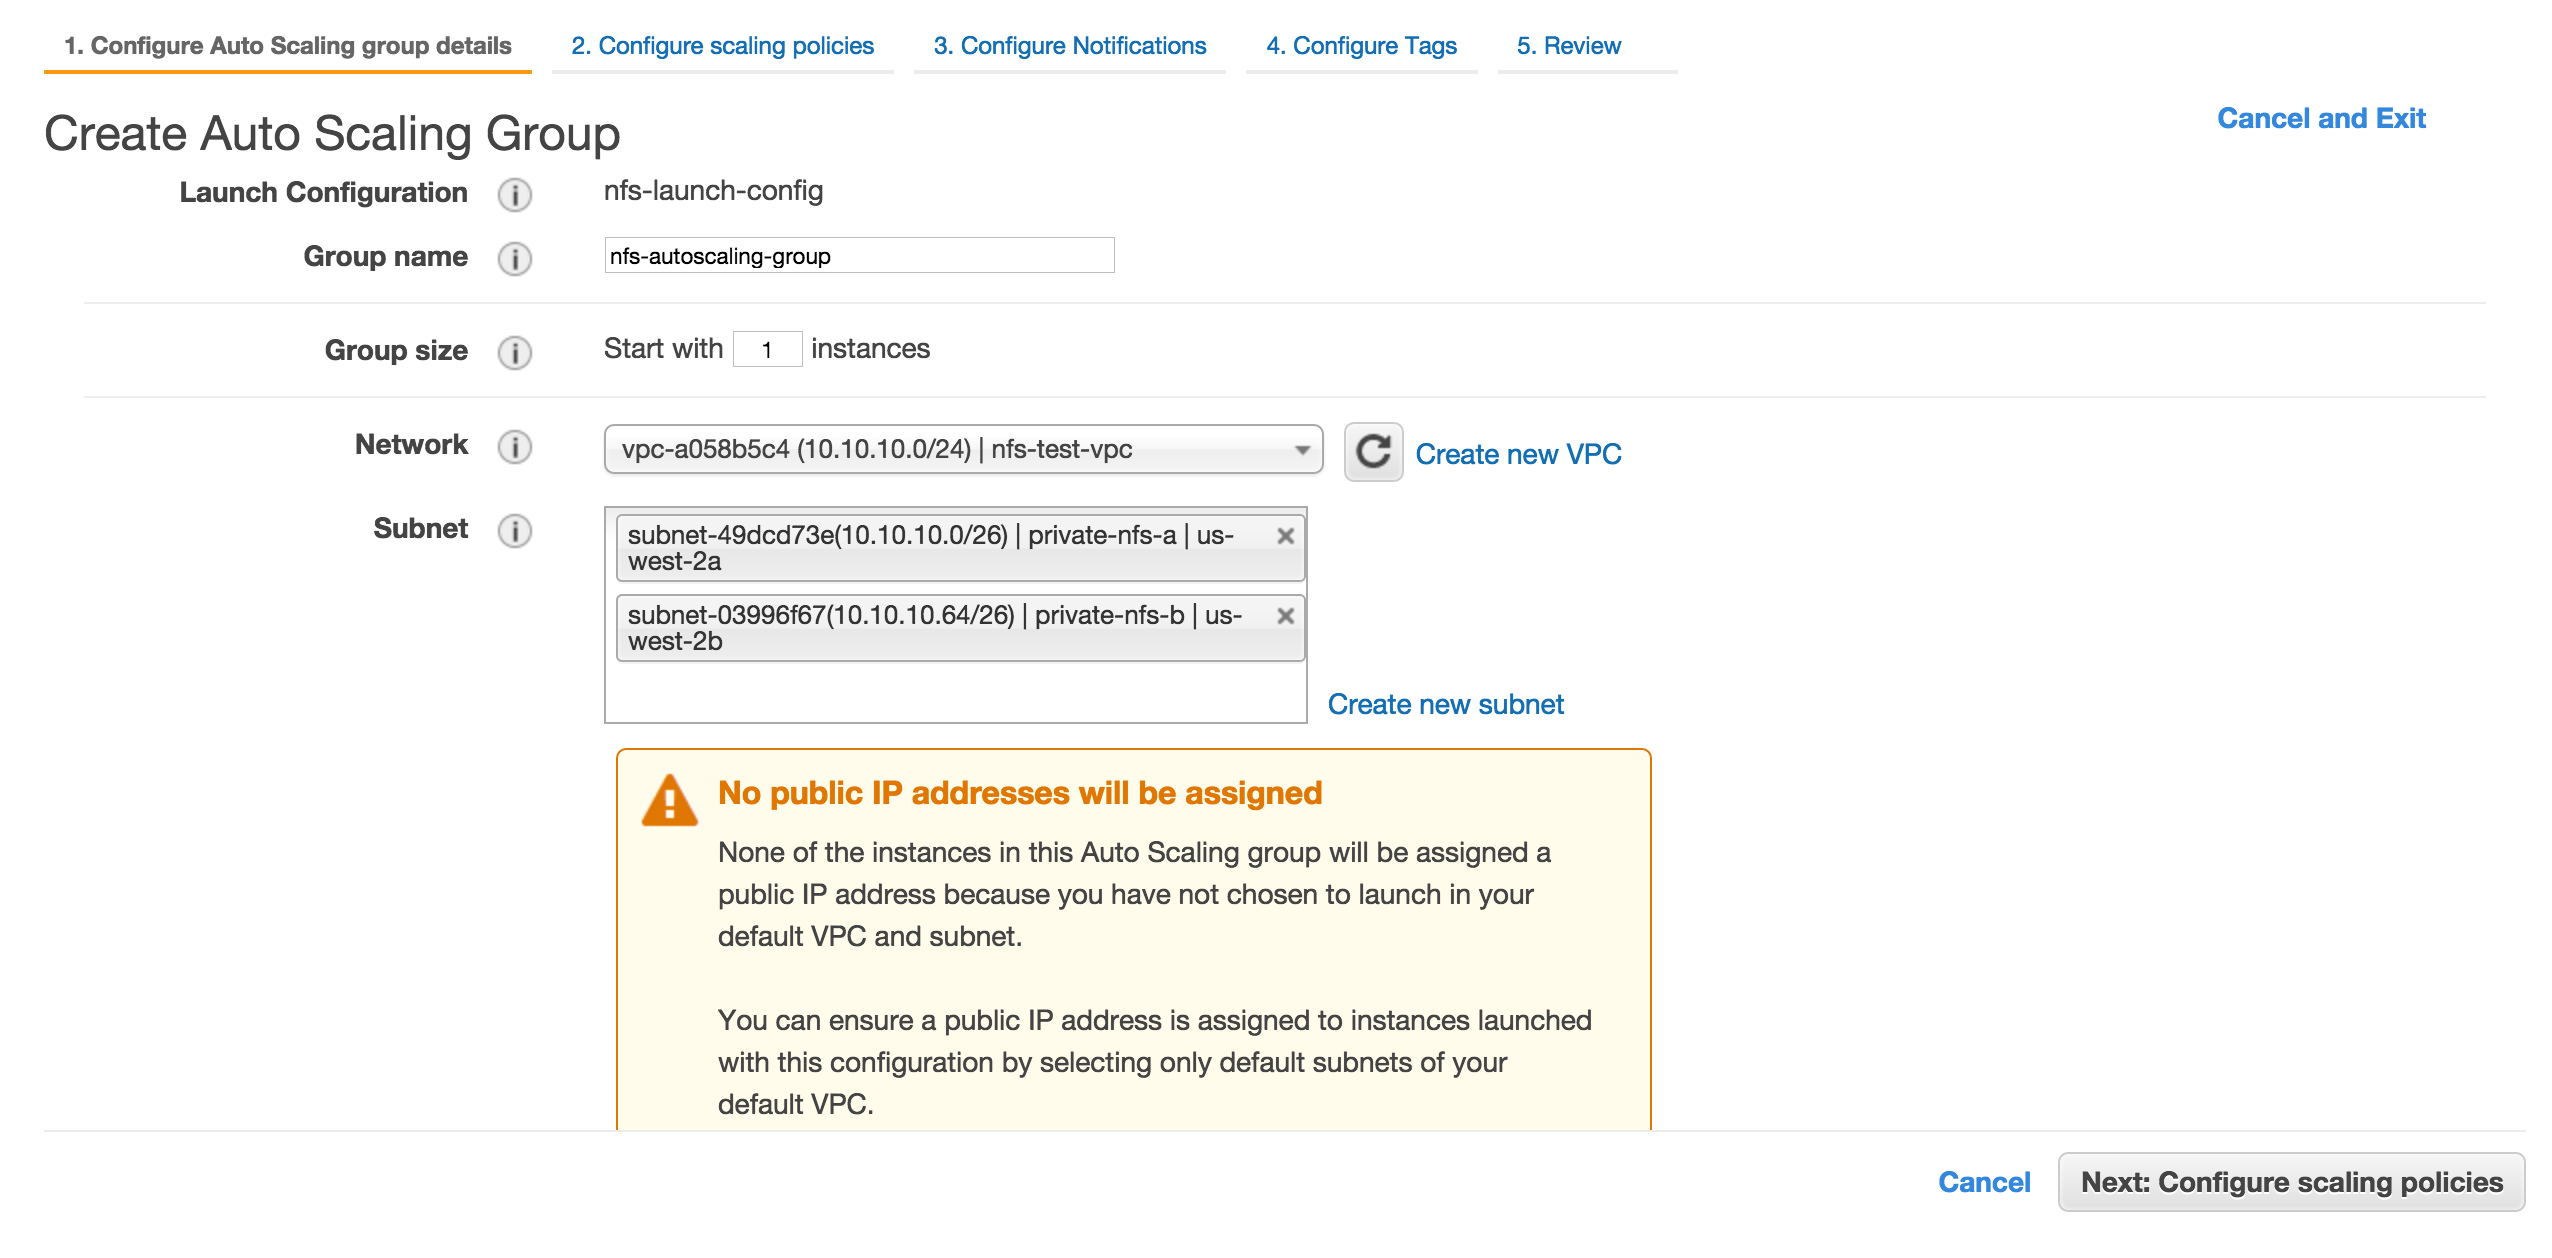
Enter nfs-autoscaling-group for group name and choose the VPC we created earlier. For subnet, choose two private subnets we created earlier.Finally click Next: Configure scaling policies.
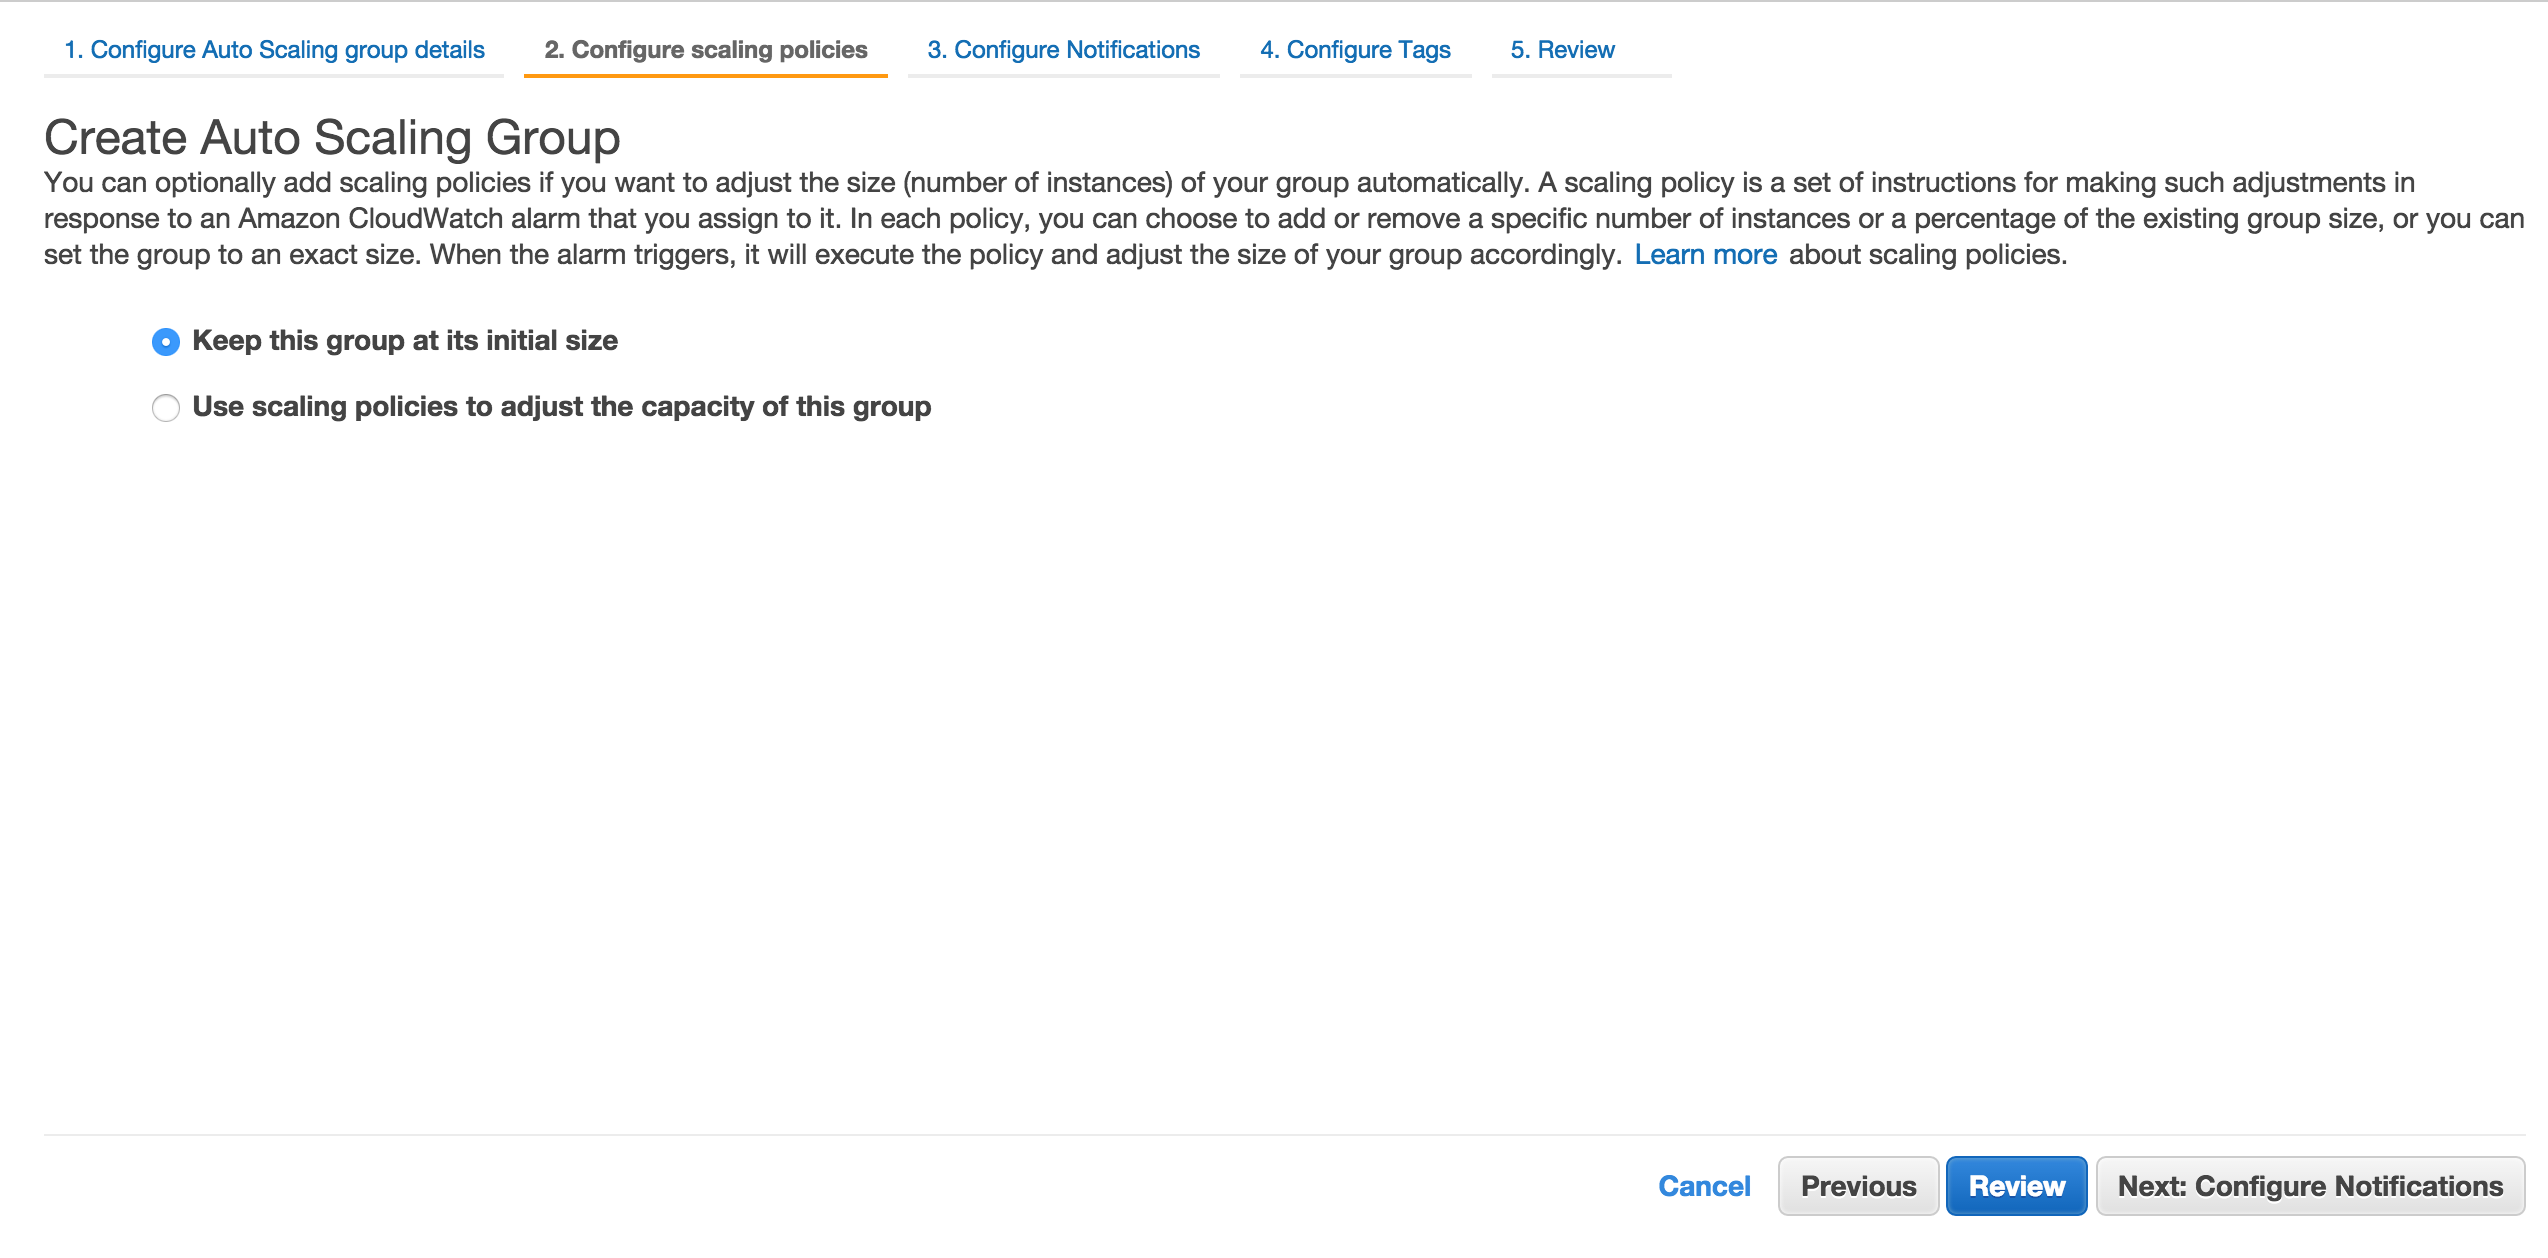
Don’t do anything on this screen and click Next: Configure Notifications
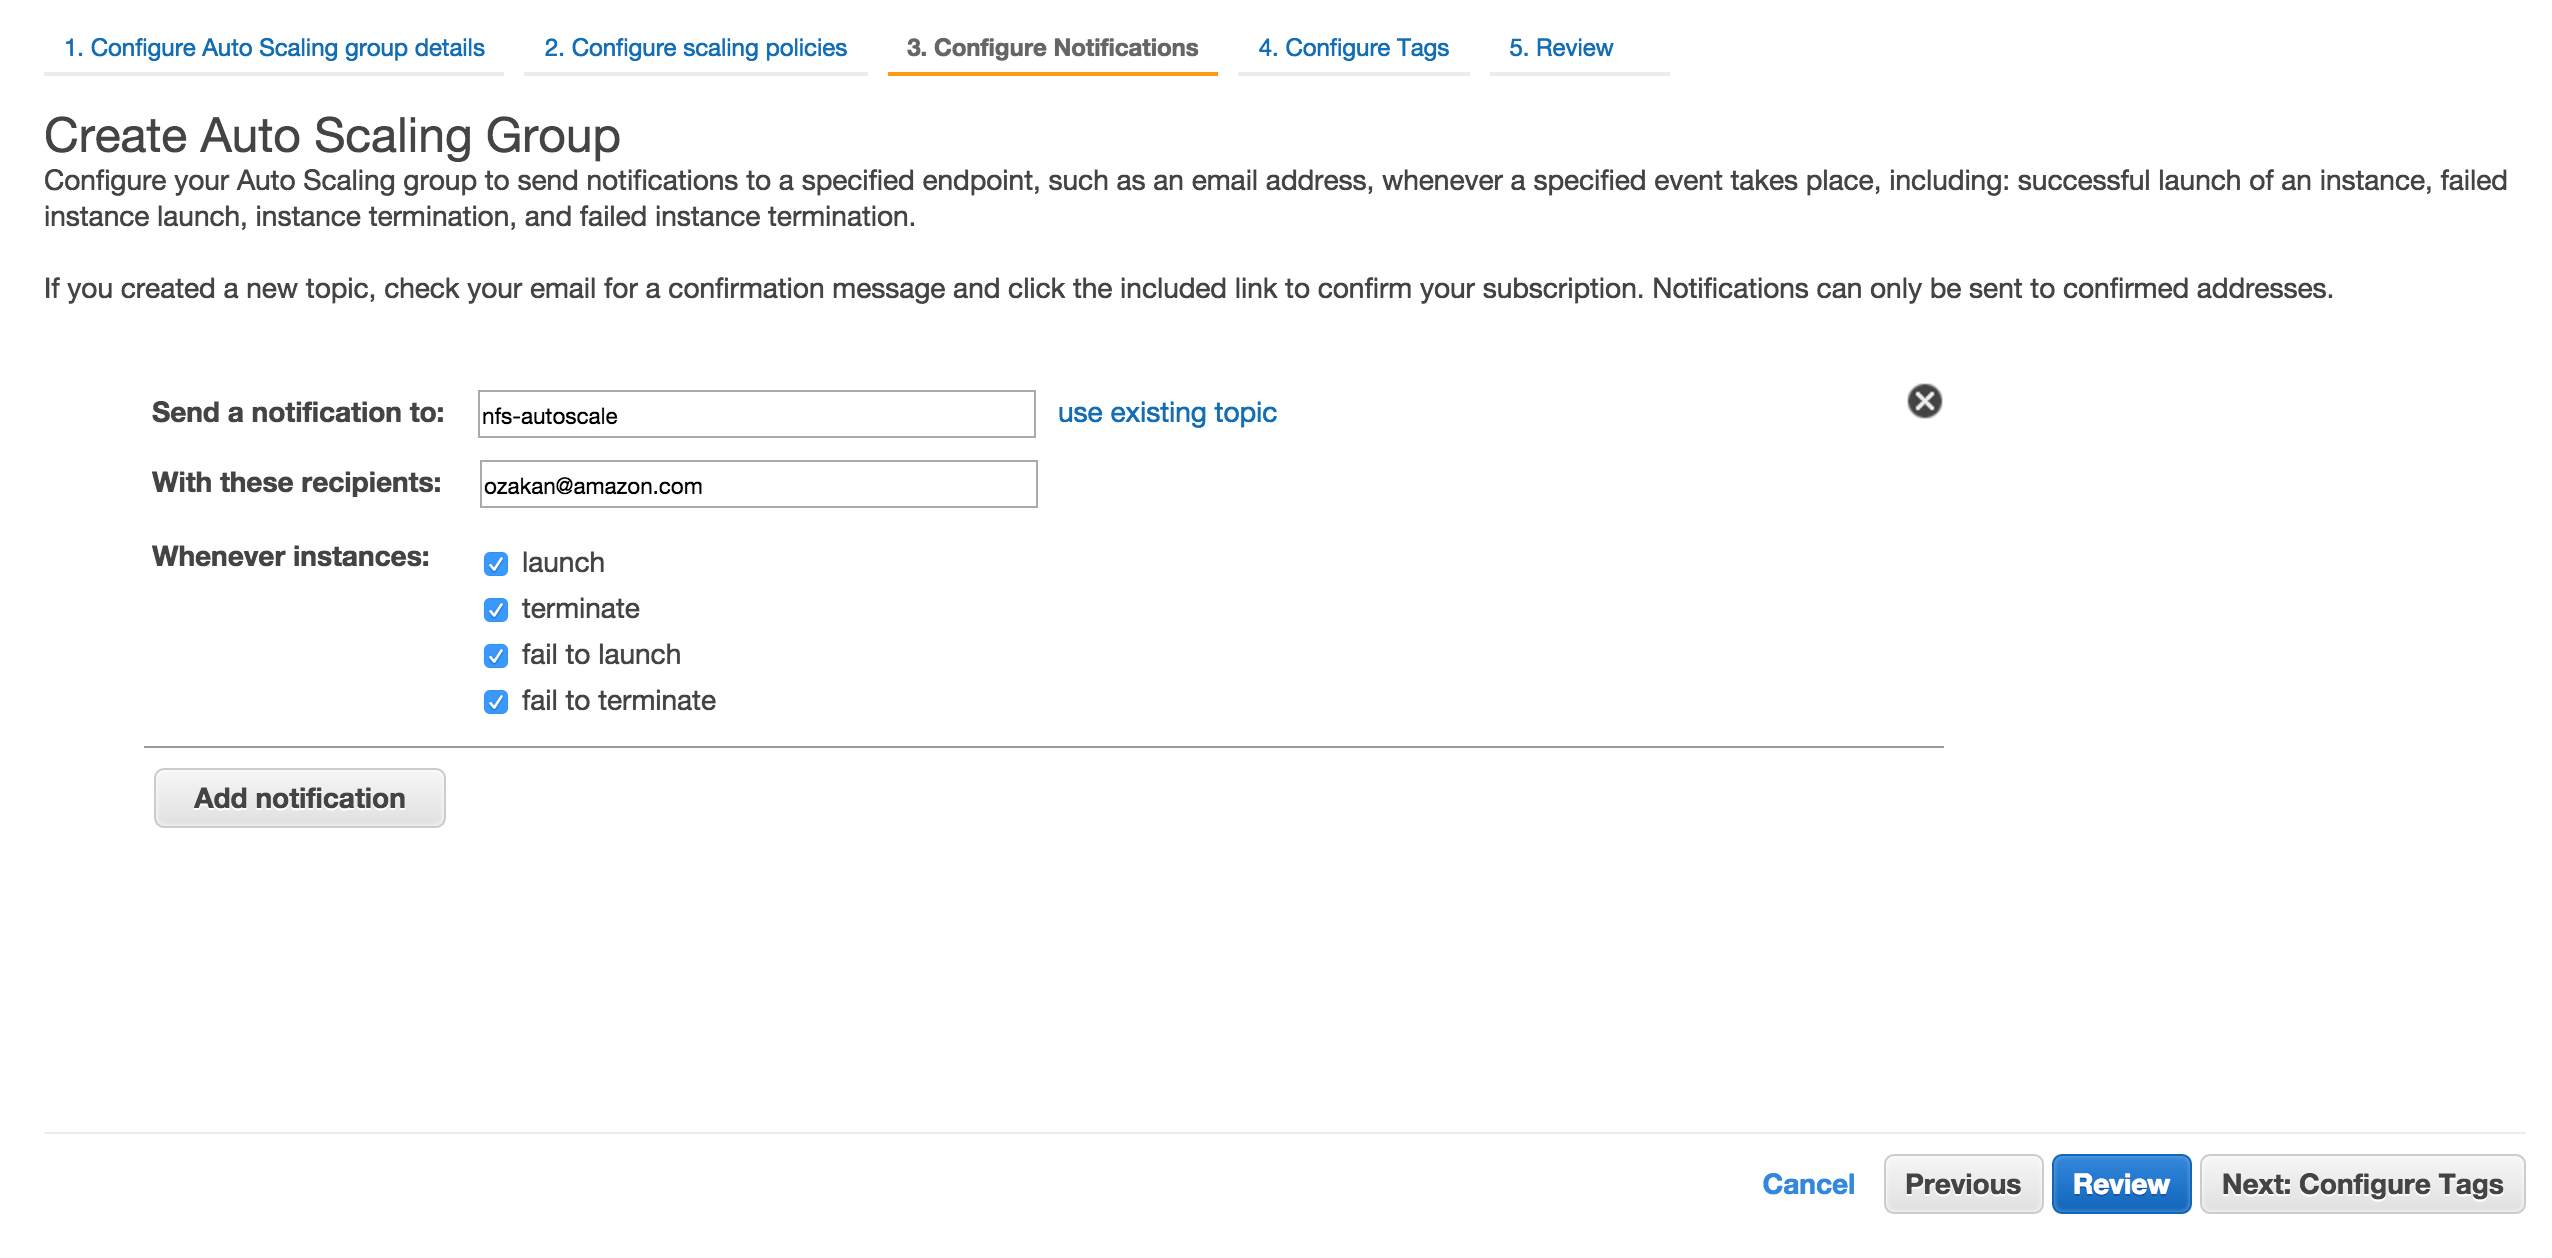
Click new topic and enter nfs-autoscale and emails for recipients. Click Next: Configure Tags.
You can have anything here. I just put Service:NFS key, value pair which may help later on when searching for resources for NFS service. Click Review.

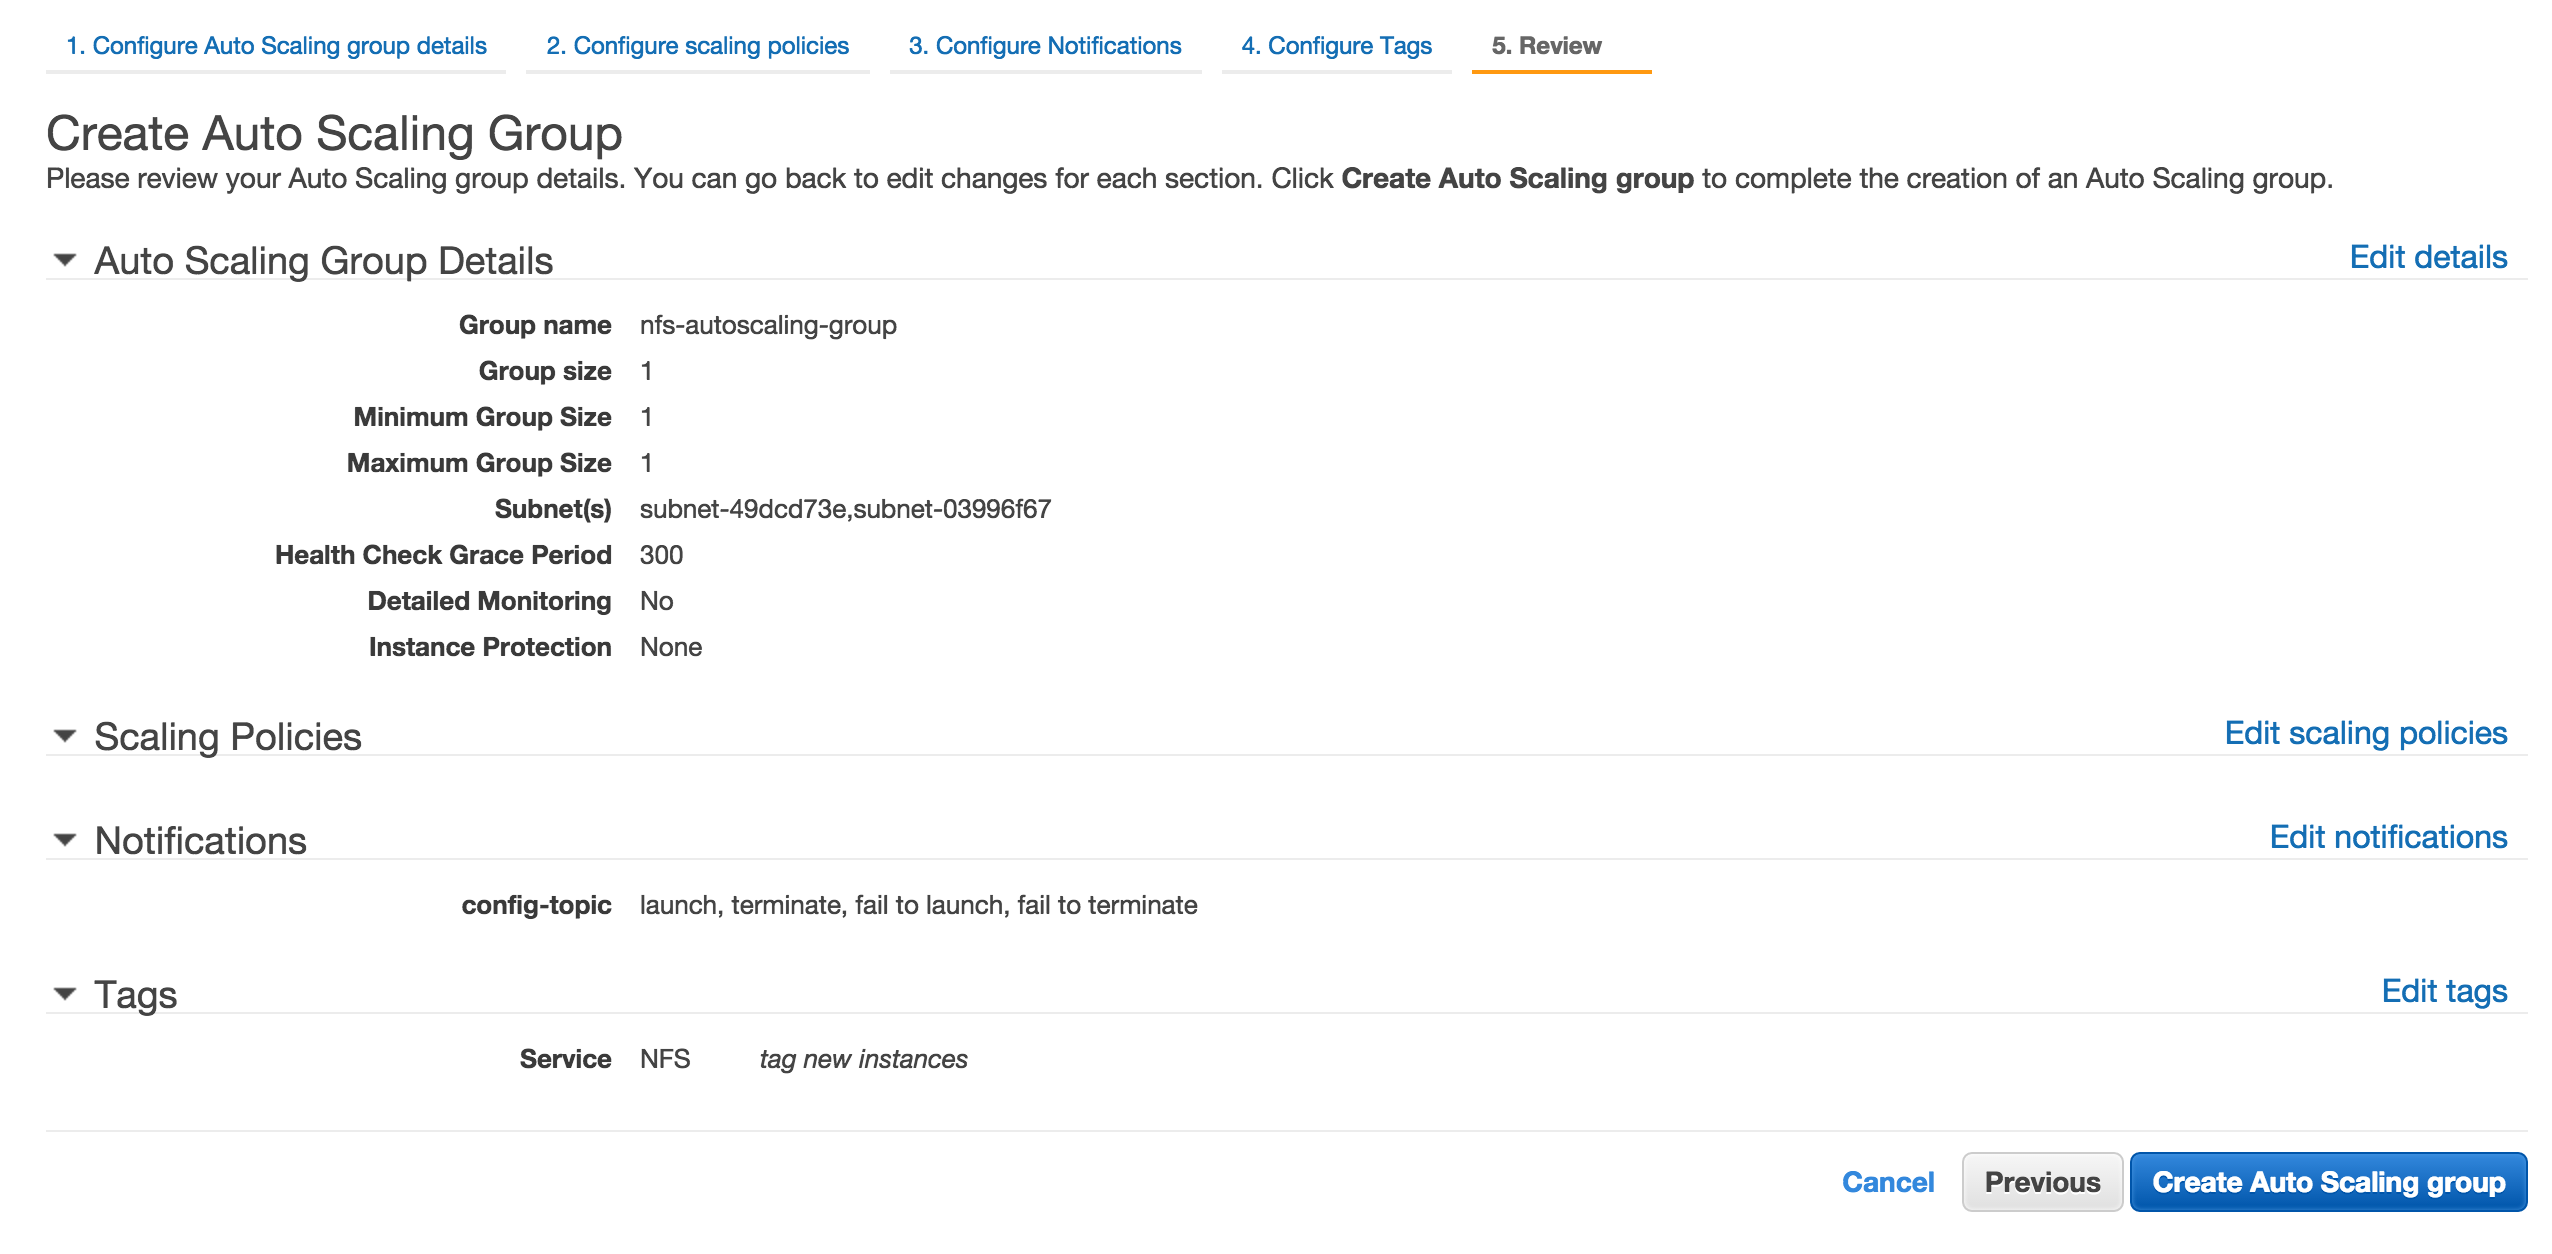
If all looks ok, click Create Auto Scaling Group
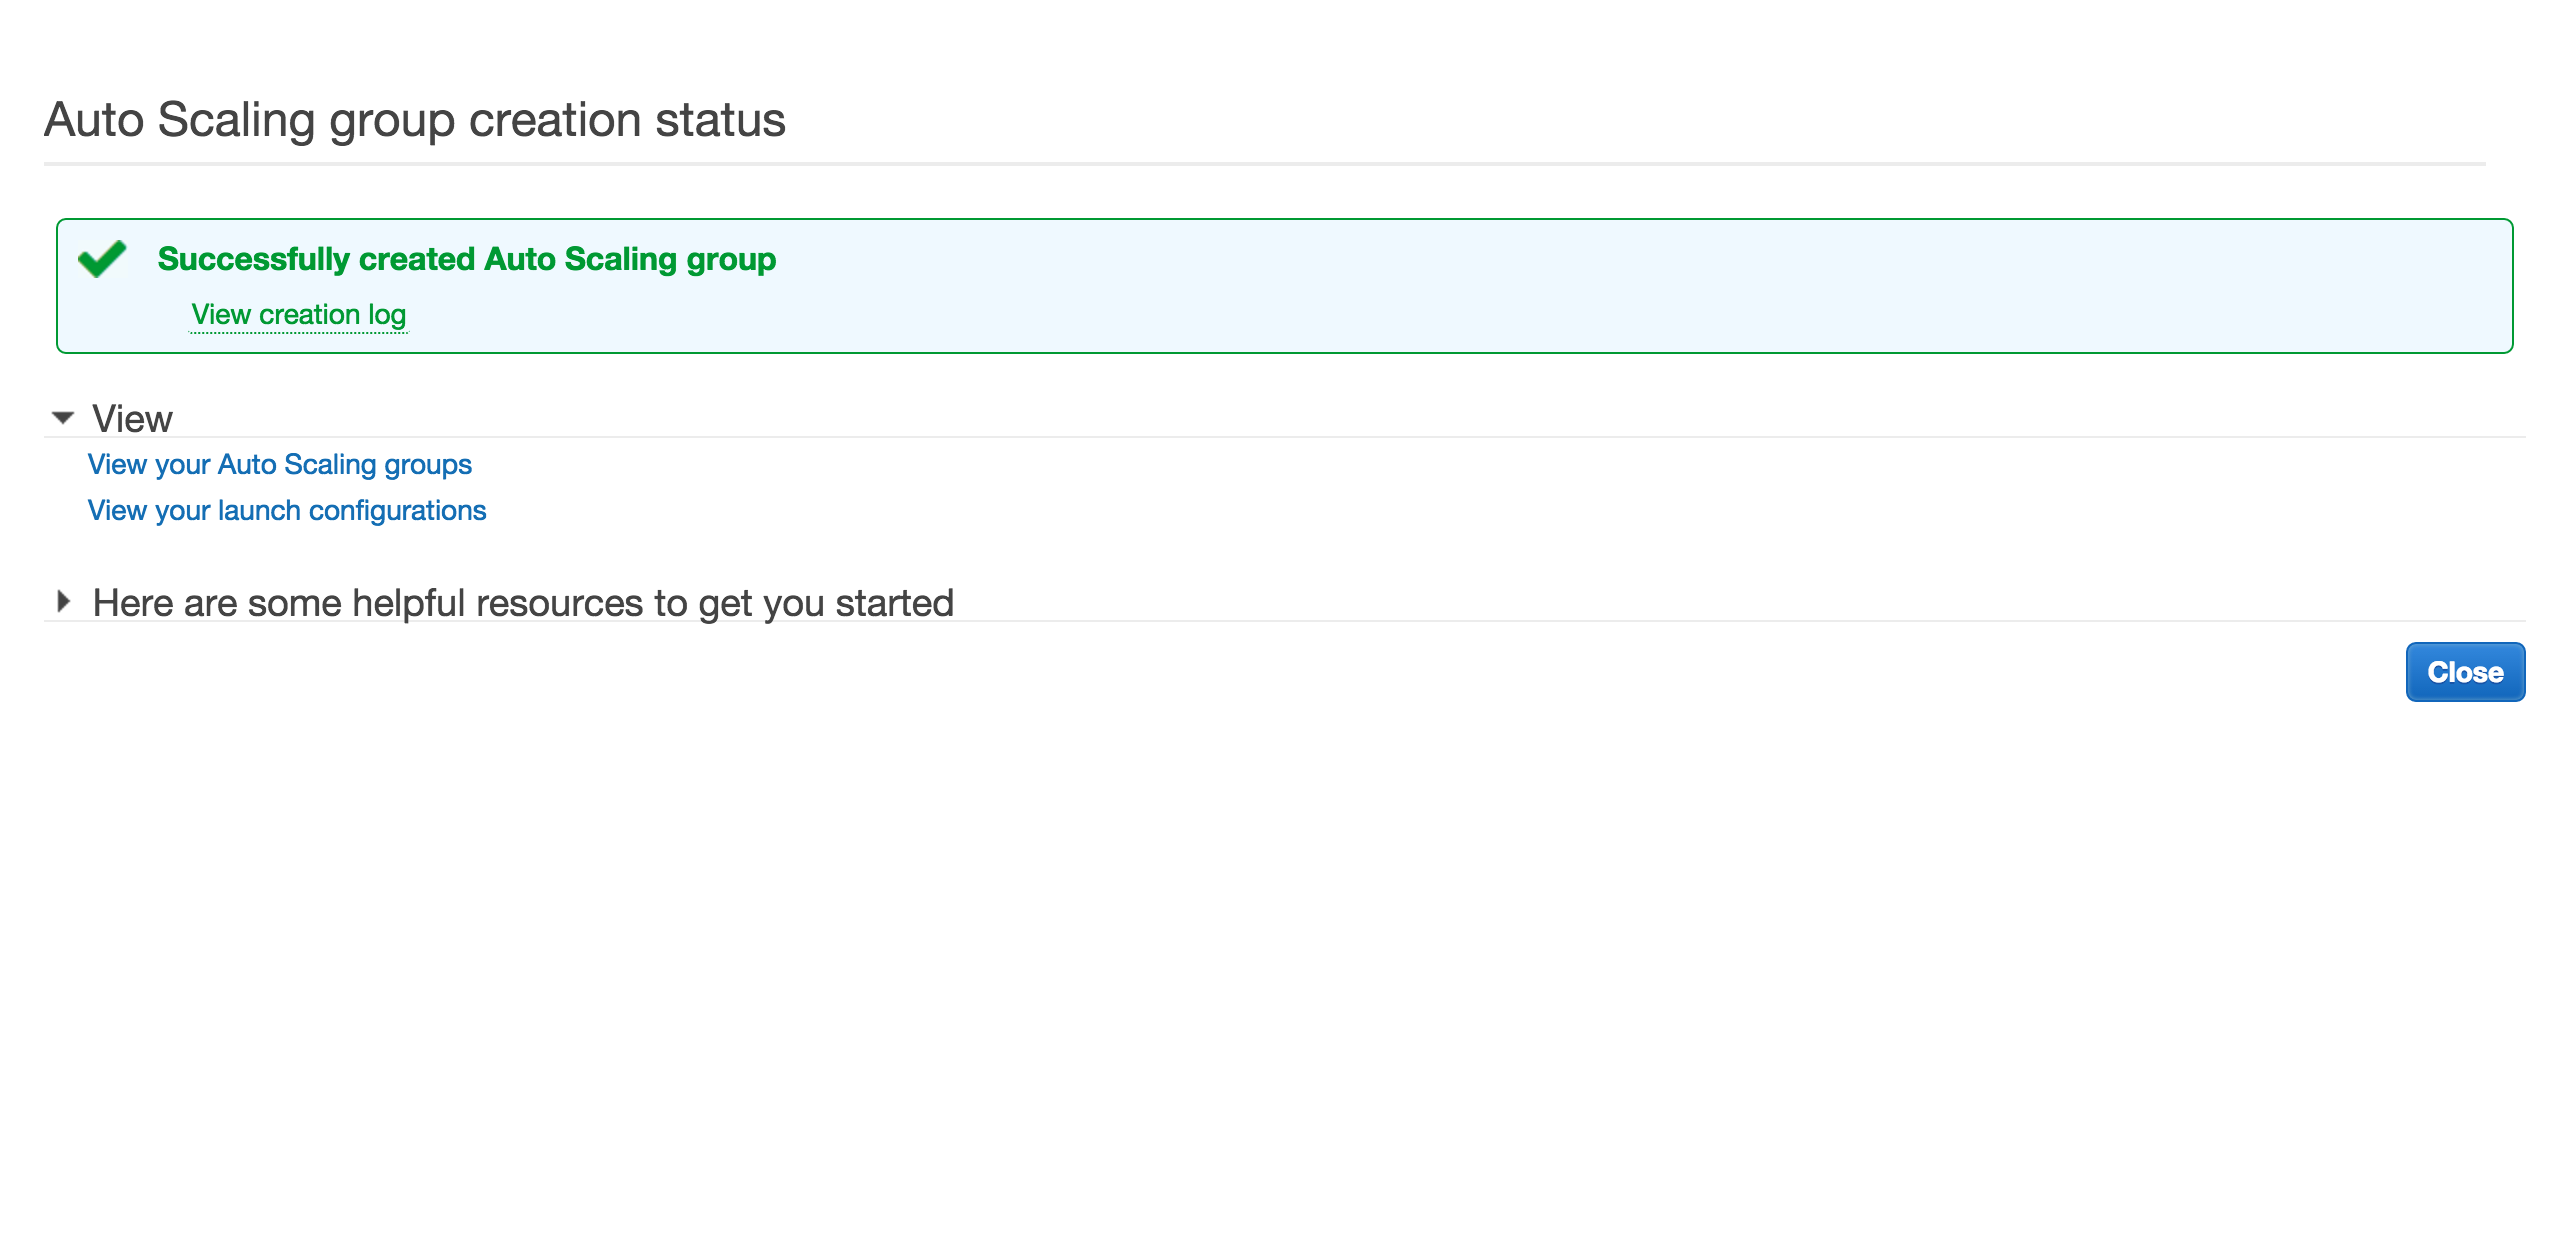
Hopefully, you will see the notification about success. Click Close.
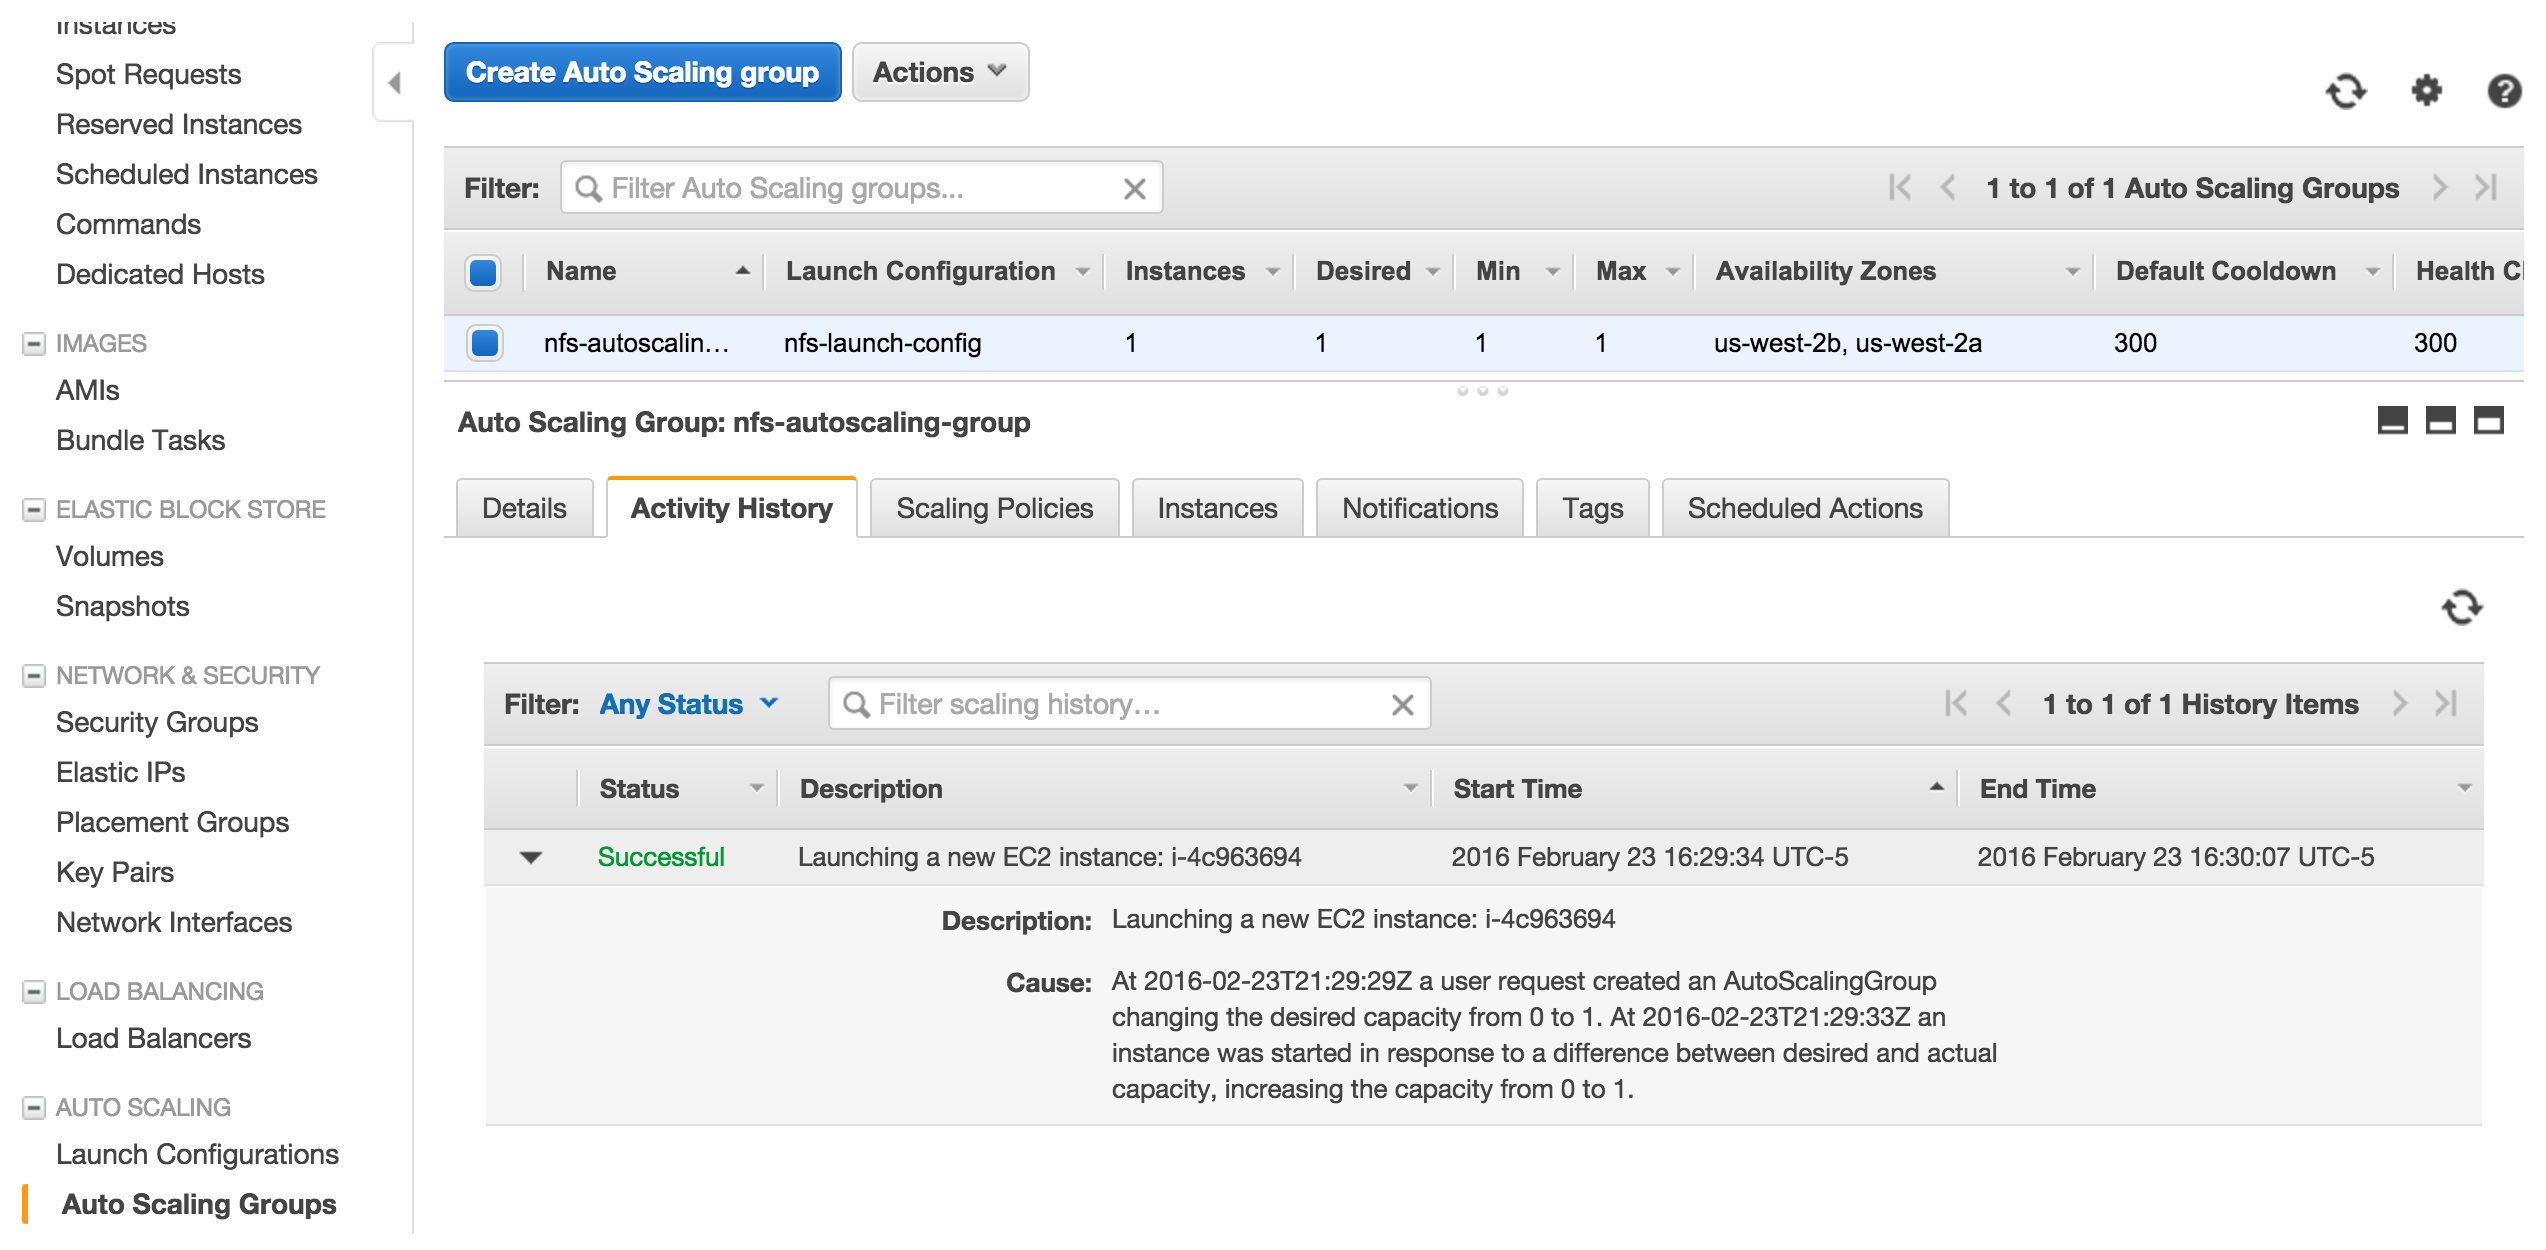
Going back to auto scaling screen, hit refresh icon on the right top and you will see the instance up and running in a few minutes.
Test What We Have
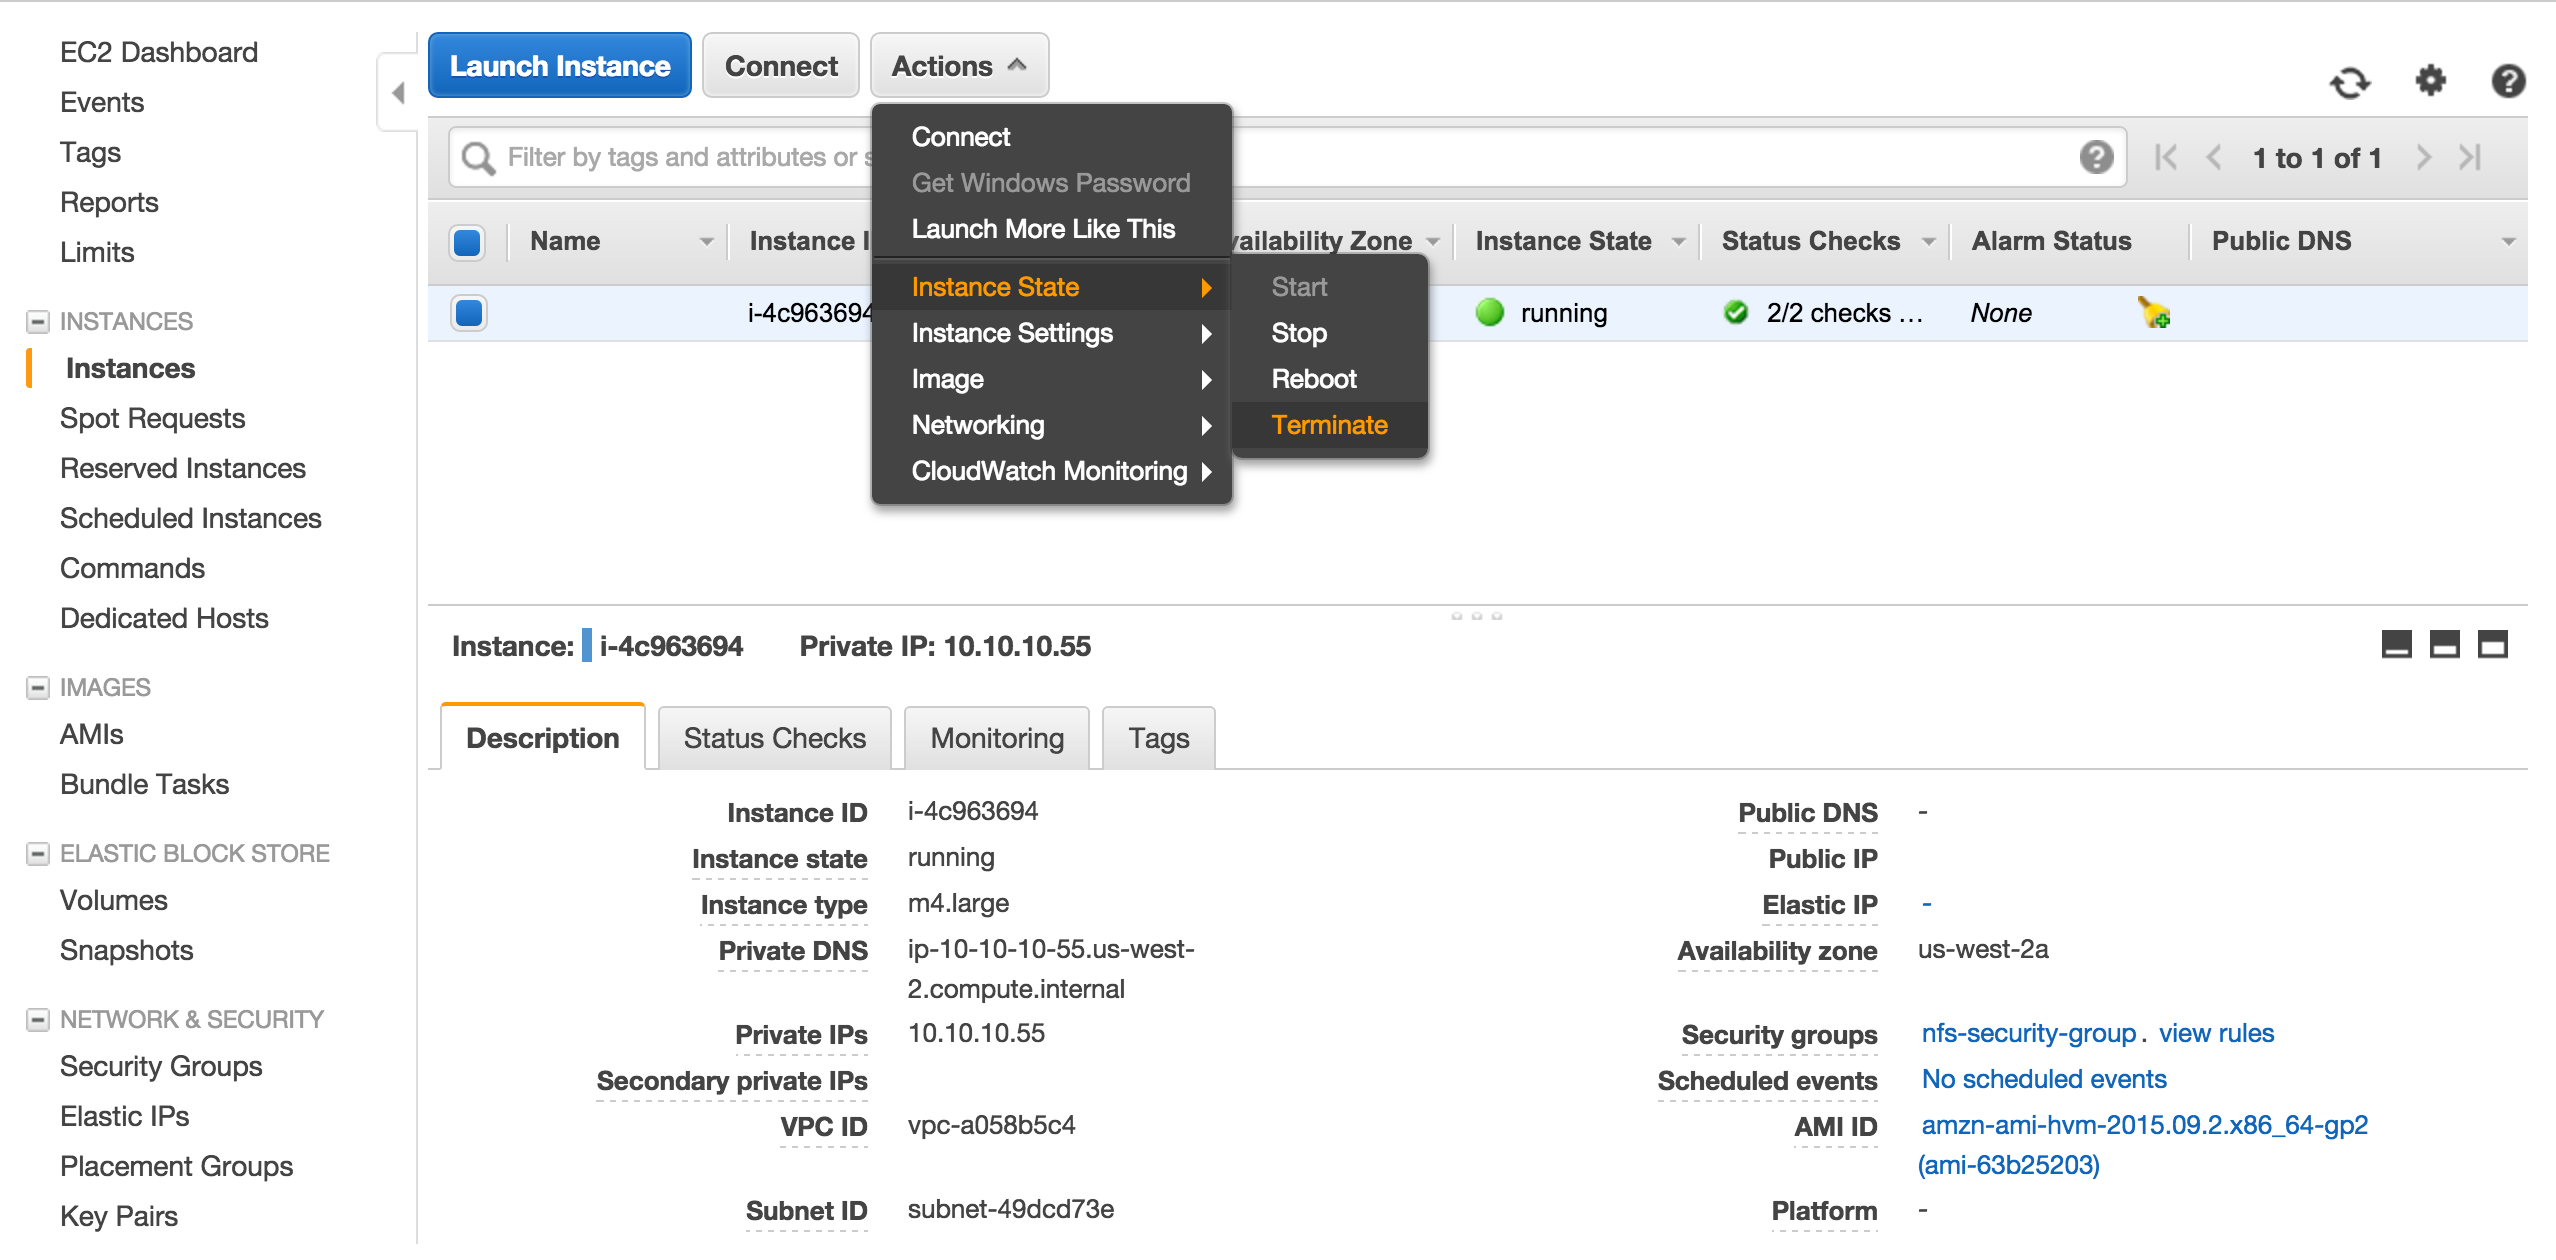
Let’s terminate the instance created by auto scaling group to see if another instance will be created automatically by auto scaling group.
On Amazon EC2 Console, select the instance and terminate.
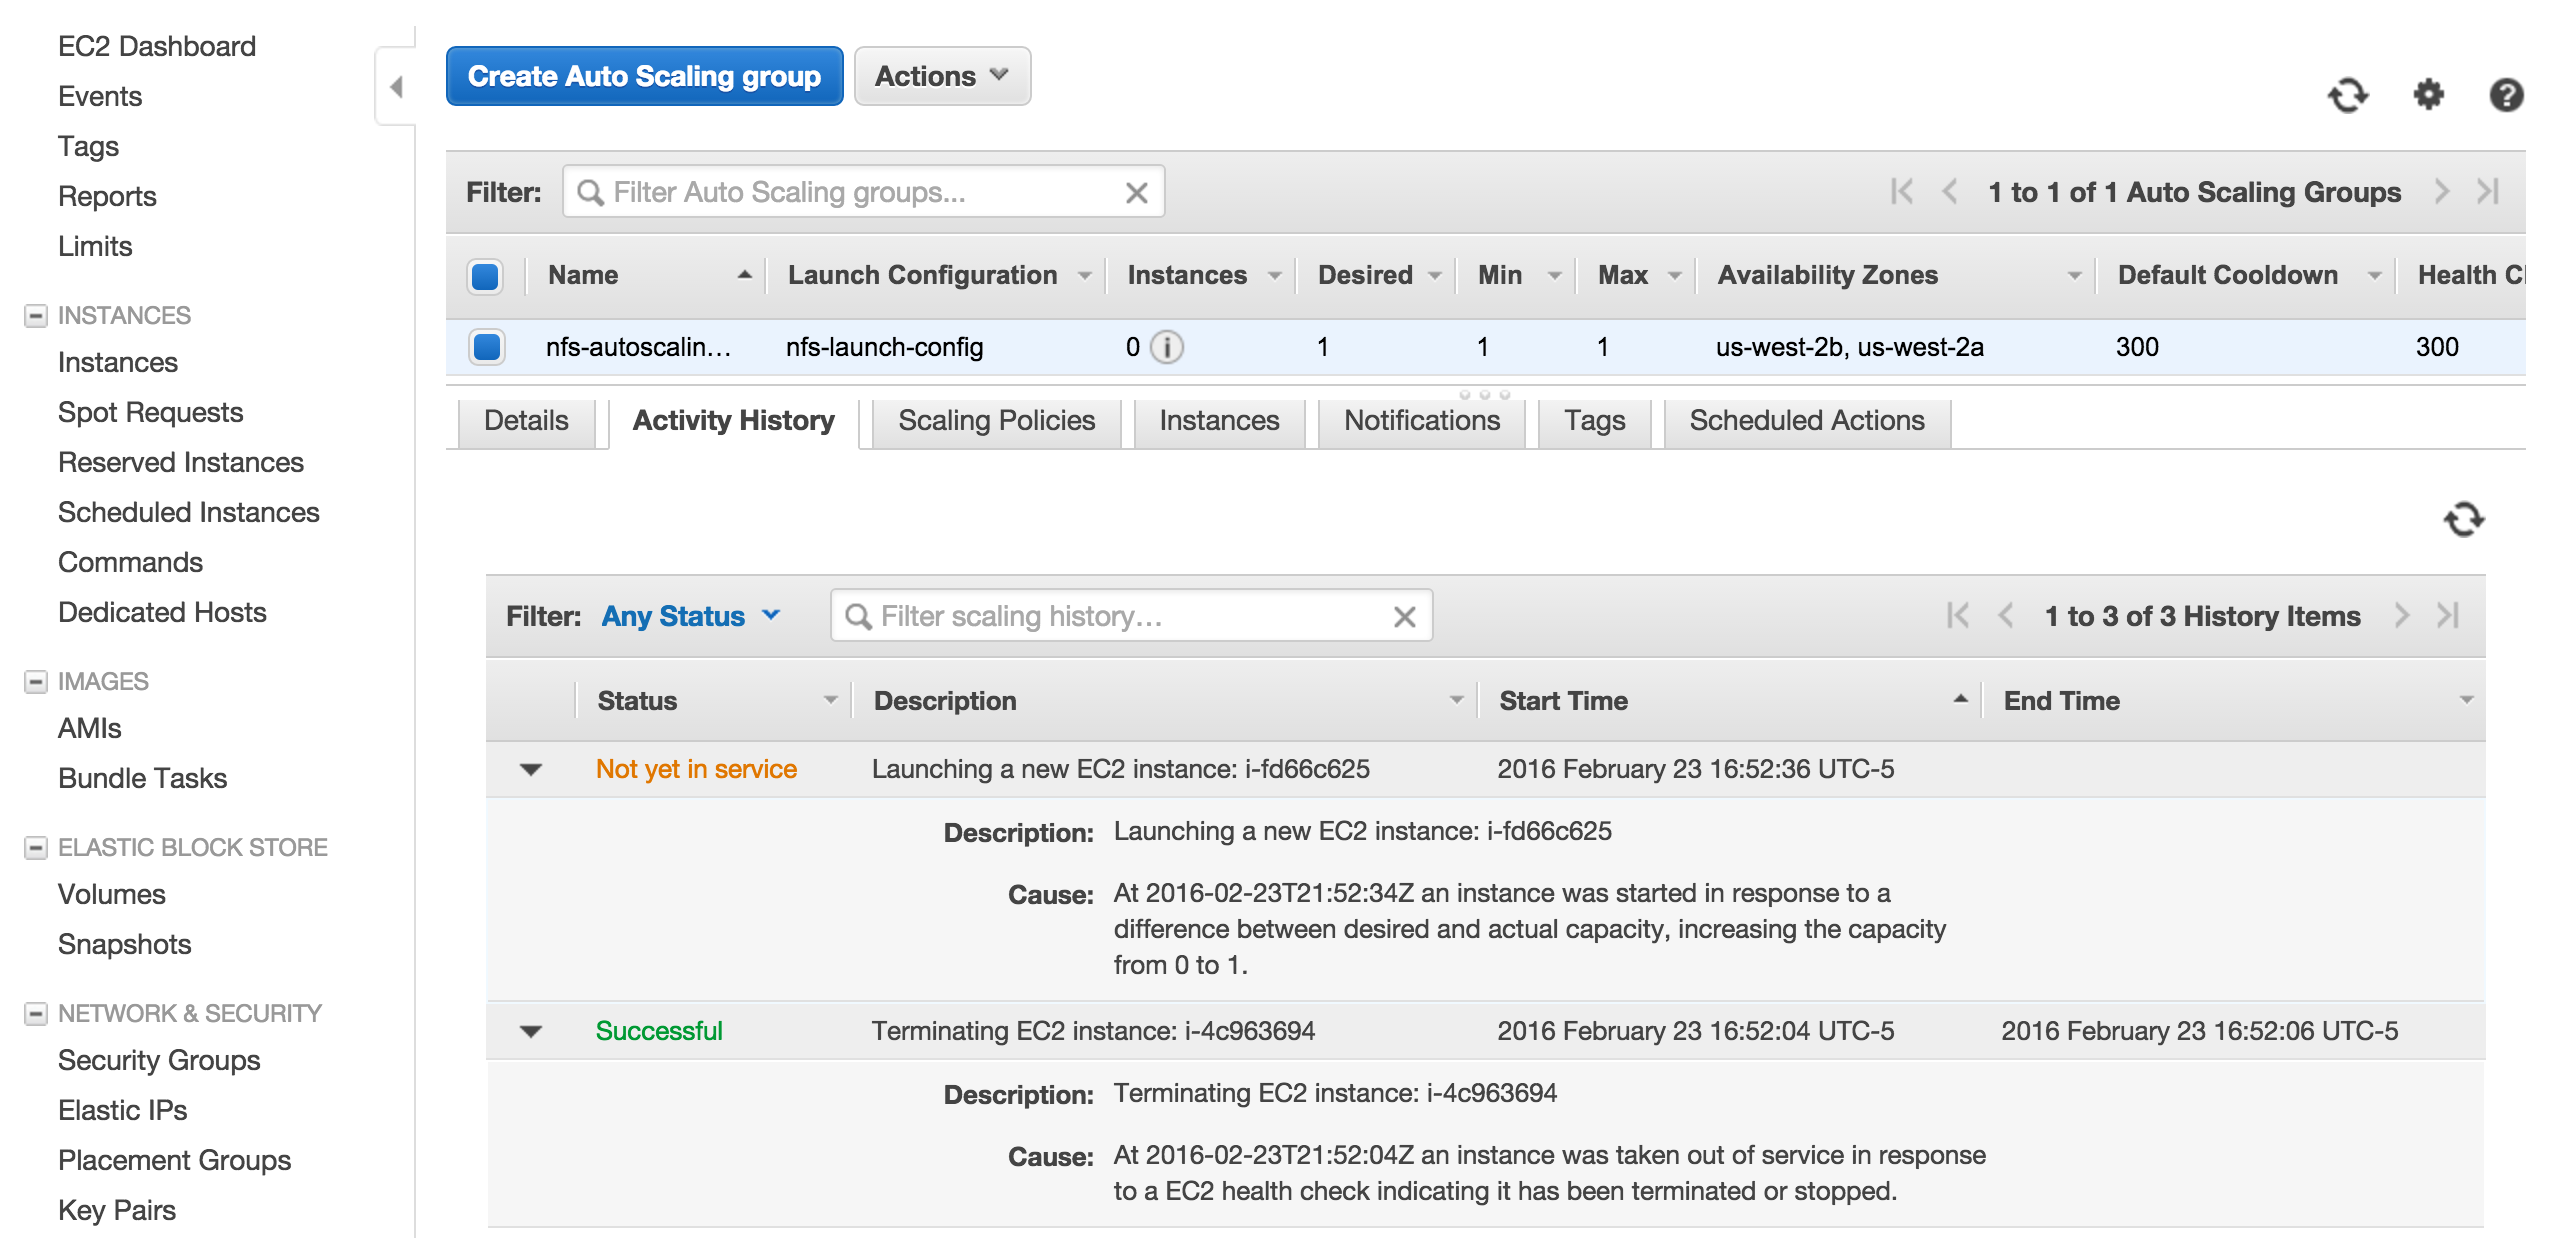
If you go back to auto scaling screen, in a few minutes you will see a new instance is being created.
At this point we did a very basic auto scaling group. In order to make this setup useful for an NFS service, we will need to make an EBS volume and attach it to the instance during the boot.
Create EBS Volume
a big TODO here…