Chef to OpsWorks Workshop Part 1 - Hands on Chef
Objective
This workshop prepared to fill the Chef knowledge gap before moving into Amazon OpsWorks.
In the next ~2 hours, we will learn Chef concepts, create a local development environment and configure two identical web servers.
Chef Terminology
Chef is a powerful automation platform that transforms infrastructure into code. Whether you’re operating in the cloud, on-premises, or in a hybrid environment, Chef automates how infrastructure is configured, deployed, and managed across your network, no matter its size.
chef-client
A command-line tool that that runs Chef.
chef-zero
Chef Zero is a simple, easy-install, in-memory Chef server that can be useful for Chef Client testing and chef-solo-like tasks that require a full Chef Server.
Node
A node is any physical, virtual, or EC2 instance that is configured to be maintained by a chef-client.
Desired State
The state we want a node to be in.
Template
A cookbook template is an Embedded Ruby (ERB) template that is used to dynamically generate static text files. Templates may contain Ruby expressions and statements, and are a great way to manage configuration files.
Template Example
<html>
  Hello AWS World! <br>
  This is <%= node['hostname'] %><br>
</html>
Recipe
A recipe is a collection of resources that tells the chef-client how to configure a node.
Recipe Example
template '/tmp/test.txt' do
  source 'test.txt.erb'
  owner 'root'
  group 'root'
  mode '0766'
end
Cookbook
A cookbook is the fundamental unit of configuration and policy distribution. It contains everything required to configure nodes. (Recepies, attribute files, files, templates, custom resources and libraries)
Cookbook Example
Layout for demo cookbook.
demo/
├── attributes
│   └── default.rb
├── Berksfile
├── Berksfile.lock
├── chefignore
├── data_bags
│   └── demo_bag
│       └── config.json
├── metadata.rb
├── README.md
├── recipes
│   ├── default.rb
│   ├── init.rb
│   ├── service_user.rb
│   ├── update.rb
│   └── web_server.rb
├── spec
│   ├── spec_helper.rb
│   └── unit
│       └── recipes
│           ├── configure_spec.rb
│           ├── default_spec.rb
│           ├── init_spec.rb
│           ├── service_user_spec.rb
│           ├── update_spec.rb
│           └── web_server_spec.rb
├── templates
│   ├── default
│   ├── hello.conf.erb
│   ├── hello.html.erb
│   └── test.txt.erb
├── test
│   └── recipes
│       ├── configure.rb
│       ├── default_test.rb
│       ├── init.rb
│       ├── service_user.rb
│       ├── update.rb
│       └── web_server.rb
└── upload.sh (custom script to upload cookbook to S3 bucket)
Community Cookbooks
These are publicly available cookbooks hosted on Chef Supermarket.
Data bag
A data_bag is a global variable that is stored as JSON data and is accessible from a Chef server.
Data bag Example
{
    "name": "demo application"
}
Resource
A resource is a statement of configuration policy that describes the desired state of an piece within your infrastructure, along with the steps needed to bring that item to the desired state.
Resource Examples
directory resource
directory '/tmp/folder' do
  owner 'root'
  group 'root'
  mode '0755'
  action :create
end
package service
service "tomcat" do
  action :start
end
Knife
A command-line tool that provides an interface between a local chef-repo and the Chef server.
Knife Example
Using knife to find a community cookbook.
$ knife cookbook site show selinux|grep latest_version
latest_version:       https://supermarket.chef.io/api/v1/cookbooks/selinux/versions/0.9.0
Role
A role is a way to group nodes for a single function.
Run-list
A run-list defines all of the configuration settings that are necessary for a node that is under management by Chef to be put into the desired state and the order in which these configuration settings are applied.
Run-list Example
$ knife node run_list set test-node 'recipe[iptables]'
Kitchen
Kitchen is an integration framework that is used to automatically test cookbook data across any combination of platforms and test suites. Kitchen is packaged in the Chef development kit. We will use kitchen to provision EC2 instances and run Chef recipes on them.
Chef DK
A collection of tools to help development of Chef and Chef resources, distributed as a single installable package.
Create Required AWS Resources
Before you move forward be sure to have an IAM user that can create resources on AWS. With this user you can login to AWS Console or use aws-cli in order to create the required resources. We will also use this IAM user on chef development instance.
For OS specific installation instructions check out AWS CLI Installation document.
- We will create two
EC2 Key Pairs- We will name first key EC2 Key Pair as
chef-dev01-key. - Second key is named
chef-userwhich is going to be used by Chef to login to EC2 instances it manages
- We will name first key EC2 Key Pair as
- We will create a security group to allow ingress access for ports 80 and 22
- Finally we will be creating an EC2 instance named
chef-dev01as our Chef development machine.
Create EC2 Key Pairs
Chef will need an EC2 key pair in order to login to EC2 instances that it will provison.
Switch to the folder where you keep your key pairs and create an EC2 Key pair named chef-dev01-key.
$ cd ~/Workdocs/keys # this is the folder where I keep key pairs
$ aws ec2 create-key-pair --key-name chef-dev01-key --query 'KeyMaterial' --output text --region us-east-1 > chef-dev01-key.pem
$ aws ec2 create-key-pair --key-name chef-user --query 'KeyMaterial' --output text --region us-east-1 > chef-user.pem
Now we have two .pem files.
$ ls -1 chef*.pem
chef-dev01-key.pem  # we use this to login to `chef-dev01`
chef-user.pem       # `chef-dev01` will use this to login to other EC2 instances
Change permission on these two .pem files.
$ chmod 600 chef-*
Create Security Group
To create a security group, we need to pick the VPC.
$ aws ec2 describe-vpcs --region us-east-1
{
    "Vpcs": [
        {
            "VpcId": "vpc-6fe5000b",
            "InstanceTenancy": "default",
            "Tags": [
                {
                    "Value": "Default",
                    "Key": "Name"
                }
            ],
            "State": "available",
            "DhcpOptionsId": "dopt-928173f7",
            "CidrBlock": "172.31.0.0/16",
            "IsDefault": true
        }
    ]
}
I chose vpc-6fe5000b which is the default VPC. You can choose any VPC.
Now, we can create the security group.
$ aws ec2 create-security-group --group-name chef-workshop-sg --description "Chef workshop security group" --vpc-id vpc-6fe5000b --region us-east-1
{
    "GroupId": "sg-8604b7fa"
}
Note the GroupId value as we are using it in the following commands to add ingress rules to the security group.
$ aws ec2 authorize-security-group-ingress --group-id sg-8604b7fa --protocol tcp --port 80 --cidr 0.0.0.0/0 --region us-east-1
$ aws ec2 authorize-security-group-ingress --group-id sg-8604b7fa --protocol tcp --port 22 --cidr 0.0.0.0/0 --region us-east-1
Let’s describe the security group to check the rules we’ve added.
$ aws ec2 describe-security-groups --group-names chef-workshop-sg --region us-east-1
{
    "SecurityGroups": [
        {
            # ...
            "Description": "Chef workshop security group",
            "IpPermissions": [
                {
                    "PrefixListIds": [],
                    "FromPort": 80,
                    "IpRanges": [
                        {
                            "CidrIp": "0.0.0.0/0"
                        }
                    ],
                    "ToPort": 80,
                    "IpProtocol": "tcp",
                    "UserIdGroupPairs": [],
                    "Ipv6Ranges": []
                },
                {
                    "PrefixListIds": [],
                    "FromPort": 22,
                    "IpRanges": [
                        {
                            "CidrIp": "0.0.0.0/0"
                        }
                    ],
                    "ToPort": 22,
                    "IpProtocol": "tcp",
                    "UserIdGroupPairs": [],
                    "Ipv6Ranges": []
                }
            ],
        "GroupName": "chef-workshop-sg",
            "VpcId": "vpc-6fe5000b",
            "OwnerId": "676452272092",
            "GroupId": "sg-8604b7fa"
        }
    ]
}
Create Chef Development Instance
List the subnet IDs available in your vpc (vpc-6fe5000b is the one I chose earlier).
$ aws ec2 describe-subnets --filters "Name=vpc-id,Values=vpc-6fe5000b" --region us-east-1
{
    "Subnets": [
        {
            "VpcId": "vpc-6fe5000b",
            "AvailableIpAddressCount": 4079,
            "MapPublicIpOnLaunch": true,
            "DefaultForAz": true,
            "Ipv6CidrBlockAssociationSet": [],
            "State": "available",
            "AvailabilityZone": "us-east-1c",
            "SubnetId": "subnet-da8afdf1",
            "CidrBlock": "172.31.48.0/20",
            "AssignIpv6AddressOnCreation": false
        },
        {
            "VpcId": "vpc-6fe5000b",
            "AvailableIpAddressCount": 4075,
            "MapPublicIpOnLaunch": true,
            "DefaultForAz": true,
            "Ipv6CidrBlockAssociationSet": [],
            "State": "available",
            "AvailabilityZone": "us-east-1a",
            "SubnetId": "subnet-897032d0",
            "CidrBlock": "172.31.16.0/20",
            "AssignIpv6AddressOnCreation": false
        },
        ....
        ....
I chose subnet-897032d0 from the list.
I am creating chef-dev01 instance in subnet subnet-897032d0 and using security group sg-8604b7fa.
$ aws ec2 run-instances --image-id ami-6869aa05 --count 1 --instance-type t2.micro --key-name chef-dev01-key --security-group-ids sg-8604b7fa --subnet-id subnet-897032d0 --region us-east-1 --query 'Instances[0].{ID:InstanceId}' --output text --region us-east-1
i-0567786b739c97874
Add a name tag to the instance.
$ aws ec2 create-tags --resources i-0567786b739c97874 --tags Key=Name,Value=chef-dev01
Find public dns name for chef-dev01
$ aws ec2 describe-instances --instance-ids i-0567786b739c97874 --query 'Reservations[0].Instances[0].PublicDnsName' --output text --region us-east-1
ec2-52-90-80-237.compute-1.amazonaws.com
Copy chef-user.pem from your computer to Chef development instance. You can use scp or just copy paste the chef-user.pem file.
# on your laptop
$ scp -i ~/WorkDocs/keys/chef-dev01-key.pem chef-user.pem ec2-user@ec2-52-90-80-237.compute-1.amazonaws.com:~/.ssh/
chef-user.pem
Login to the chef-dev01 instance using public DNS name.
$ ssh ec2-user@ec2-52-90-80-237.compute-1.amazonaws.com -i ~/WorkDocs/keys/chef-dev01-key.pem

    __|  __|_  )
    _|  (     /   Amazon Linux AMI
    ___|\___|___|

https://aws.amazon.com/amazon-linux-ami/2016.03-release-notes/
21 package(s) needed for security, out of 81 available
Run "sudo yum update" to apply all updates.
Amazon Linux version 2016.09 is available.
Do the updates and configure ssh timeout.
$ sudo yum update -y
$ echo "ServerAliveInterval 50" > ~/.ssh/config
$ chmod 644 ~/.ssh/config
$ sudo yum install tree -y #optional
$ sudo yum install emacs -y #optional
Change permissions of chef-user.pem file.
$ chmod 600 /home/ec2-user/.ssh/chef-user.pem
Finally create ~/.aws/credentials file and put credentials for an IAM user that can create EC2 instance on chef instance.
[default]
aws_access_key_id = AKIAJGBFBGOJJJJMKYXQ
aws_secret_access_key = EnlAfEjw4S4JWfX9ABCAAAAAAAAAABC
Configure Chef Development Instance
Install ChefDK
You can use screen to keep ssh session.
$ # optional
$ # create a screen session named CHEF
$ screen -S CHEF
$ # screen -dr CHEF - to resume the session
Find the latest chefdk package on https://downloads.chef.io/chef-dk/ and download it.
$ wget https://packages.chef.io/stable/el/6/chefdk-0.16.28-1.el6.x86_64.rpm
Install the chefdk.
$ sudo rpm -iUvh chefdk-0.16.28-1.el6.x86_64.rpm
Create workshop cookbook
$ mkdir -p ~/chef/cookbooks; cd ~/chef/cookbooks
$ chef generate cookbook workshop
$ cd workshop
Configure Kitchen
Modify ~/chef/cookbooks/workshop/.kitchen.yml to look like below.
Don’t forget to update
security_group_idswith your own security group value. You may change region and AZ if you were creating resources in a different region.
---
driver:
  name: ec2
  aws_ssh_key_id: chef-user
  region: us-east-1
  availability_zone: us-east-1c
  require_chef_omnibus: true
  instance_type: t2.small
  security_group_ids: ["sg-8604b7fa"]

transport:
  ssh_key: /home/ec2-user/.ssh/chef-user.pem
  connection_timeout: 10
  connection_retries: 5
  username: ec2-user

provisioner:
  name: chef_zero

platforms:
  - name: amazon
    driver:
      image_id: ami-6869aa05
    transport:
      username: ec2-user

suites:
  - name: Web1
    run_list:
      - recipe[workshop::default]
  - name: Web2
    run_list:
      - recipe[workshop::default]
We will modify this file later on.
Try kitchen list
$ kitchen list
Instance          Driver  Provisioner  Verifier  Transport  Last Action
Web1-amazon  Ec2     ChefZero     Busser    Ssh        <Not Created>
Web2-amazon  Ec2     ChefZero     Busser    Ssh        <Not Created>
Create A Simple Recipe with A Template
Create a template
$ cd ~/chef/cookbooks
$ chef generate template workshop test.txt
Recipe: code_generator::template
* directory[./workshop/templates/default] action create
    - create new directory ./workshop/templates/default
* template[./workshop/templates/test.txt.erb] action create
    - create new file ./workshop/templates/test.txt.erb
    - update content in file ./workshop/templates/test.txt.erb from none to e3b0c4
    (diff output suppressed by config)
Paste the text below into ~/chef/cookbooks/workshop/templates/test.txt.erb
This is a test file created by Chef.
# end with new line
Create a recipe
$ cd ~/chef/cookbooks
$ chef generate recipe workshop init
$ cd ~/chef/cookbooks/workshop/recipes
Modify ~/chef/cookbooks/workshop/recipes/init.rb to look like below.
#
# Cookbook Name:: workshop
# Recipe:: init
#
# Copyright (c) 2016 The Authors, All Rights Reserved.

template '/tmp/test.txt' do
  source 'test.txt.erb'
  owner 'root'
  group 'root'
  mode '0766'
end
Include init recipe in the default recipe. Edit ~/chef/cookbooks/workshop/recipes/default.rb to look like below.
include_recipe 'workshop::init'
Create the instance using kitchen.
$ # switch to the folder where we have `.kitchen.yml` file.
$ cd ~/chef/cookbooks/workshop
$ kitchen converge Web1-amazon
-----> Starting Kitchen (v1.10.2)
-----> Creating <Web1-amazon>...
    If you are not using an account that qualifies under the AWS
free-tier, you may be charged to run these suites. The charge
should be minimal, but neither Test Kitchen nor its maintainers
are responsible for your incurred costs.

    Instance <i-0c8f2de1607aac250> requested.
    Polling AWS for existence, attempt 0...
    Attempting to tag the instance, 0 retries
    EC2 instance <i-0c8f2de1607aac250> created.
    Waited 0/300s for instance <i-0c8f2de1607aac250> to become ready.
    EC2 instance <i-0c8f2de1607aac250> ready.
    Waiting for SSH service on ec2-54-210-168-160.compute-1.amazonaws.com:22, retrying in 3 seconds
    [SSH] Established
    Finished creating <Web1-amazon> (0m46.58s).
...
...
Transferring files to <Web1-amazon>
Starting Chef Client, version 12.18.31
Creating a new client identity for Web1-amazon using the validator key.
resolving cookbooks for run list: ["workshop::default"]
Synchronizing Cookbooks:
    - workshop (0.1.0)
Installing Cookbook Gems:
Compiling Cookbooks...
Converging 0 resources

Running handlers:
Running handlers complete
Chef Client finished, 0/0 resources updated in 01 seconds
Finished converging <Web1-amazon> (0m10.93s).
If you see an error message as seen below, just run the converge command again.
>>>>>> ------Exception-------
>>>>>> Class: Kitchen::ActionFailed
>>>>>> Message: 1 actions failed.
>>>>>>     Failed to complete #converge action: [SCP did not finish successfully (): ] on Web1-amazon
>>>>>> ----------------------
>>>>>> Please see .kitchen/logs/kitchen.log for more details
>>>>>> Also try running `kitchen diagnose --all` for configuration
Login to newly created instance and check test.txt file.
$ kitchen login Web1-amazon
$ cat /tmp/test.txt
This is a test file created by Chef.
$ exit
Configure Web Servers
Create a User for Web Service
Under ~/chef/cookbooks folder run the command below to create service_user recipe.
$ cd ~/chef/cookbooks
$ chef generate recipe workshop service_user
As all recipes for workshop cookbook, this recipe is created under ~/chef/cookbooks/workshop/recipes/ folder.
Add the lines below to ~/chef/cookbooks/workshop/recipes/service_user.rb.
group 'service_admin'

user 'service_admin' do
  group 'service_admin'
  system true
  shell '/bin/bash'
end
Create custom attributes file to define our own attributes instead of prividing them in the recipes. Under cookbooks folder, run this command.
$ cd ~/chef/cookbooks
$ chef generate attribute workshop default
Edit ~/chef/cookbooks/workshop/attributes/default.rb to have the code below.
default['workshop']['user'] = 'service_admin'
default['workshop']['group'] = 'service_admin'
Modify service_user recipe to use custom attributes. ~/chef/cookbooks/workshop/recipes/service_user.rb should looks like below. As you will notice we changed static values with attributes.
group node['workshop']['group']

user node['workshop']['user'] do
  group node['workshop']['group']
  system true
  shell '/bin/bash'
end
Include service_user recipe in the default recipe. Edit ~/chef/cookbooks/workshop/recipes/default.rb to look like below.
include_recipe 'workshop::init'
include_recipe 'workshop::service_user'
Run the cookbook again
$ cd ~/chef/cookbooks/workshop
$ kitchen converge Web1-amazon
$ kitchen converge Web1-amazon
-----> Starting Kitchen (v1.10.2)
-----> Converging <Web1-amazon>...
    Preparing files for transfer
    Preparing dna.json
    Resolving cookbook dependencies with Berkshelf 4.3.5...
    Removing non-cookbook files before transfer
    Preparing data_bags
    Preparing validation.pem
    Preparing client.rb
-----> Chef Omnibus installation detected (install only if missing)
    Transferring files to <Web1-amazon>
    Starting Chef Client, version 12.18.31
    resolving cookbooks for run list: ["workshop::default"]
    Synchronizing Cookbooks:
        - workshop (0.1.0)
    Installing Cookbook Gems:
    Compiling Cookbooks...
    Converging 3 resources
    Recipe: workshop::init
        * template[/tmp/test.txt] action create (up to date)
    Recipe: workshop::service_user
        * group[service_admin] action create
        - create group service_admin
        * linux_user[service_admin] action create
        - create user service_admin

    Running handlers:
    Running handlers complete
    Chef Client finished, 2/3 resources updated in 01 seconds
    Finished converging <Web1-amazon> (0m3.22s).
This was a quicker run as chef didn’t provision the instance again but just configured what service_user recipe had.
Login and check if service_admin user and groups are created.
$ kitchen login Web1-amazon
$ grep service_admin /etc/passwd
service_admin:x:498:501::/home/service_admin:/bin/bash
$ grep service_admin /etc/group
service_admin:x:501:
$ exit
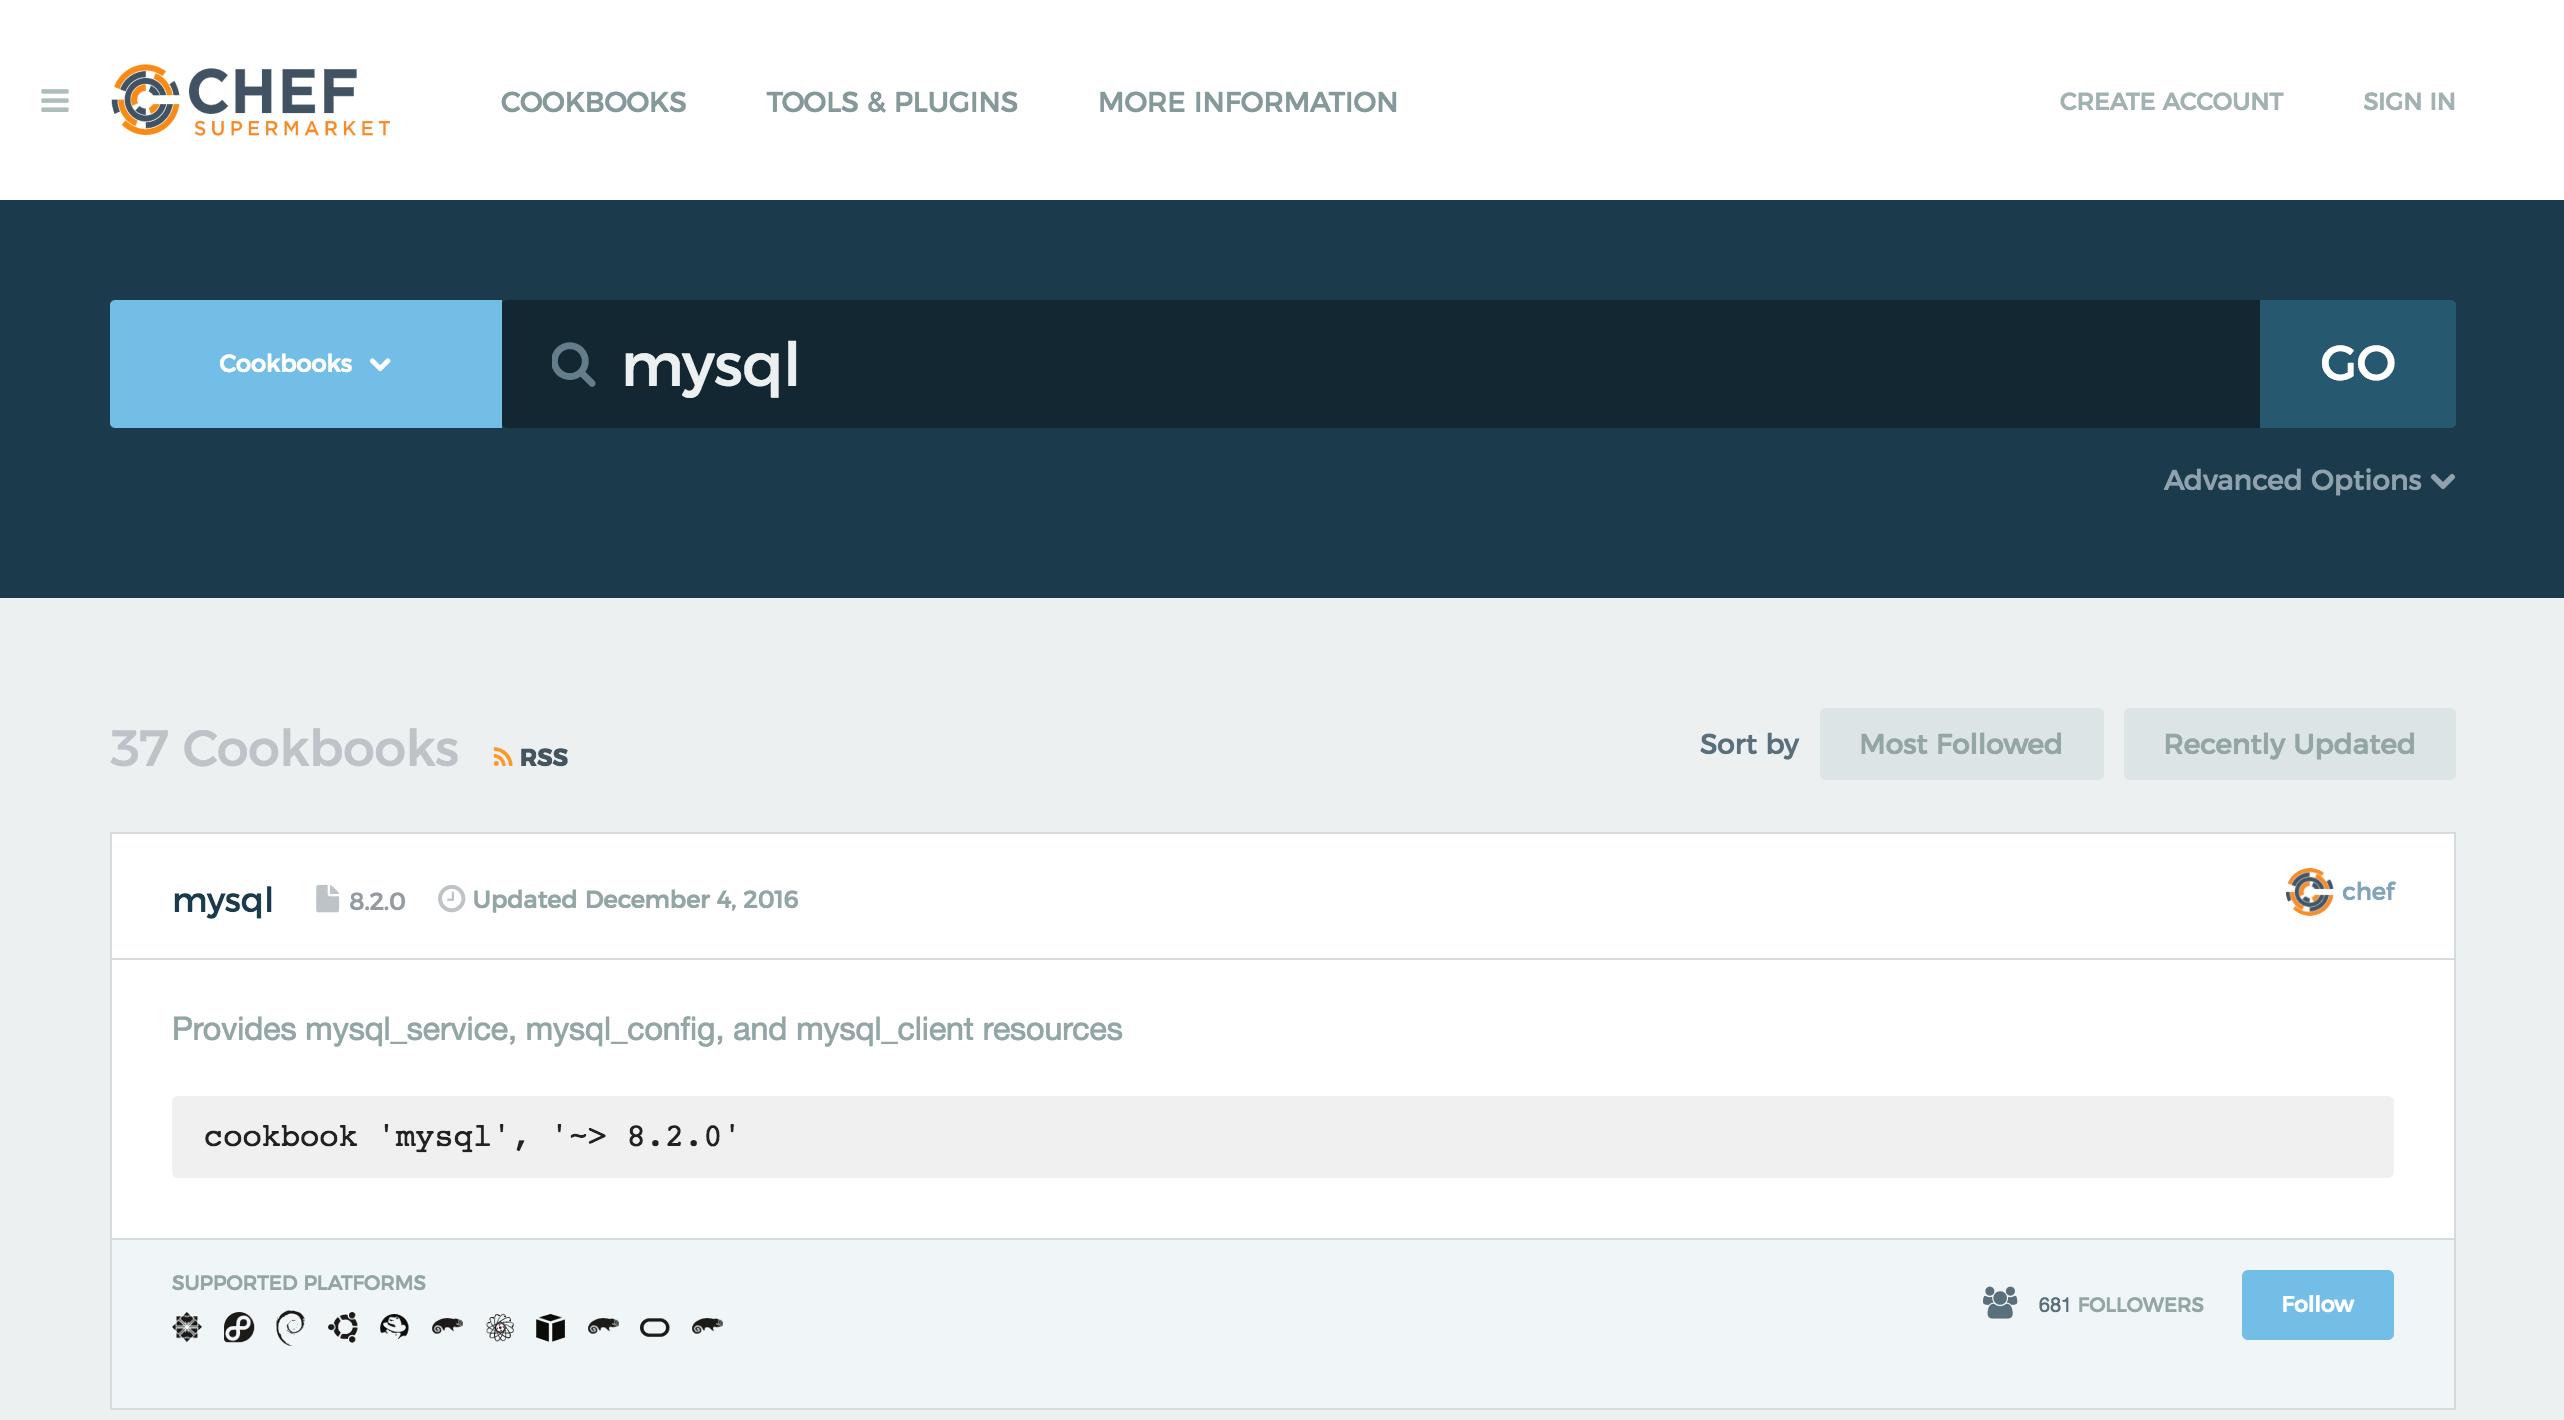
Configure SELinux with a Community Cookbook
To configure SELinux we will use a community cookbook. You can find community cookbooks at https://supermarket.chef.io/. If you know the name of the cookbook, you can use knife command as shown below.
$ knife cookbook site show selinux|grep latest_version
latest_version:       https://supermarket.chef.io/api/v1/cookbooks/selinux/versions/0.9.0
Let’s check what selinux cookbook looks like.
Go to Chef Supermarket and check for the recipes that selinux cookbook provides.
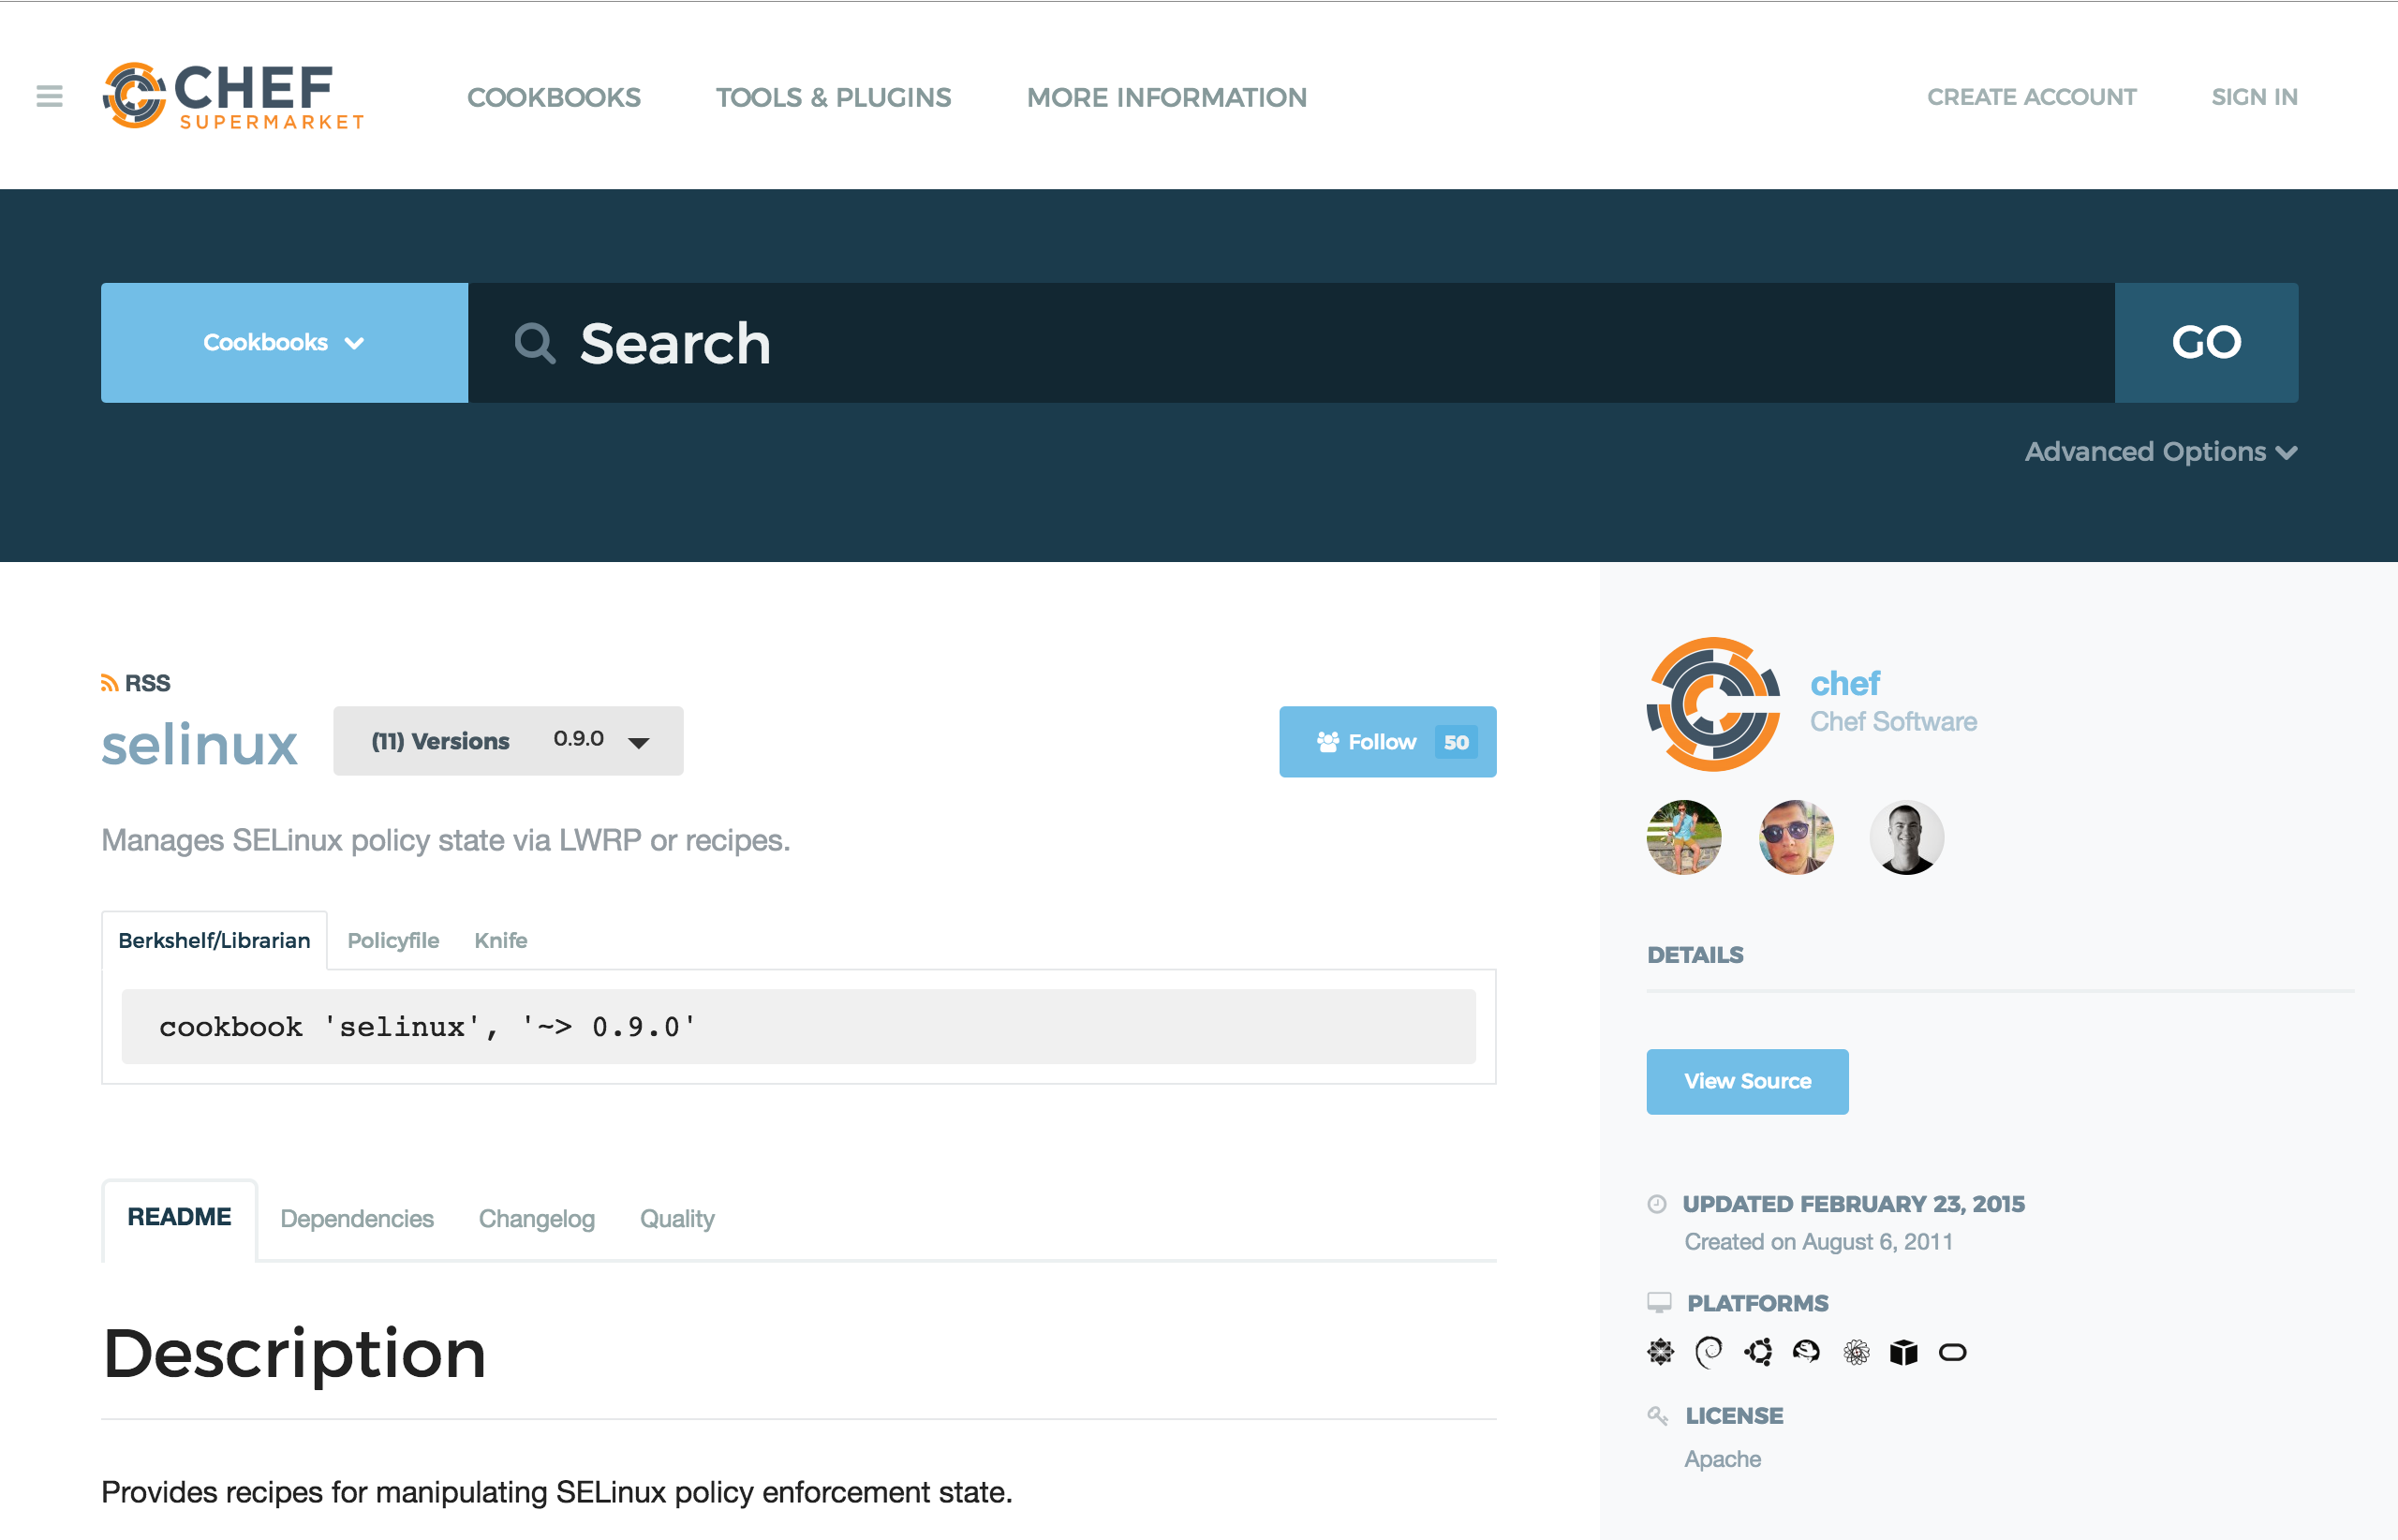
To use a community cookbook, we have to include it in the metadata file which is located at ~/chef/cookbooks/workshop/metadata.rb file. Append the line below to metadata.rb
depends 'selinux', '~> 0.9.0'
Now we can refer to selinux cookbook and the resources it provides in from our workshop cookbook. selinux cookbook is relatively easy to use and we will only call a recipe to disable selinux on the linux instance.
Append the code below to default recipe located at ~/chef/cookbooks/workshop/recipes/default.rb.
include_recipe 'selinux::permissive'
Run the cookbook and you will see selinux recipe is applied.
$ kitchen converge Web1-amazon --debug
-----> Starting Kitchen (v1.10.2)
-----> Converging <Web1-amazon>...
    Preparing files for transfer
    Preparing dna.json
    Resolving cookbook dependencies with Berkshelf 4.3.5...
    Removing non-cookbook files before transfer
    Preparing data_bags
    Preparing validation.pem
    Preparing client.rb
-----> Chef Omnibus installation detected (install only if missing)
    Transferring files to <Web1-amazon>
    Starting Chef Client, version 12.18.31
    resolving cookbooks for run list: ["workshop::default"]
    Synchronizing Cookbooks:
        - workshop (0.1.0)
        - selinux (0.9.0)
    Installing Cookbook Gems:
    Compiling Cookbooks...
    Converging 6 resources
    Recipe: workshop::init
        * template[/tmp/test.txt] action create (up to date)
    Recipe: workshop::service_user
        * group[service_admin] action create (up to date)
        * linux_user[service_admin] action create (up to date)
    Recipe: selinux::_common
        * yum_package[libselinux-utils] action install (up to date)
        * directory[/etc/selinux] action create (up to date)
    Recipe: selinux::permissive
        * selinux_state[SELinux Permissive] action permissive (up to date)

    Running handlers:
    Running handlers complete
    Chef Client finished, 0/6 resources updated in 02 seconds
    Finished converging <Web1-amazon> (0m4.51s).
-----> Kitchen is finished. (0m4.87s)
Check if selinux is disabled
$ kitchen login Web1-amazon
$ sestatus
SELinux status:                 disabled
Configure Apache
To create web_server recipe, under cookbooks folder run the command below.
$ cd ~/chef/cookbooks
$ chef generate recipe workshop web_server
Modify web_server recipe to look like below. File located at ~/chef/cookbooks/workshop/recipes/web_server.rb.
#
# Cookbook Name:: workshop
# Recipe:: web_server
# Copyright (c) 2017 The Authors, All Rights Reserved.                                                                                    #

package 'httpd' do
  action :install
end

directory '/var/www/html' do
  recursive true
end

template '/etc/httpd/conf.d/hello.conf' do
  source 'hello.conf.erb'
  mode '0644'
  owner node['workshop']['user']
  group node['workshop']['group']
  notifies :restart, 'service[httpd]'
end

template '/var/www/html/hello.html' do
  source 'hello.html.erb'
  mode '0644'
  owner node['workshop']['user']
  group node['workshop']['group']
end

service 'httpd' do
  action [:enable, :start]
end
We will create two templates.
hello.conf: apache virtual host configurationhello.html: to be used as index page
Create hello.conf template that is referred in the web_server recipe.
$ cd ~/chef/cookbooks
$ chef generate template workshop hello.conf
Put the code below into hello.conf.erb. File is located at ~/chef/cookbooks/workshop/templates/hello.conf.erb.
<VirtualHost *:80>
    ServerAdmin webmaster@localhost

    DocumentRoot /var/www/html

    DirectoryIndex hello.html

    <Directory />
        Options FollowSymLinks
        AllowOverride None
    </Directory>

    <Directory /var/www/html>
        Options Indexes FollowSymLinks MultiViews
        AllowOverride None
        Order allow,deny
        allow from all
    </Directory>

    ScriptAlias /cgi-bin/ /usr/lib/cgi-bin/
    <Directory "/usr/lib/cgi-bin">
        AllowOverride None
        Options +ExecCGI -MultiViews +SymLinksIfOwnerMatch
        Order allow,deny
        Allow from all
    </Directory>

    LogLevel warn
</VirtualHost>
As you might have noticed, we changed the DirectoryIndex to hello.html from default index.html.
Create hello.html template that is referred in the web_server recipe.
$ cd ~/chef/cookbooks
$ chef generate template workshop hello.html
Put the code below into hello.html.erb. File is located at ~/chef/cookbooks/workshop/templates/hello.html.erb.
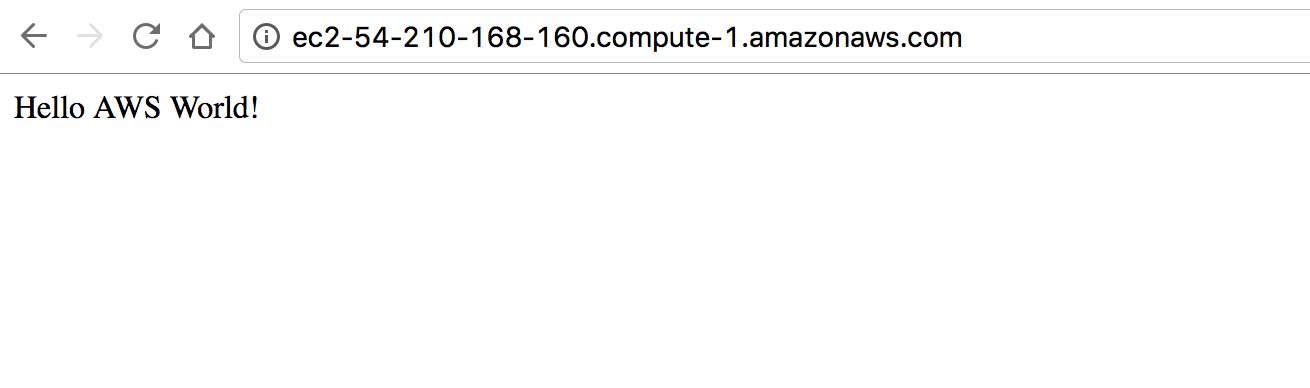
<html>
    Hello AWS World!
</html>
Finally add the web_server recipe to default recipe. ~/chef/cookbooks/workshop/recipes/default.rb must look like below.
include_recipe 'workshop::init'
include_recipe 'selinux::permissive'
include_recipe 'workshop::service_user'
include_recipe 'workshop::web_server'
Run the cookbook
$ cd ~/chef/cookbooks/workshop
$ kitchen converge Web1-amazon
...
...
* template[/etc/httpd/conf.d/hello.conf] action create
        - create new file /etc/httpd/conf.d/hello.conf
        - update content in file /etc/httpd/conf.d/hello.conf from none to 5637db
        --- /etc/httpd/conf.d/hello.conf     2017-01-27 16:36:06.399912841 +0000
        +++ /etc/httpd/conf.d/.chef-hello20170127-25450-19gt7tn.conf 2017-01-27 16:36:06.399912841 +0000
        @@ -1 +1,30 @@
        +<VirtualHost *:80>
        +    ServerAdmin webmaster@localhost
        +
        +    DocumentRoot /var/www/html
        +
        +    DirectoryIndex hello.html
        +
        +    <Directory />
        +        Options FollowSymLinks
    ...
    ...
       +    <html>
       +        Hello AWS World!
       +    </html>
       - change mode from '' to '0644'
       - change owner from '' to 'service_admin'
       - change group from '' to 'service_admin'
     * service[httpd] action enable
       - enable service service[httpd]
     * service[httpd] action start
       - start service service[httpd]
     * service[httpd] action restart
       - restart service service[httpd]

   Running handlers:
   Running handlers complete
   Chef Client finished, 6/13 resources updated in 05 seconds
   Finished converging <Web1-amazon> (0m7.95s).
Find the public IP address of the instance and try on a browser.
Use Data Bag and Node Attributes in The Template
We will modify hello.html template in order to use data bags, node attributes.
Kitchen lets you pass a data_bag_path. Lets create a data bag.
$ cd ~/chef/cookbooks/workshop/
$ mkdir -p data_bags/workshop_bag
$ touch data_bags/workshop_bag/config.json
Put the code below into conifg.json
{
    "name": "workshop application"
}
Now we have a data bag named workshop_bag with an item named config. It has a key named name with a value of workshop application.
It looks like this
- workshop_bag
- config
- name -> workshop application
- config
Let’s modify web_server recipe to use the data bag. Recipe is located at ~/chef/cookbooks/workshop/recipes/web_server.rb.
config = data_bag_item('workshop_bag', 'config')

package 'httpd' do
  action :install
end

directory '/var/www/html' do
  recursive true
end

template '/etc/httpd/conf.d/hello.conf' do
  source 'hello.conf.erb'
  mode '0644'
  owner node['workshop']['user']
  group node['workshop']['group']
  notifies :restart, 'service[httpd]'
end

template '/var/www/html/hello.html' do
  source 'hello.html.erb'
  mode '0644'
  owner node['workshop']['user']
  group node['workshop']['group']
  variables(:name => config['name'])
end

service 'httpd' do
  action [:enable, :start]
end
We used config item from workshop_bag data bag and used name key.
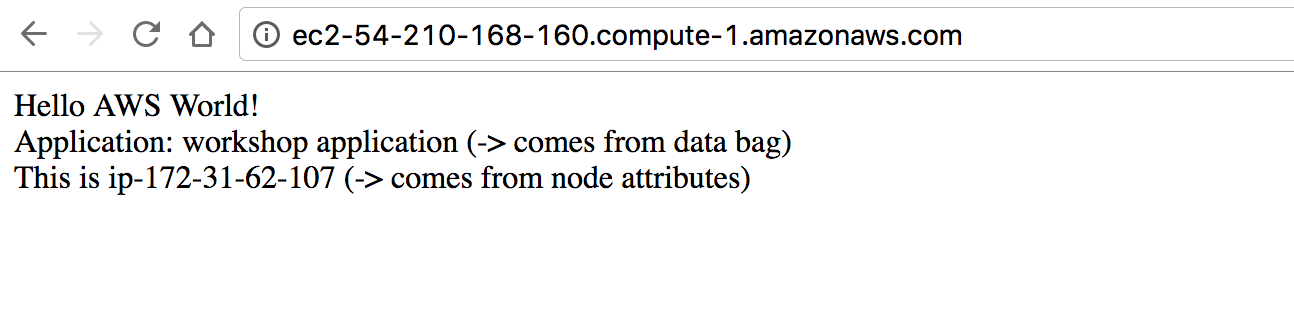
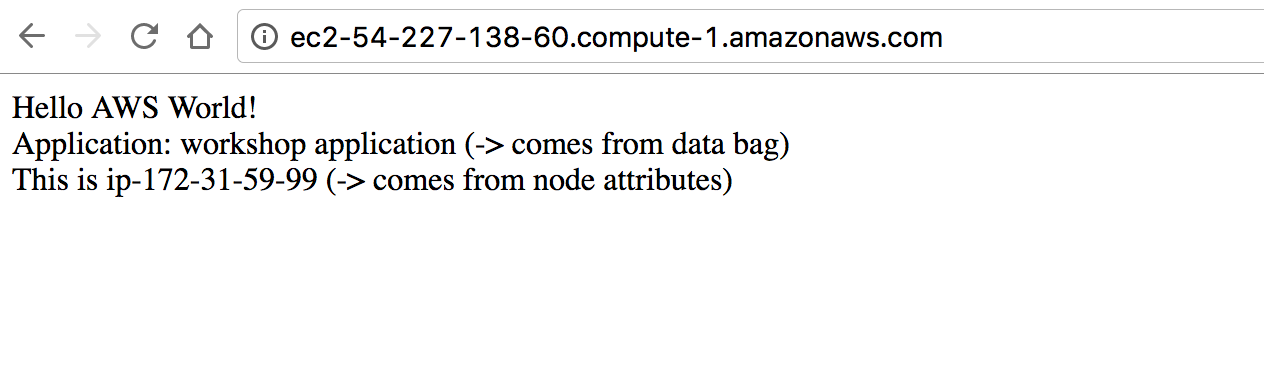
Modify ~/chef/cookbooks/workshop/templates/hello.html.erb template so it will look like below.
<html>
  Hello AWS World! <br>
  Application: <%= @name %> (-> comes from data bag) <br>
  This is <%= node['hostname'] %> (-> comes from node attributes) <br>
</html>
Modify suites section in .kitchen.yml so it will look like below. File is located at ~/chef/cookbooks/workshop/.kitchen.yml.
suites:
  - name: Web1
    data_bags_path: data_bags
    run_list:
      - recipe[workshop::default]
  - name: Web2
    data_bags_path: data_bags
    run_list:
      - recipe[workshop::default]
Provision Apache on Both EC2 Instances
Let’s check instance status
$ cd ~/chef/cookbooks/workshop/
$ kitchen list
Instance     Driver  Provisioner  Verifier  Transport  Last Action
Web1-amazon  Ec2     ChefZero     Busser    Ssh        Converged
Web2-amazon  Ec2     ChefZero     Busser    Ssh        <Not Created>
Run the command below.
$ kitchen converge Web1
...
...
    * template[/var/www/html/hello.html] action create
    - update content in file /var/www/html/hello.html from 6bbe7b to 800c69
    --- /var/www/html/hello.html 2017-01-27 16:36:06.435912564 +0000
    +++ /var/www/html/.chef-hello20170127-26434-2bu8bn.html      2017-01-27 16:56:16.182581442 +0000
    @@ -1,4 +1,6 @@
    -    <html>
    -        Hello AWS World!
    -    </html>
    +<html>
    +  Hello AWS World! <br>
    +  Application: workshop application (-> comes from data bag) <br>
    +  This is ip-172-31-62-107 (-> comes from node attributes) <br>
    +</html>
    * service[httpd] action enable (up to date)
    * service[httpd] action start (up to date)

Running handlers:
Running handlers complete
Chef Client finished, 1/12 resources updated in 02 seconds
Finished converging <Web1-amazon> (0m4.70s).
This will update Web1-amazon instance using data bag and node attributes.
If you look at the web page again you will see instance’s IP address.
Now lets do all for both instance. This command will take a little longer as it will provision second instance for the first time.
$ cd ~/chef/cookbooks/workshop/
$ kitchen converge
We can see both instances as Converged
$ cd ~/chef/cookbooks/workshop/
$ kitchen list
Instance     Driver  Provisioner  Verifier  Transport  Last Action
Web1-amazon  Ec2     ChefZero     Busser    Ssh        Converged
Web2-amazon  Ec2     ChefZero     Busser    Ssh        Converged
Finally we have two instances exactly at the same desired state. Let’s check second instance.
Further reading
Data Bags vs Node Attributes
- If it is global across all of your infrastructure, and you think you might need to change that item en-masse at some point. Examples: An external service API key which does not vary per environment; an office gateway’s external IP address; a license key.
- If it needs to be encrypted. Data bag items can not only be encrypted, but each item can have a different encryption key if desired. Encrypted data bag items give you the ability to secure sensitive information on the Chef server, so that no intruder could reveal your secrets even if they gained access to the Chef server. Also, no man-in-the-middle attack could reveal sensitive information by sniffing the traffic between the Chef client and the server; ciphertext is decoded only on the client. (This is less of a concern given that client-server communication is performed over SSL).
- If it needs to be written to by another system and we want to isolate the scope of the data that system can write to. Example: application release information which could eventually be written by a continuous integration pipeline.
- If an external team needs to update limited pieces of information and that team does not normally write Chef recipes. Example: the DBA that needs to occasionally modify a database password or connection string.
source: Data bags vs Node attributes